


New De-lovely Rug Hooking Frame
For the instructions to make this brand-new, spiffy, neck-saving, De-lovely Rug Hooking Frame, follow below, but first, a couple of needful things:
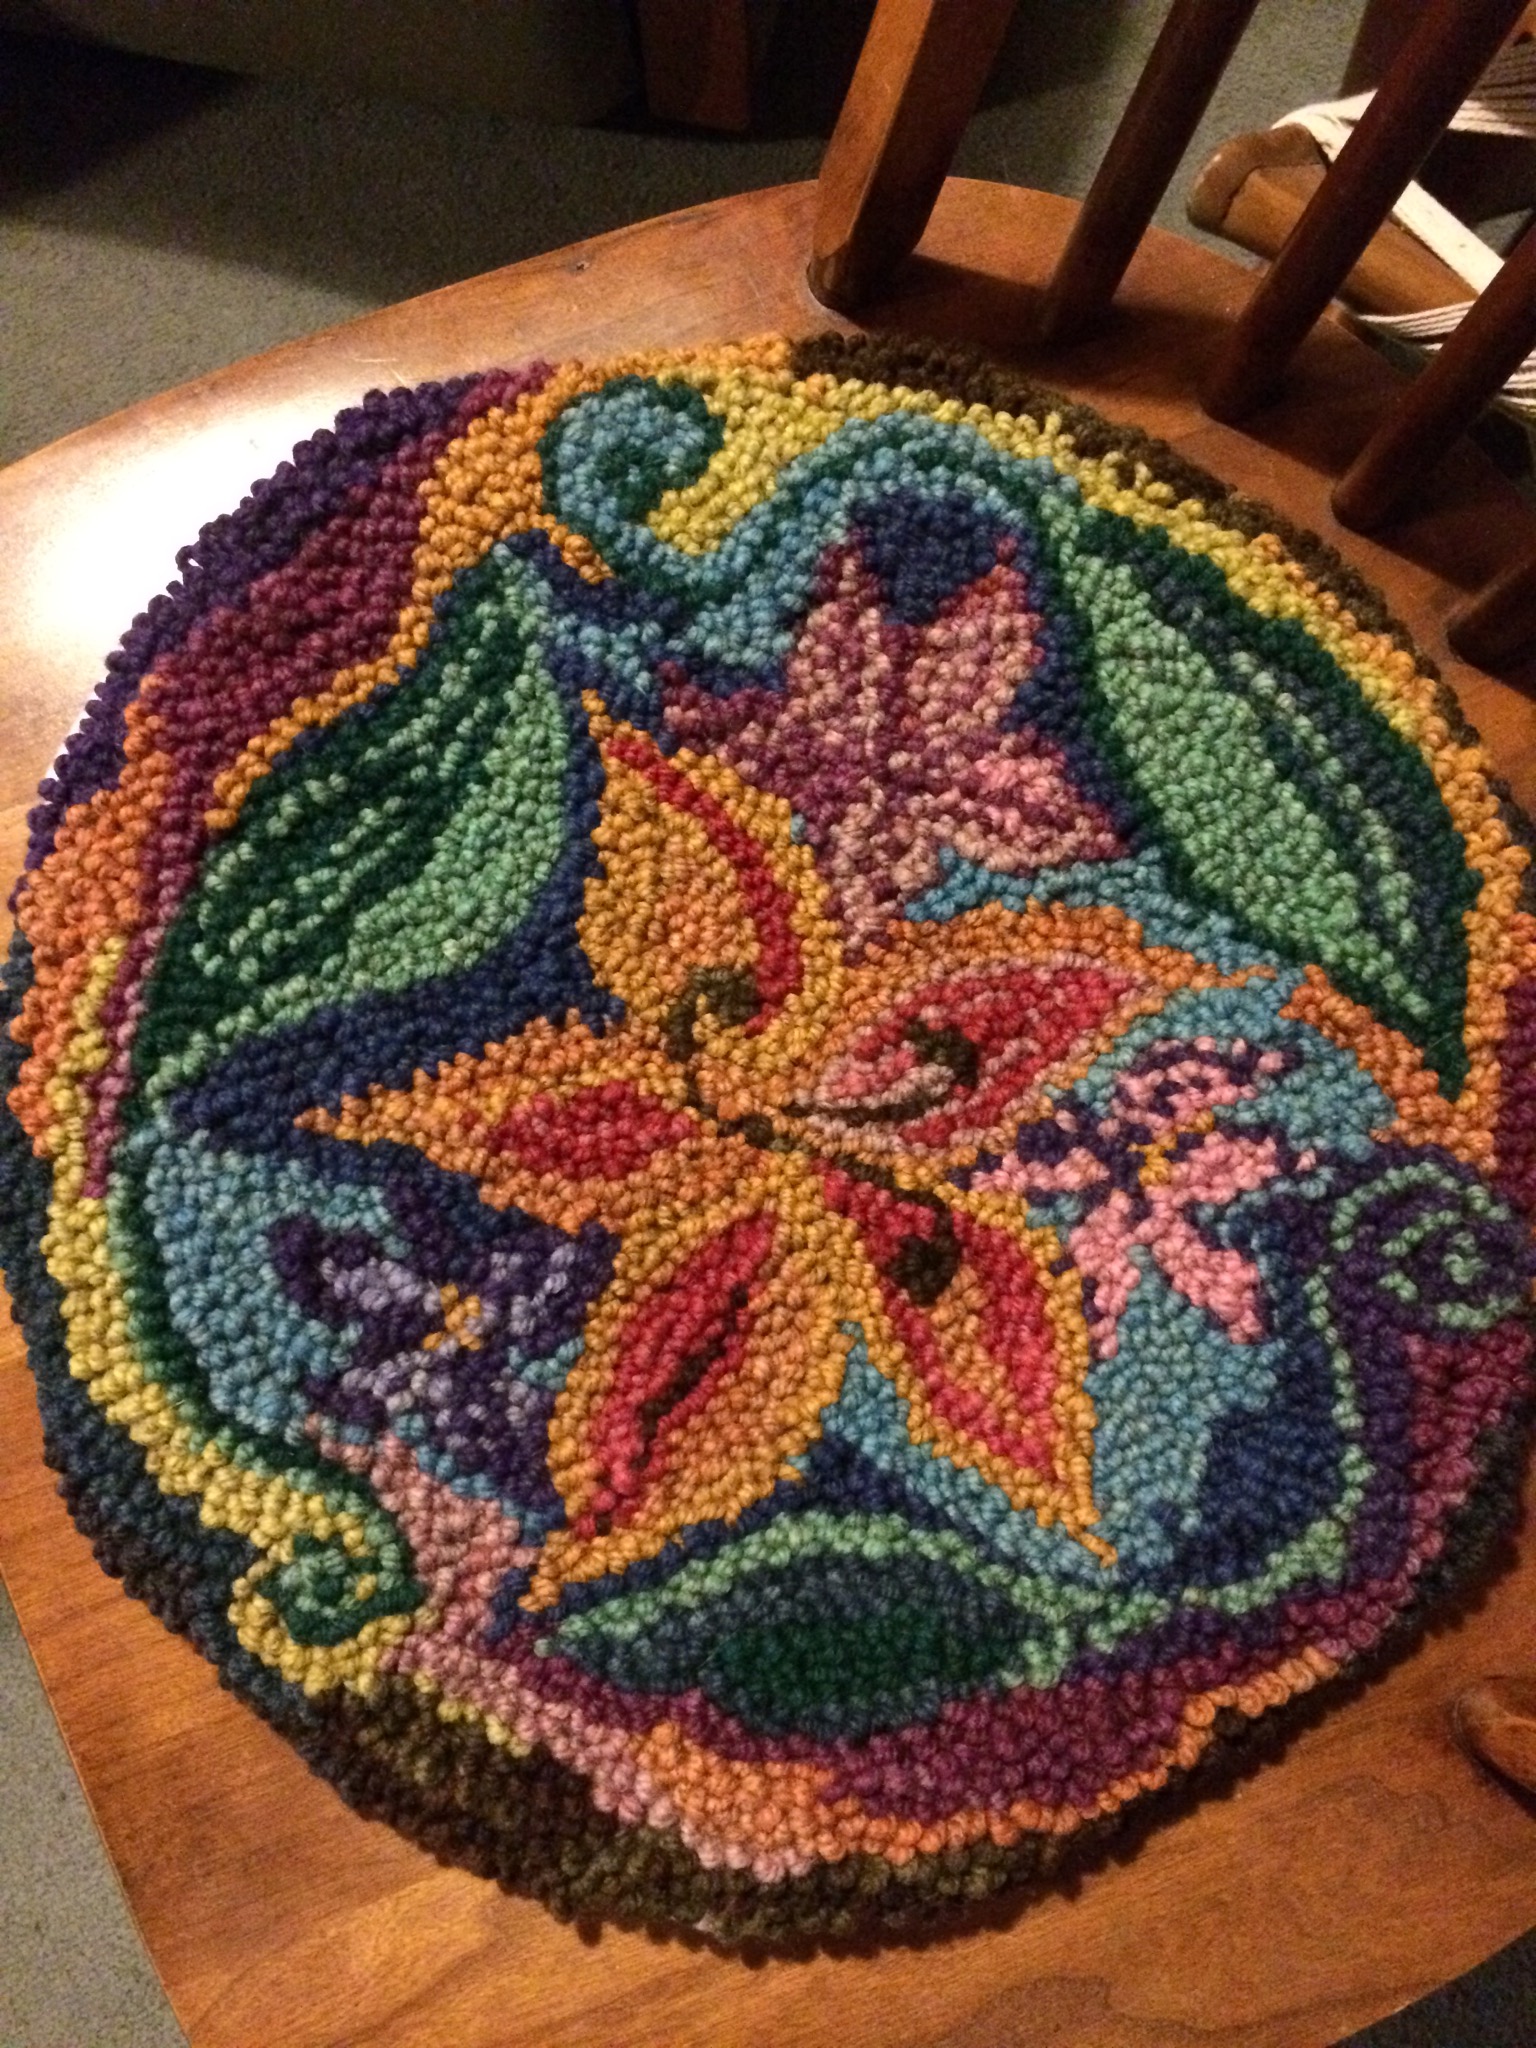
You can view this month’s Featured Rug of the Month here!
I will be teaching two classes in September, one in New York City and one in Canby, OR. (I’ll also have a booth in Canby, so come on by if you’re in the area!) You can read about them here. Let me know if you have any questions or need help signing up.
And PSST—did you know subscribers to this blog get 20% off everything on the website until September 8, 2017? Not yet a subscriber? Just click on the “Follow” button at the lower right-hand corner (but you have to be quick, it goes away a few seconds after you open the post! If you miss it, just close the post and re-open it.)
The blog goes out once a month, and if you’re a subscriber, it will come directly to your email. It is always chock full of tips and techniques, web specials, upcoming shows and classes, and lots of other interesting tidbits.
I’m going to be closing out my DELUXE Rug Hooking Frame in favor of the DE-LOVELY. I have 4 Deluxe Frames in stock—blog subscribers can save big while they last. If you’d like to get your hands on one, just email me at judytaylor@littlehouserugs.com.
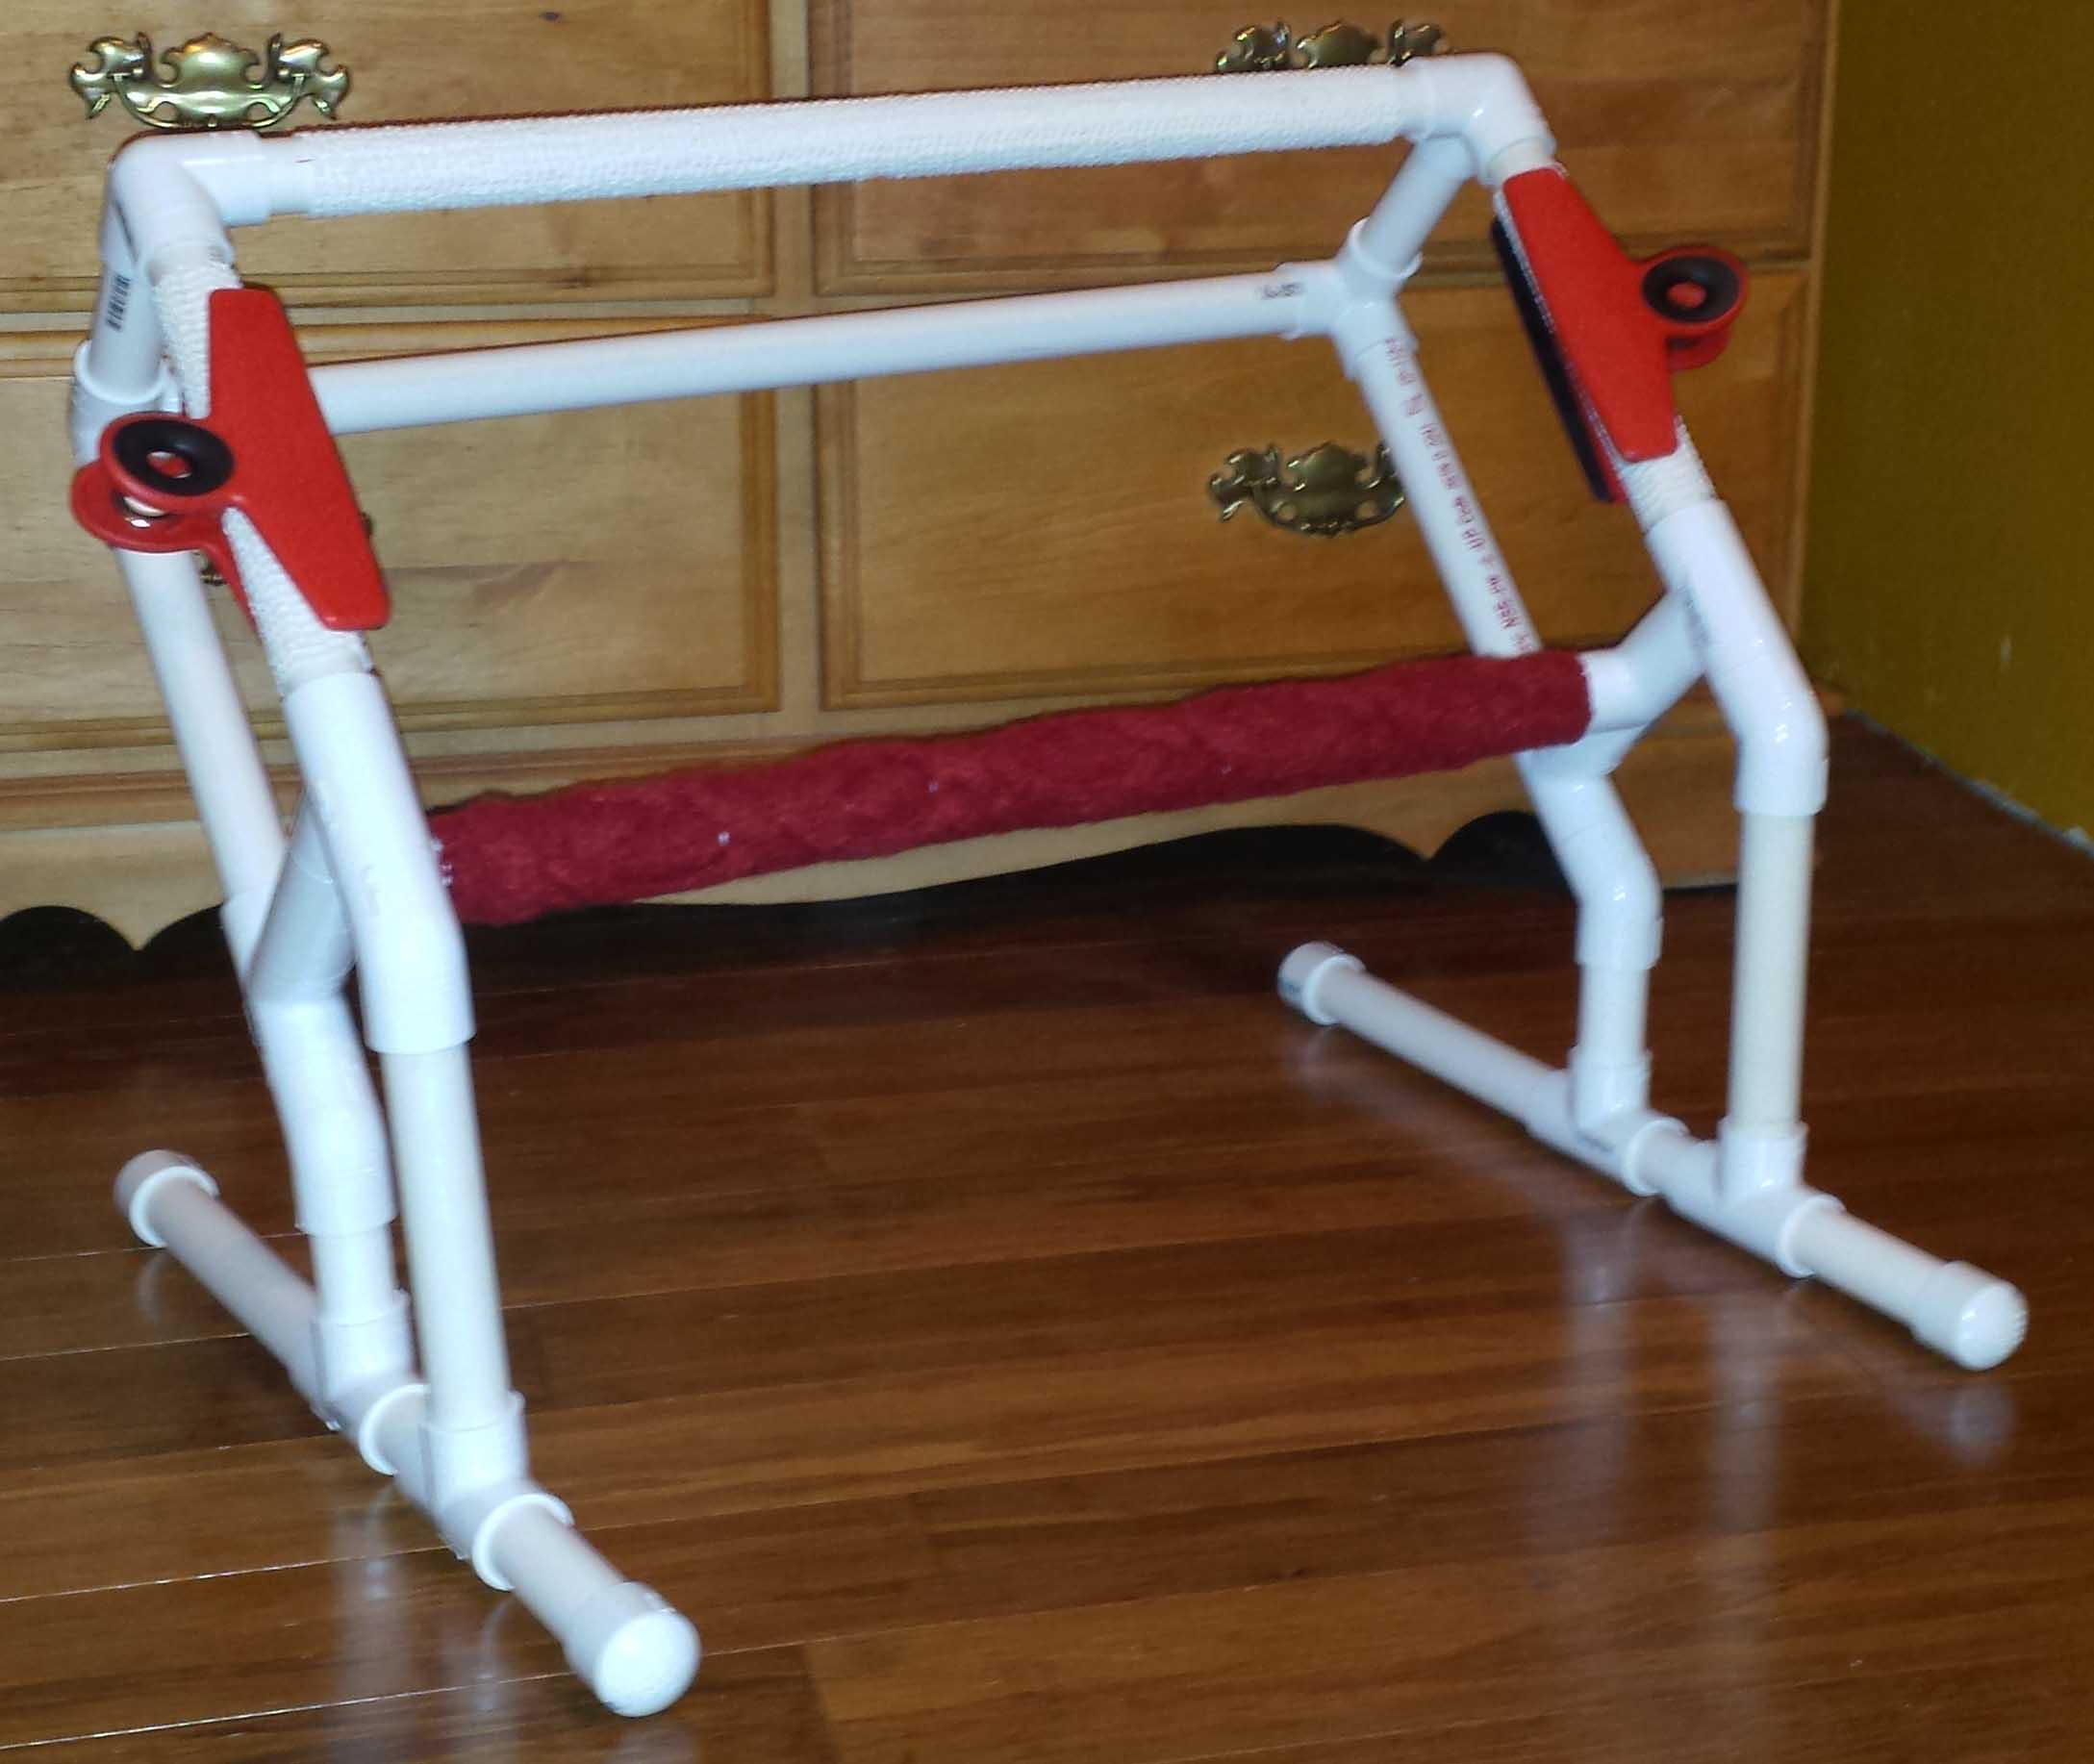
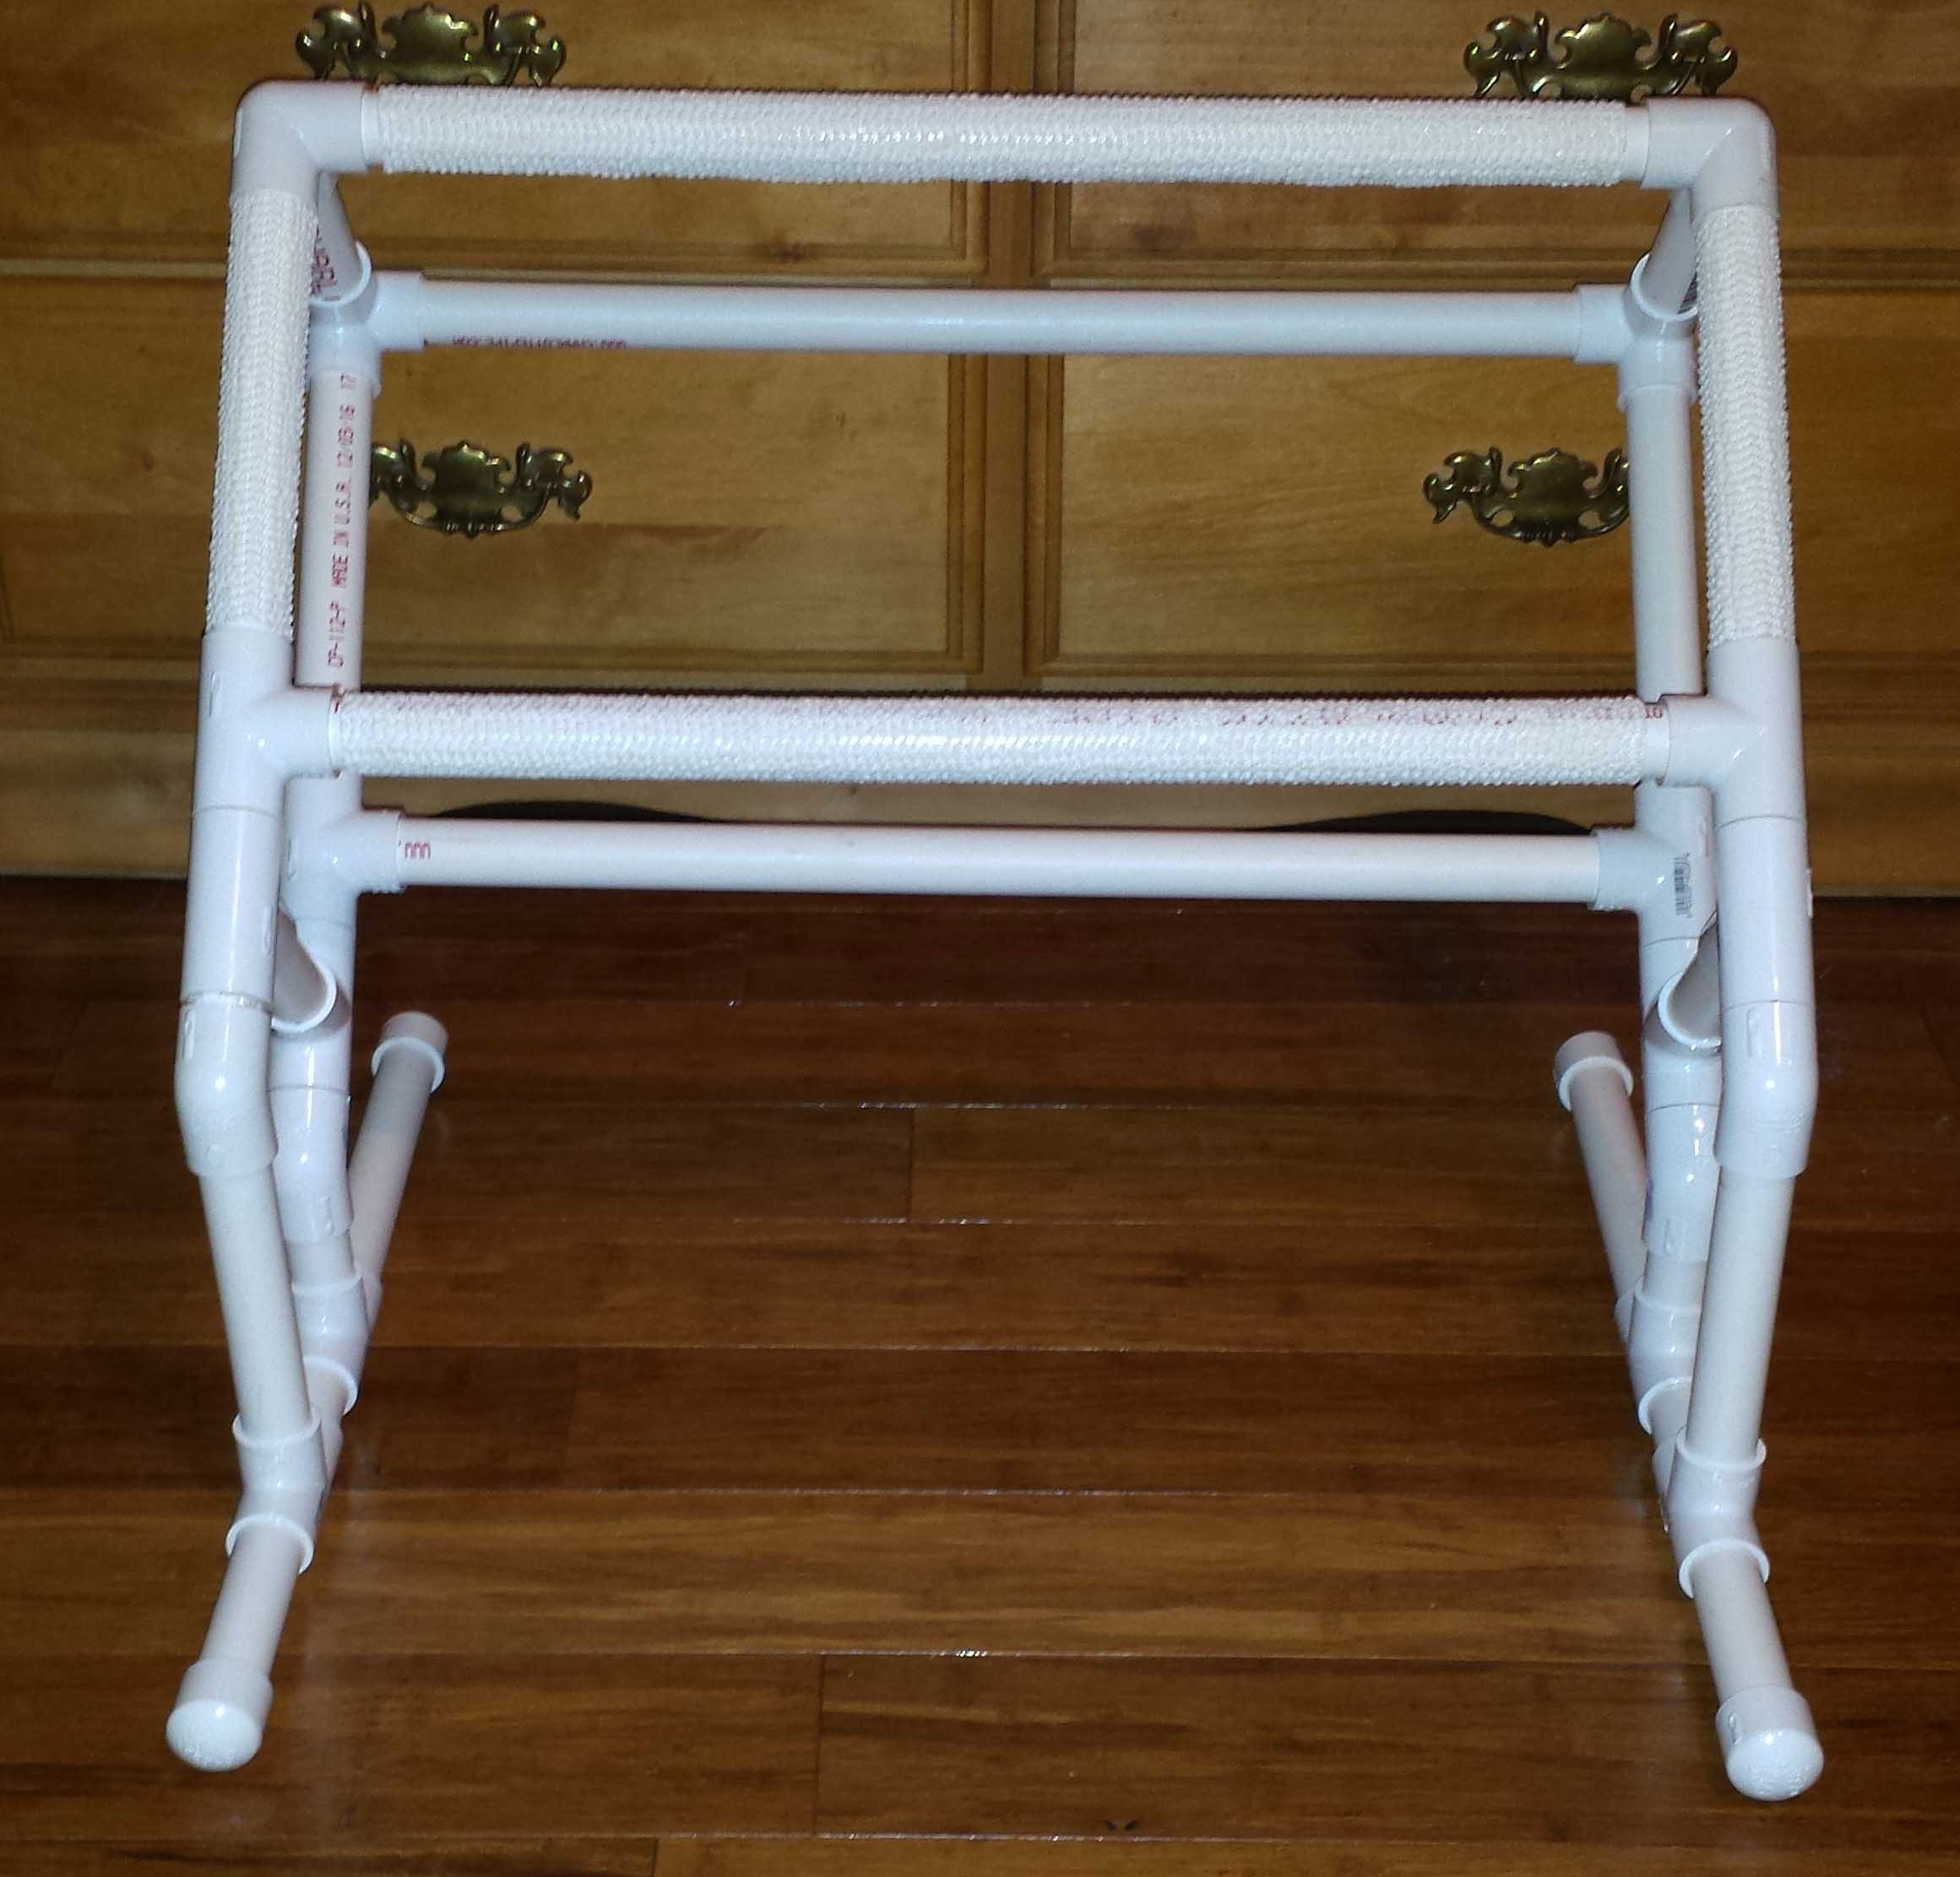
The only difference between the Deluxe and the De-Lovely is that with the De-lovely, you can add an extra set of clamps on the top and bottom (for those who like that “tight as a drum” feeling). Both frame designs save your neck, because you don’t have to look down at your lap while you work. They both come with a set of long legs for sitting on a folding chair, or short legs for sitting on a couch or other comfy chair. Blog subscribers can save 20% (until 9-8-2017) on a ready-made De-Lovely, or follow the steps below to make one yourself. (Please note that the patent is pending on this design, so you have permission to make one for personal use, just not to sell.)
I’m not claiming it will be easy to make your own, except for the fact that I can make them. I have no particular skills, so if I can do it, anyone can. And you only have to make one! Still, I wouldn’t be surprised if after you peruse the instructions below, you don’t decide to buy one ready-made!
Anyway, here goes!
Supplies you will need to make your own De-lovely frame: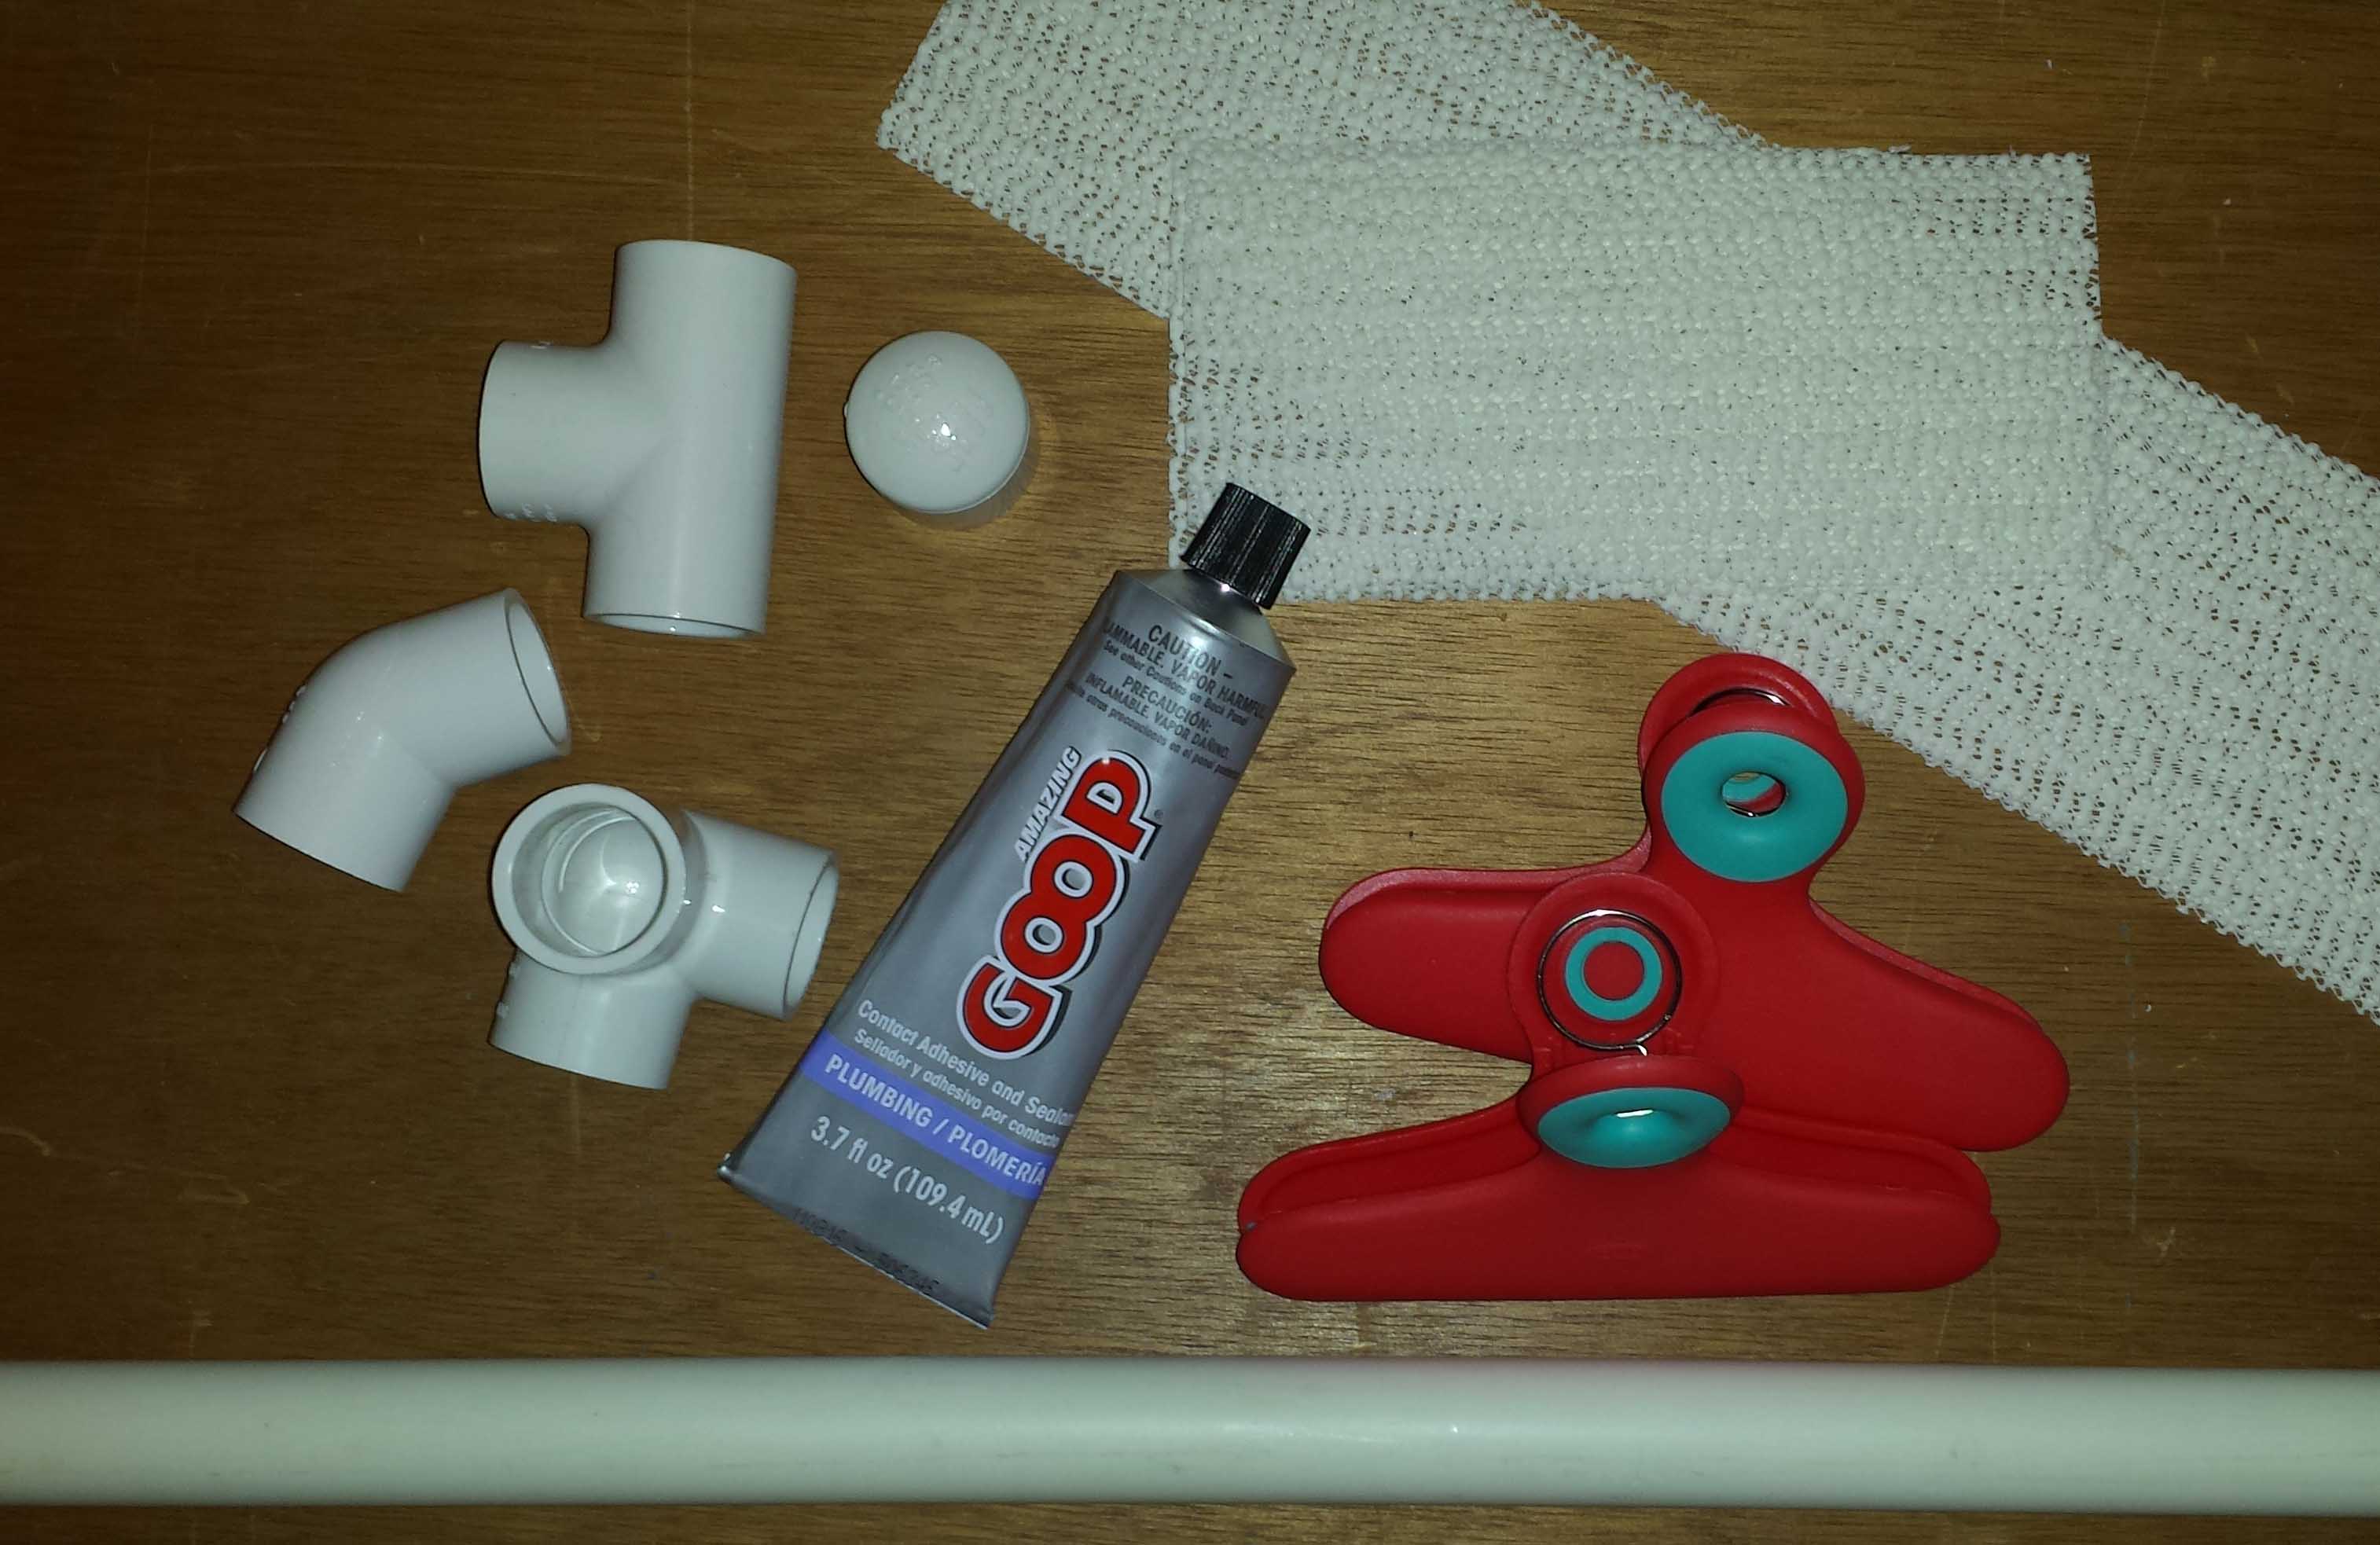
(A) 3- 10’ long 3/4” PVC pipes, 200 PSI
(B) 4- 3/4” Dia 45 degree PVC Sch 40 Slip Elbows
(C) 4- 3/4” Dia 90 degree PVC Sch 40 Side Outlet Elbows
(D) 12- 3/4″ Dia PVC Sch 40 Tees
(E) 4- 3/4″ Dia PVC Sch 40 Caps
(F) 2 OXO Large Kitchen Clamps (or 4, if you want them on top and bottom as well)
(G) Goop Glue
(H) Rubber shelf liner, cut into 2- 3.5”x7” and 1- 3.5”x18.5” pieces
Cut your PVC pipes into the following lengths:
(I) 8- 1″
(J) 2-1.5″
(K) 2- 2.5″
(L) 6- 4″
(M) 2- 5.5″
(N) 6- 8″
(O) 4-20″
(P) 2- 22.5″
(Q) 2- 26.5″
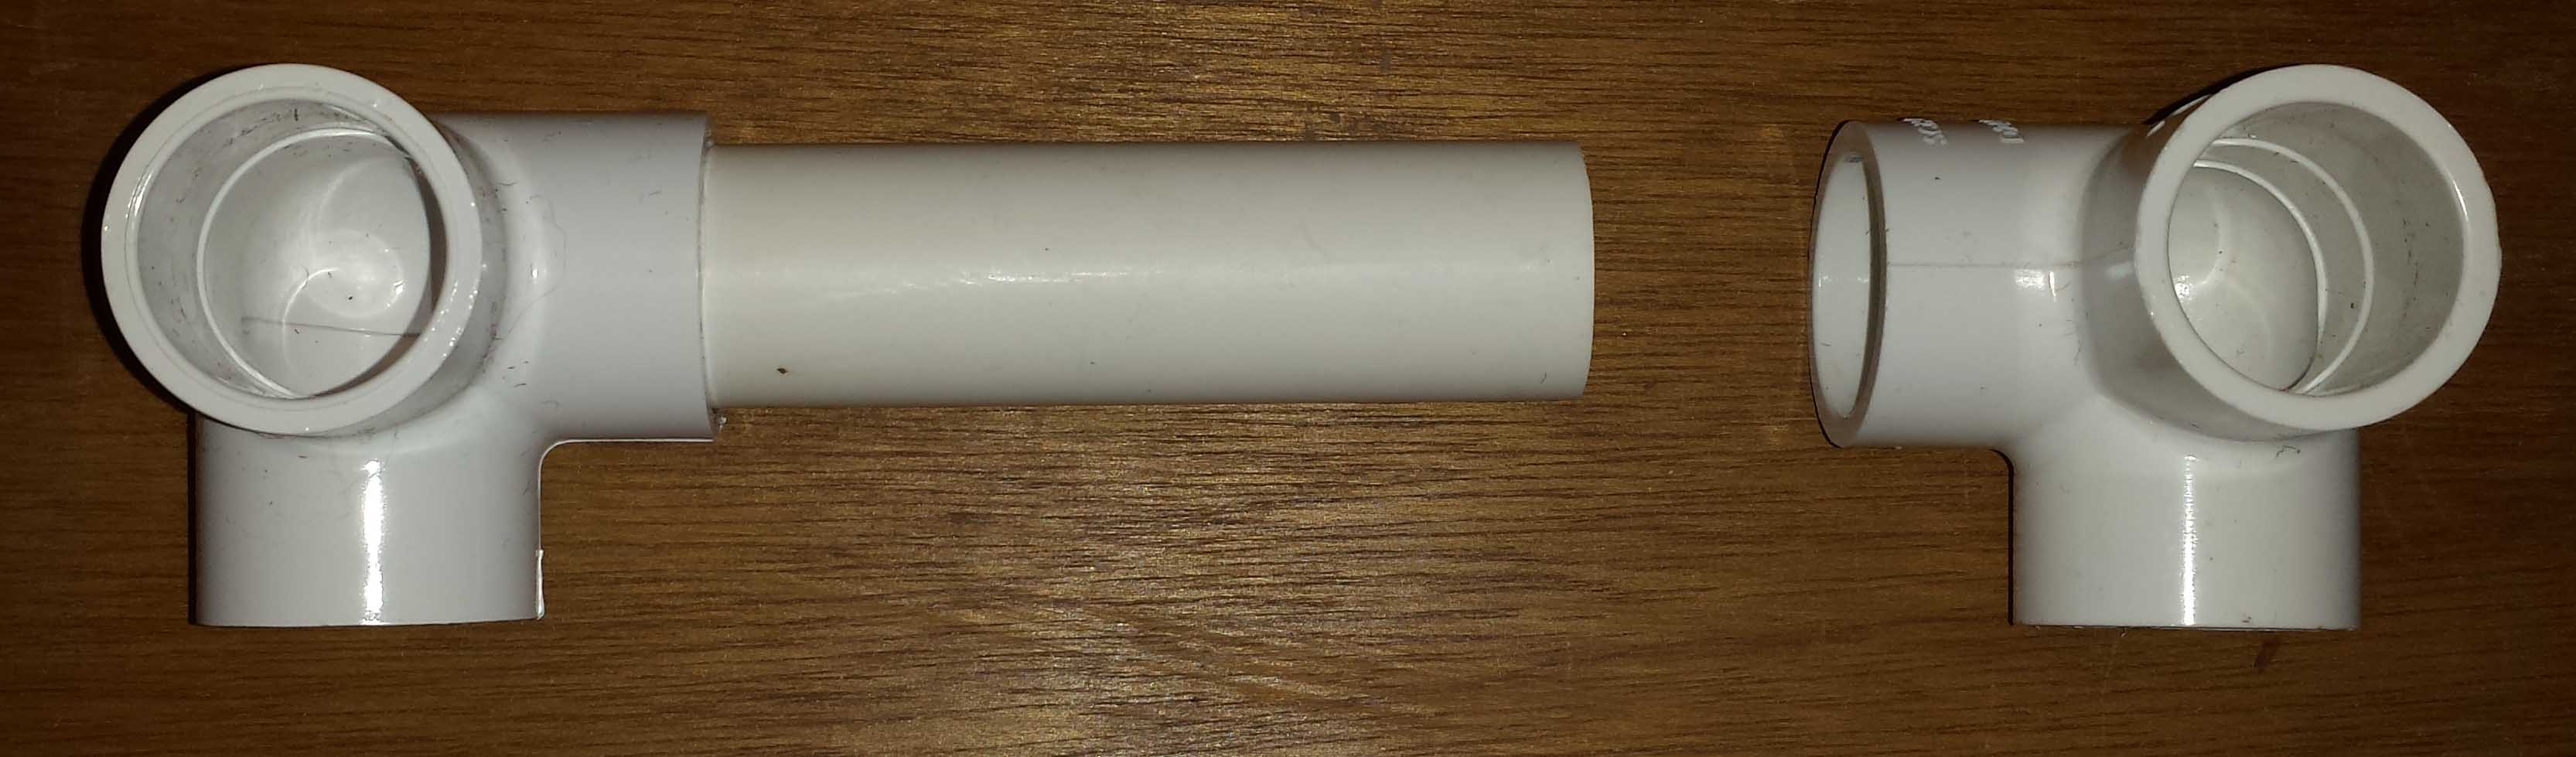
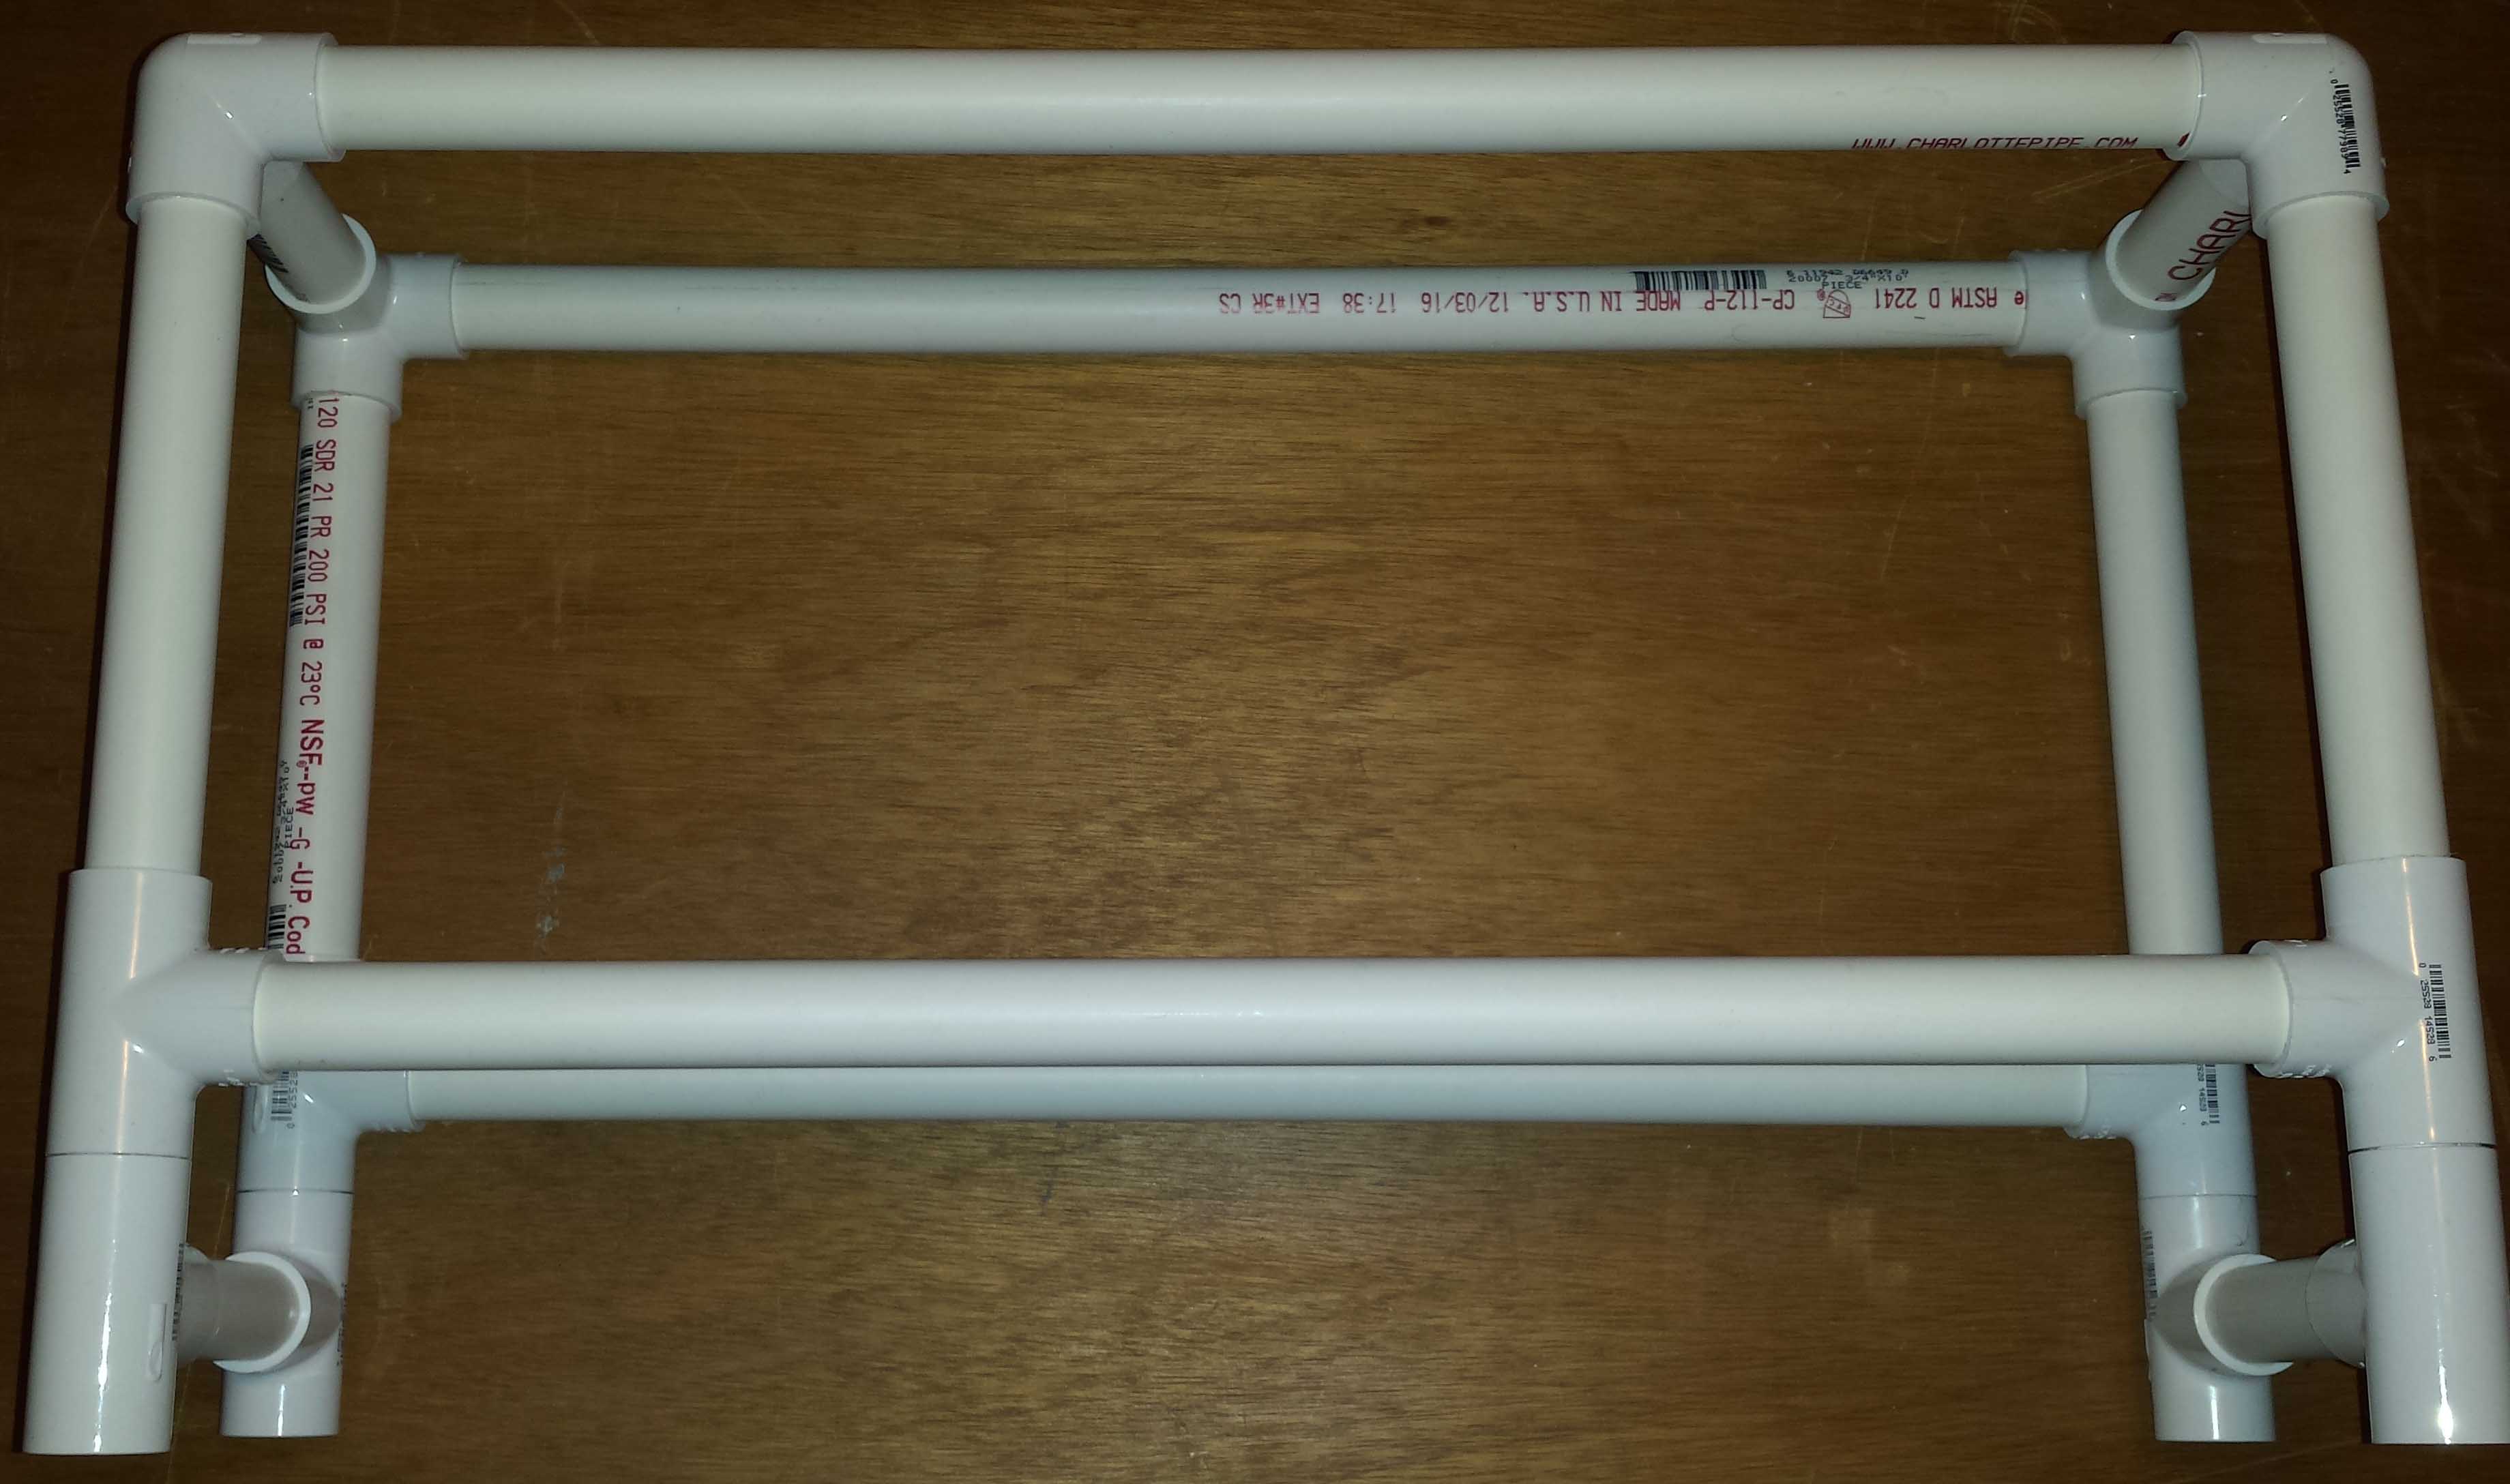
Step 1: Making the first side section. Using a toothpick, slather Goop glue into one end of (C) (the three-way corner bits) and insert one 4″ pipe. Put glue in another (C) and stick it on the other end.
Step 2: Slather glue into the middle of a Tee (D) and insert one 4″ pipe. Slather glue into the middle of another Tee and stick it onto the 4″ pipe. Then line this section up so it is the same length as in step one. (Goop glue doesn’t dry instantly, so you have a little time to adjust all of your angles, then when you’ve completed all the steps, you will let the frame dry for 24 hours.)
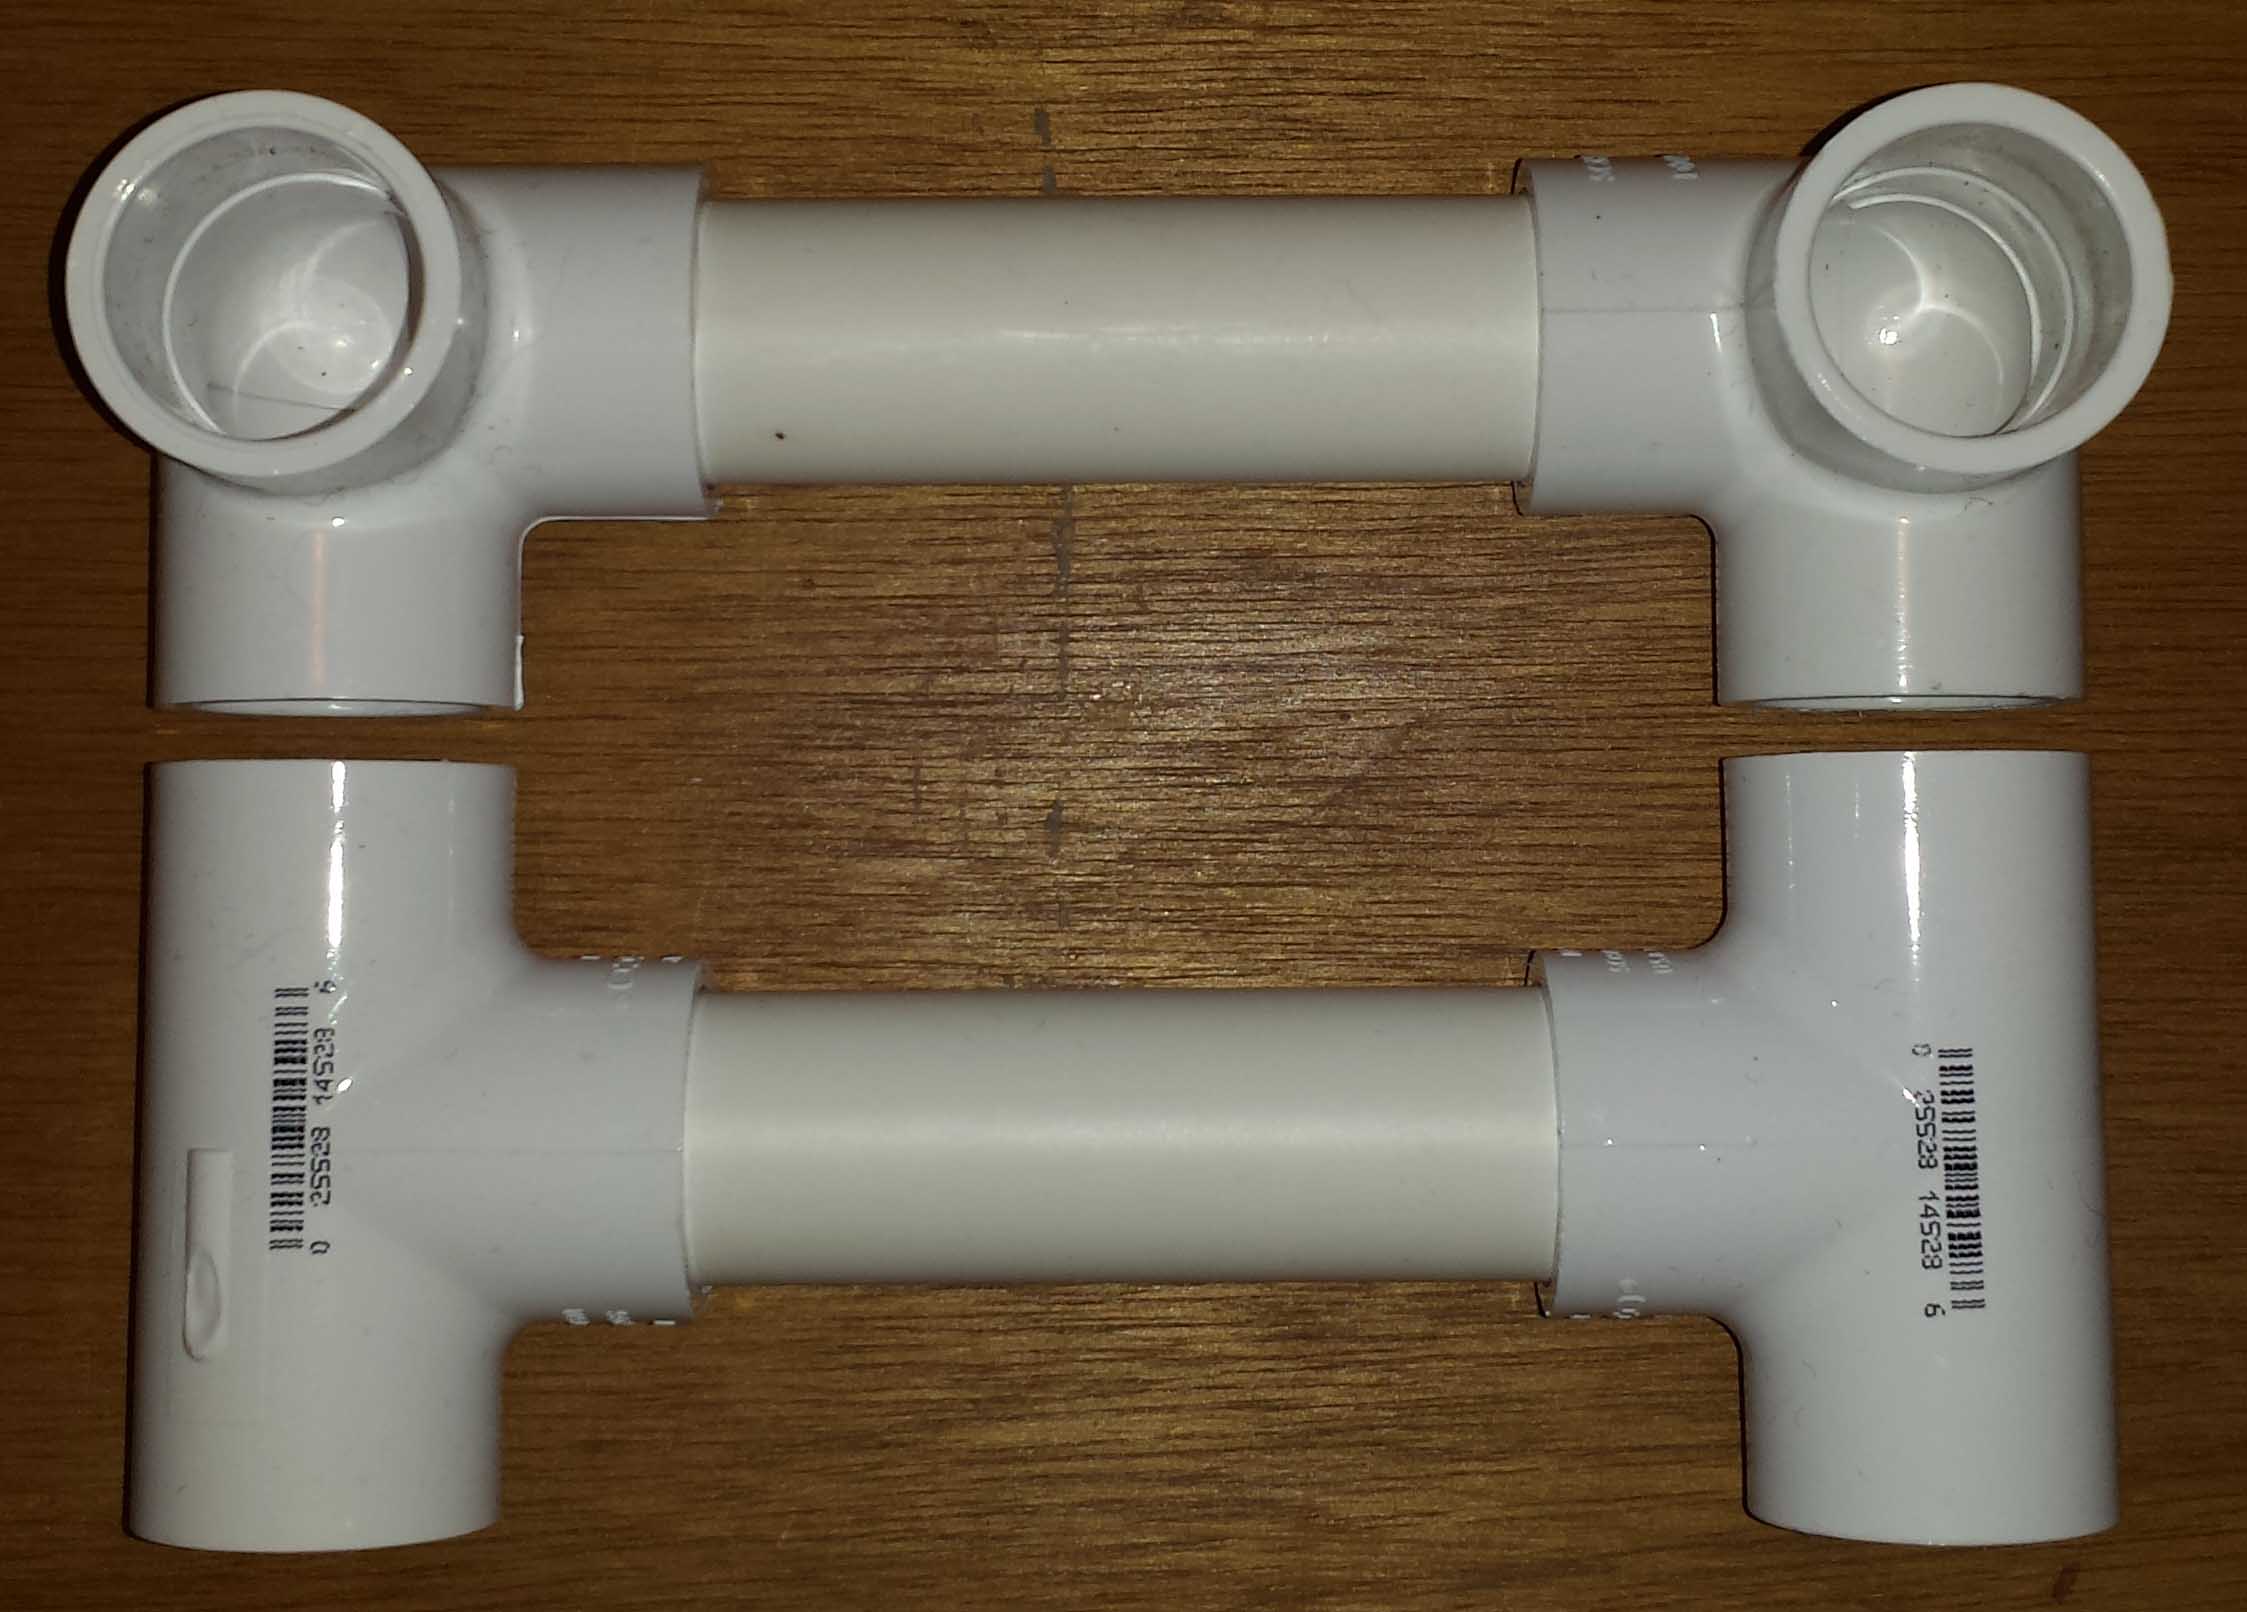
Step 3: (Now the view is sideways, adding to the two pieces you made in steps 1 and 2) Slather glue in the bottom of both (C) units, and insert a 8″ pipe in each.
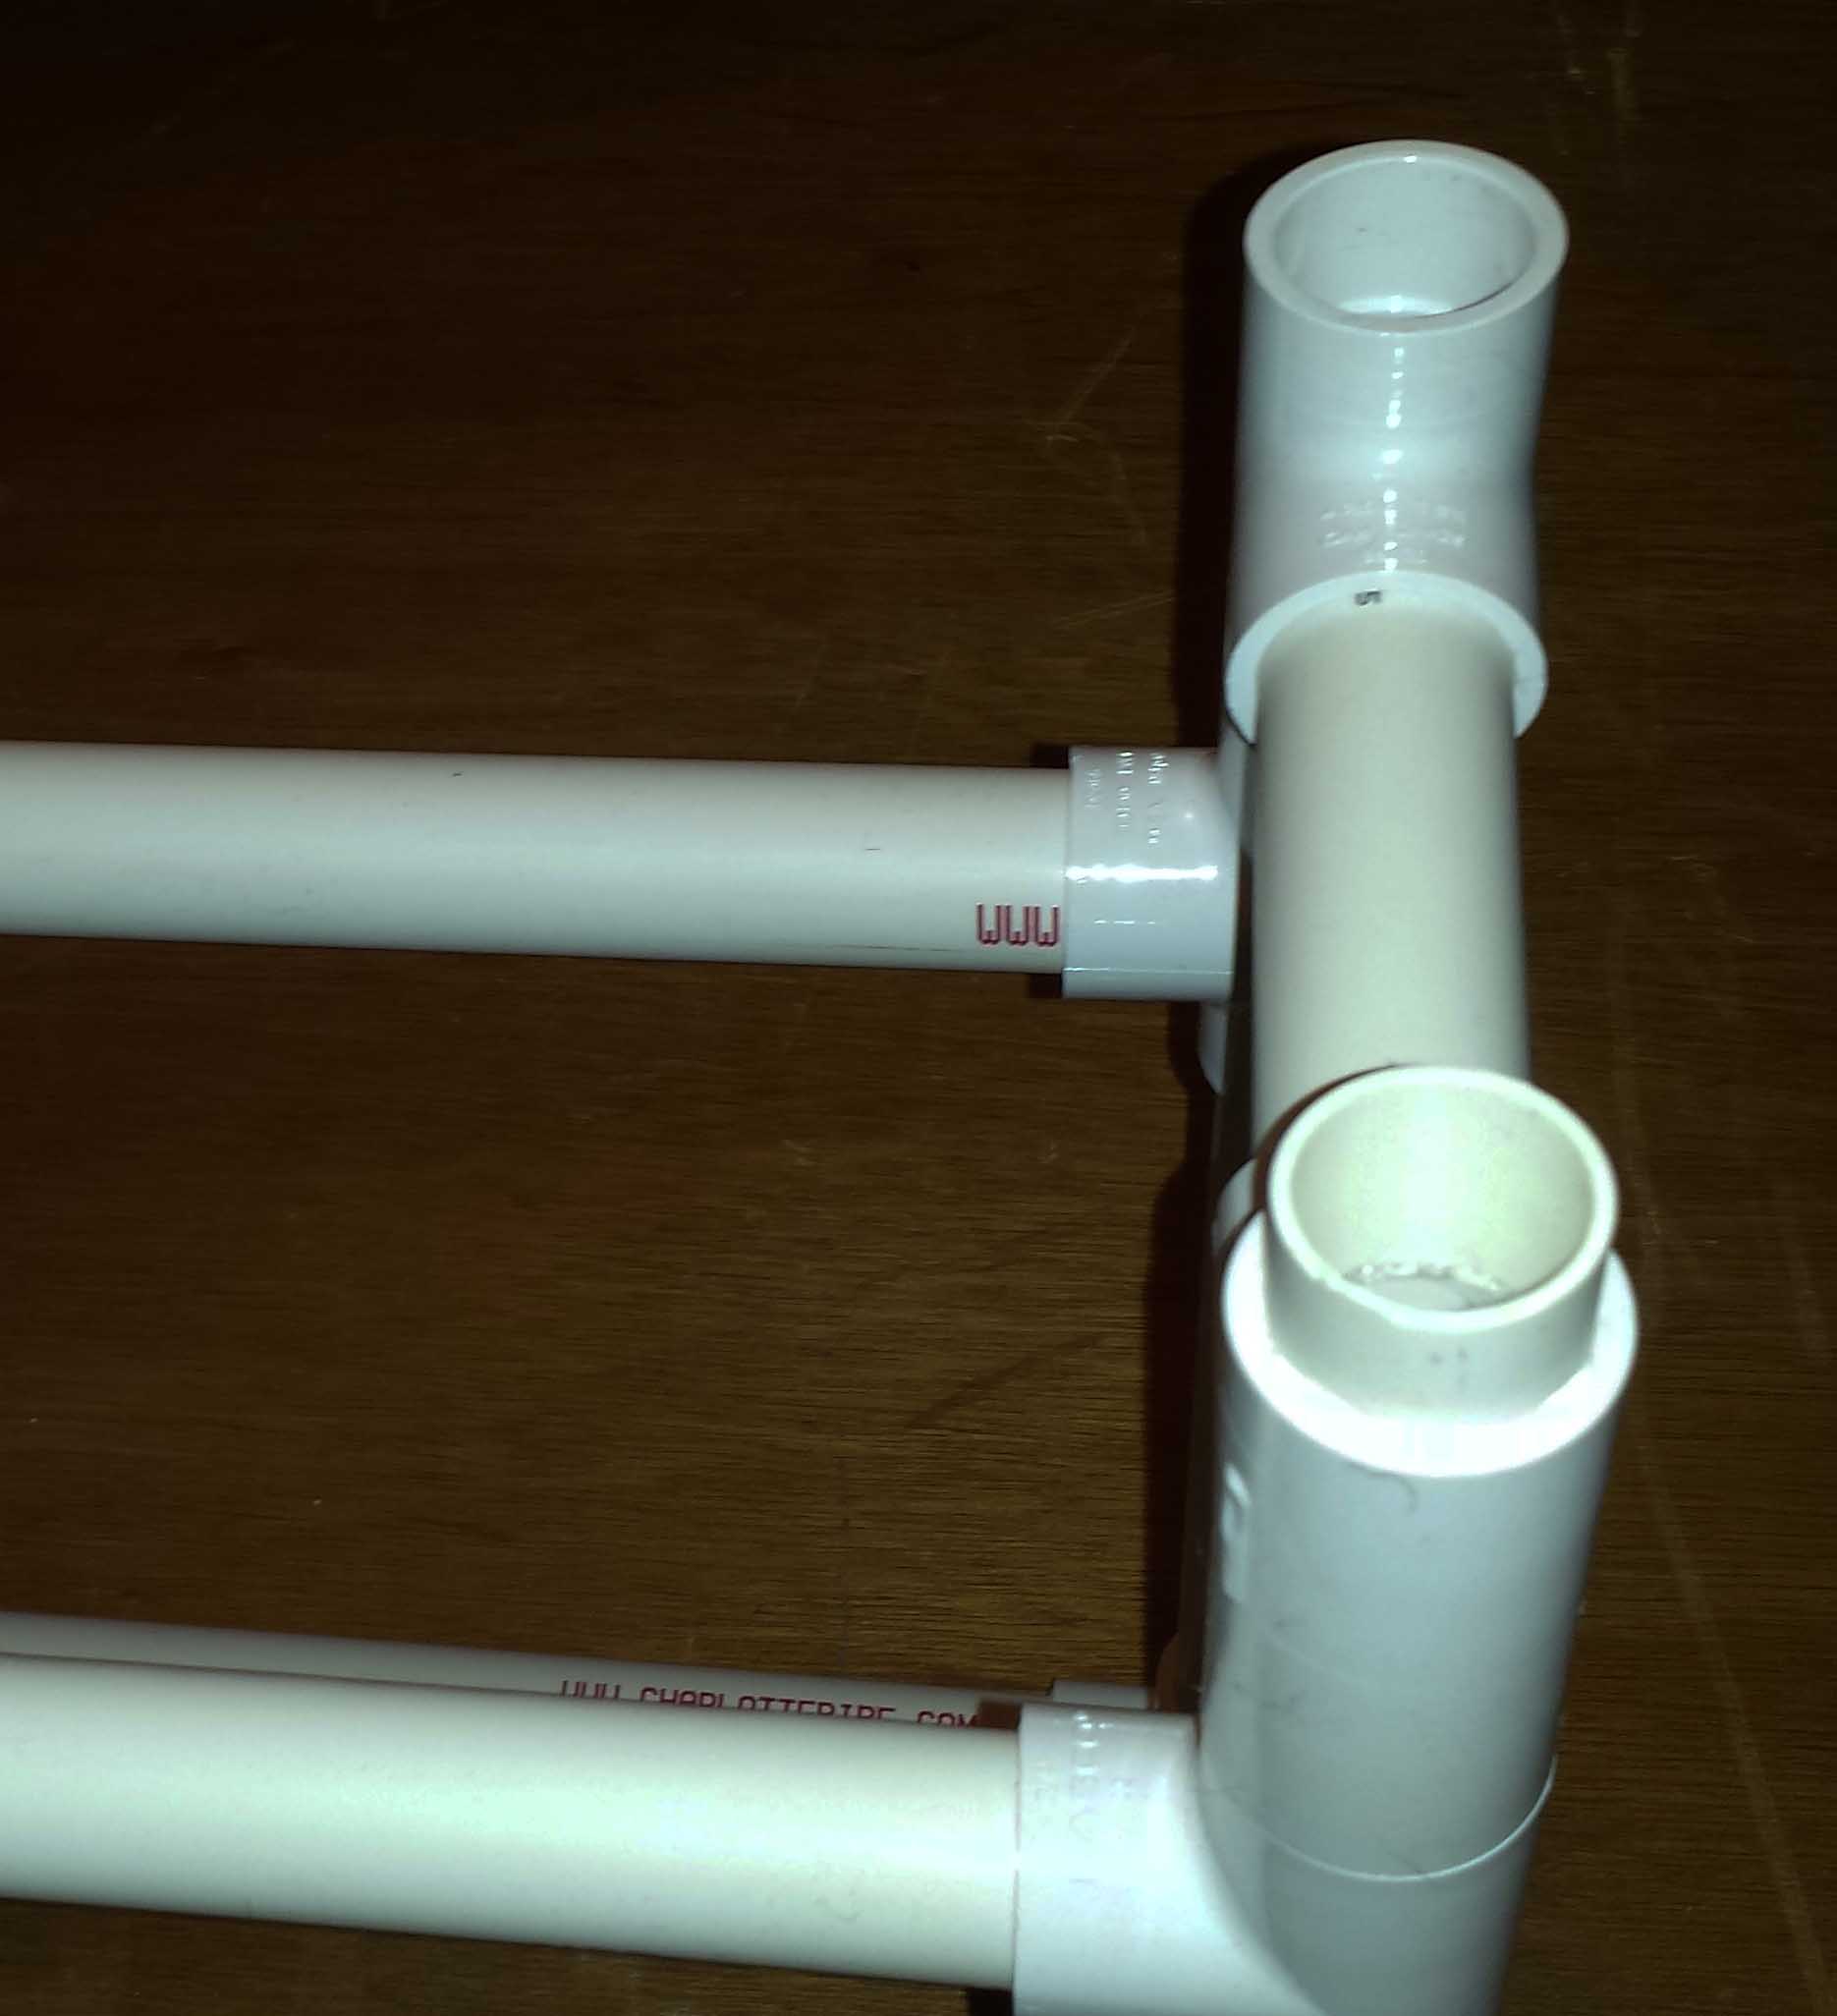
Step 4: Slather glue into the end of a Tee (D) and stick it on the 8″ pipe. Repeat for the other 8″ pipe. Line the middle holes of the Tees so they stick straight up.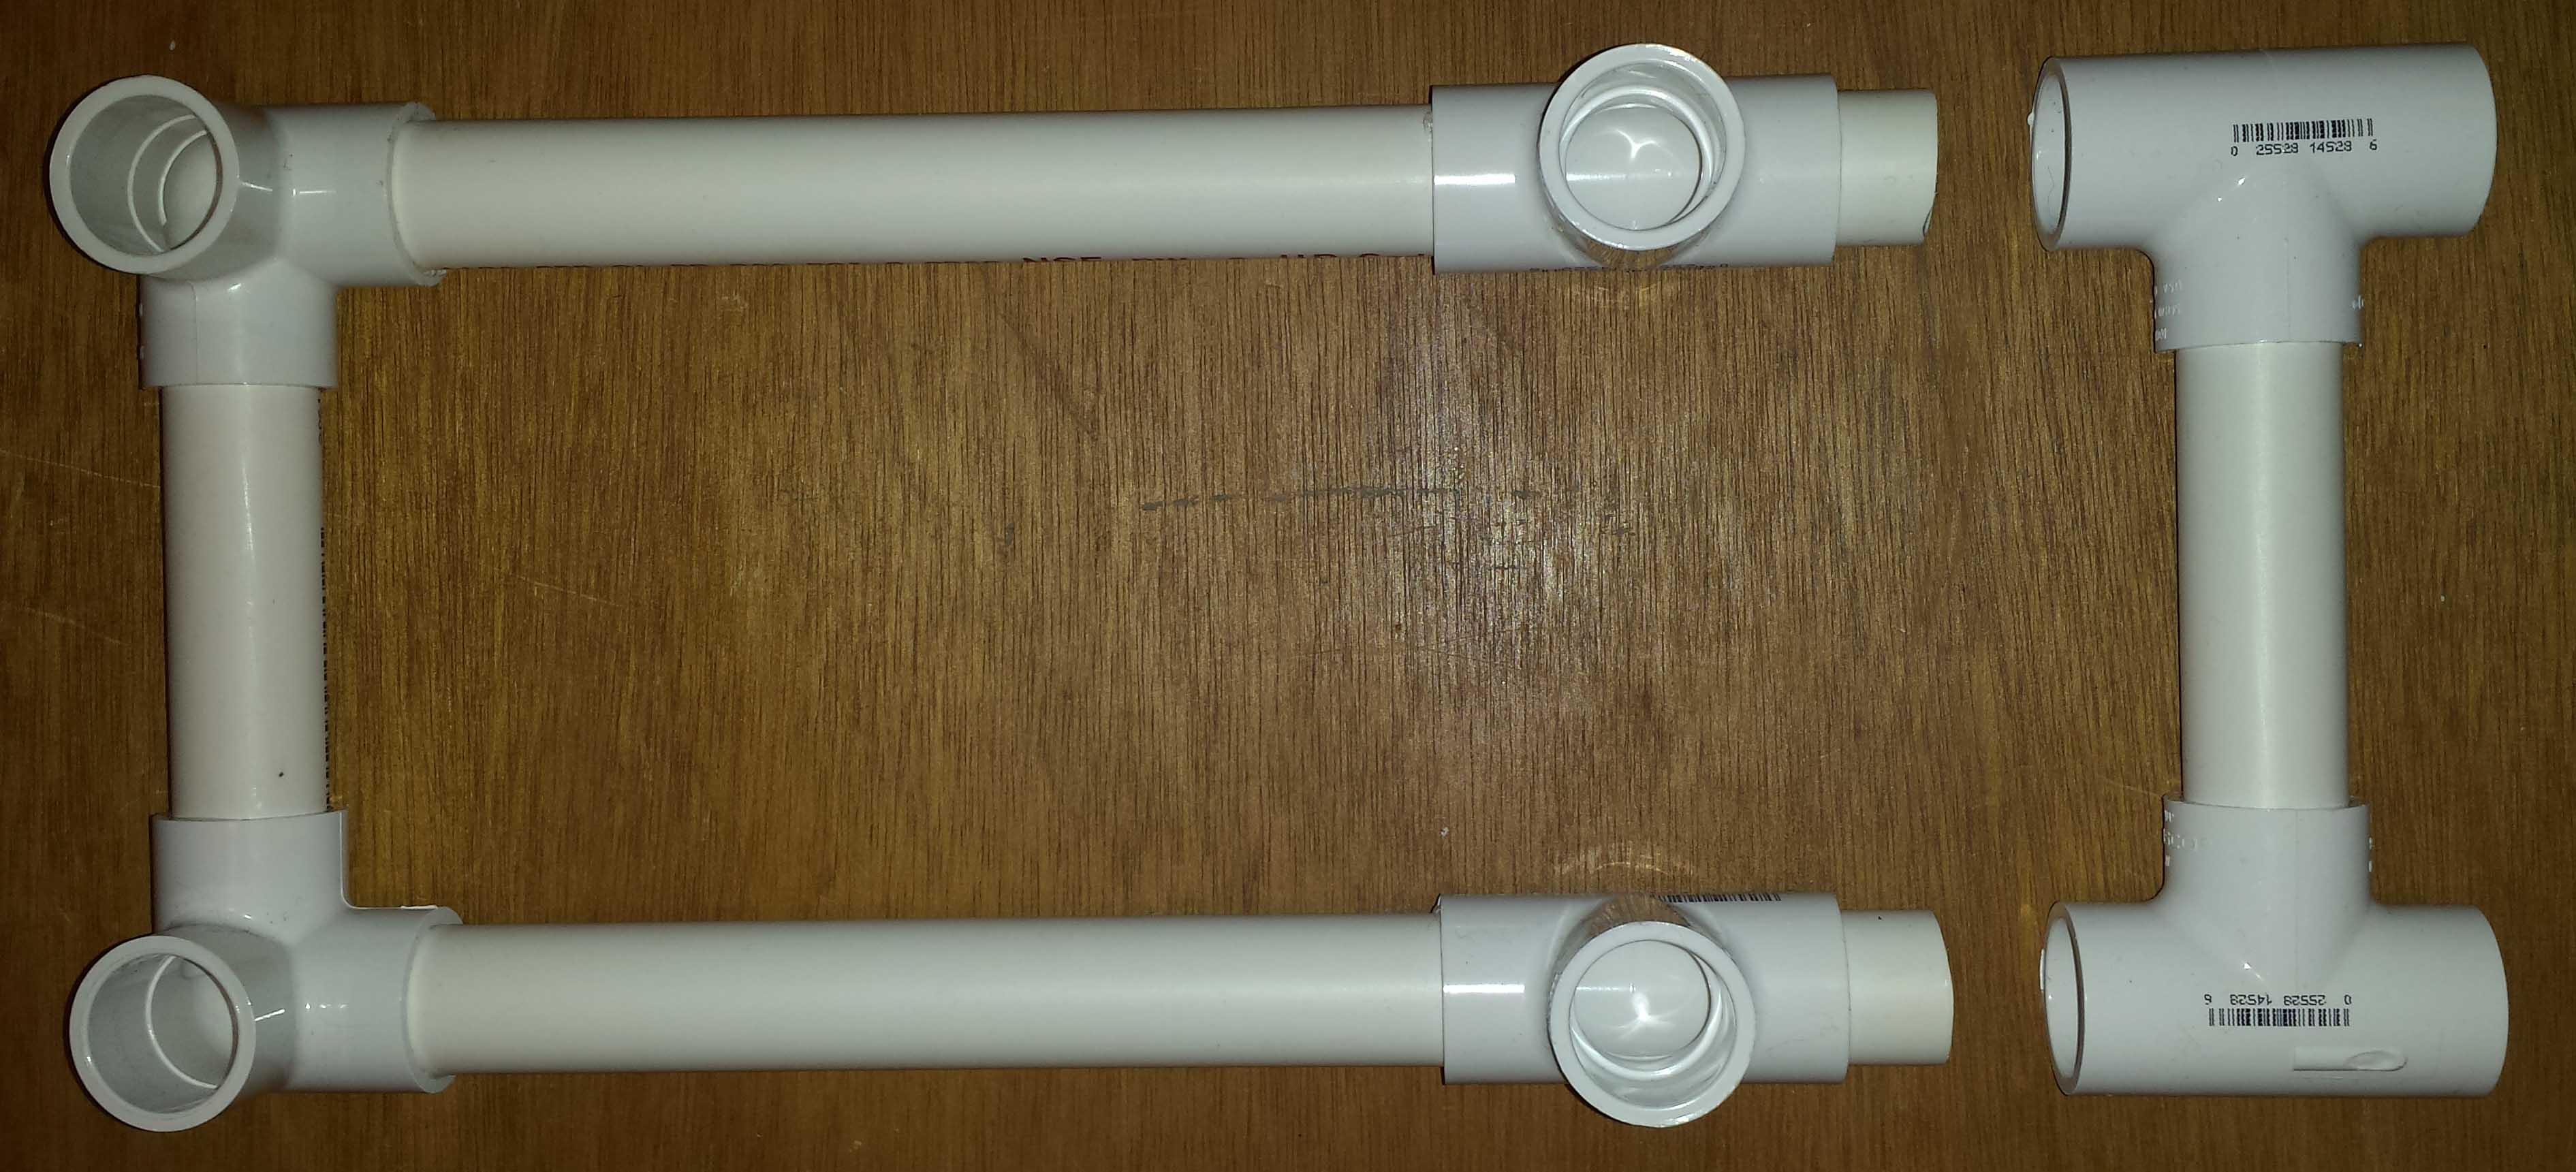
Step 5: Slather glue into the other end of the Tee in step 4, and insert a 1″ pipe. Repeat this for the other 8″ pipe side.
Step 6: Slather glue into the end of the Tee to connect the bottom of the side section to the top. Repeat this for the other Tee on the bottom. Repeat steps 1-6 to create the other side section.
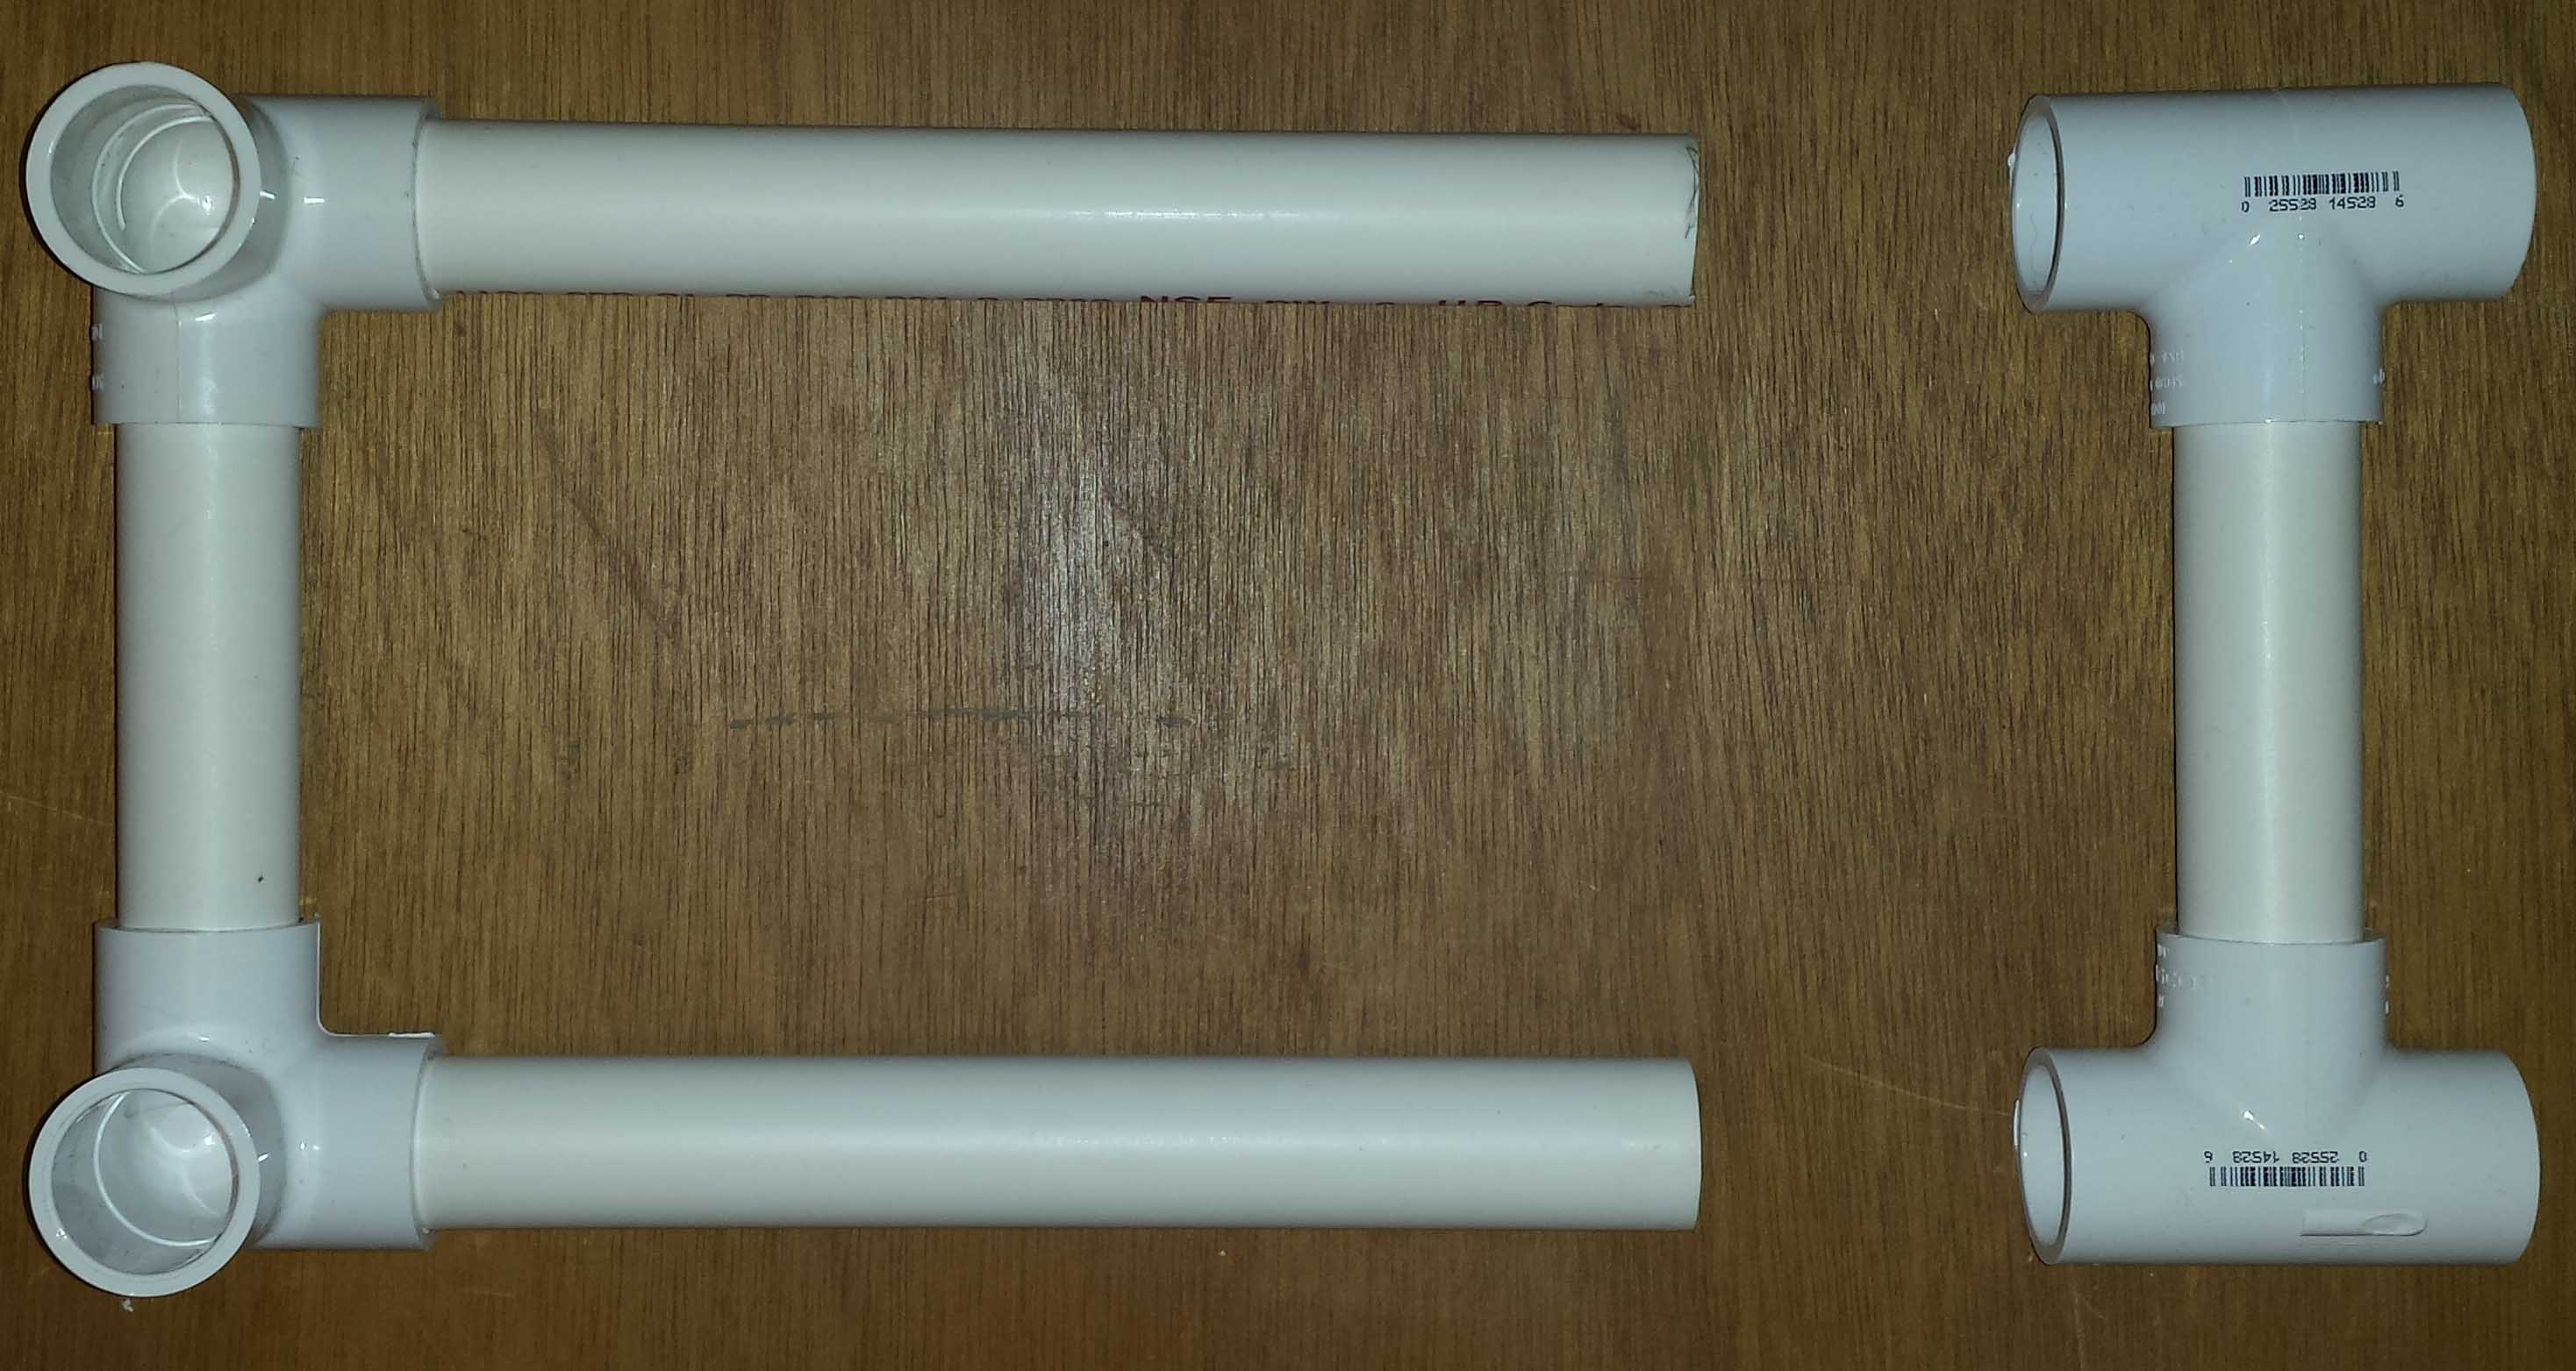
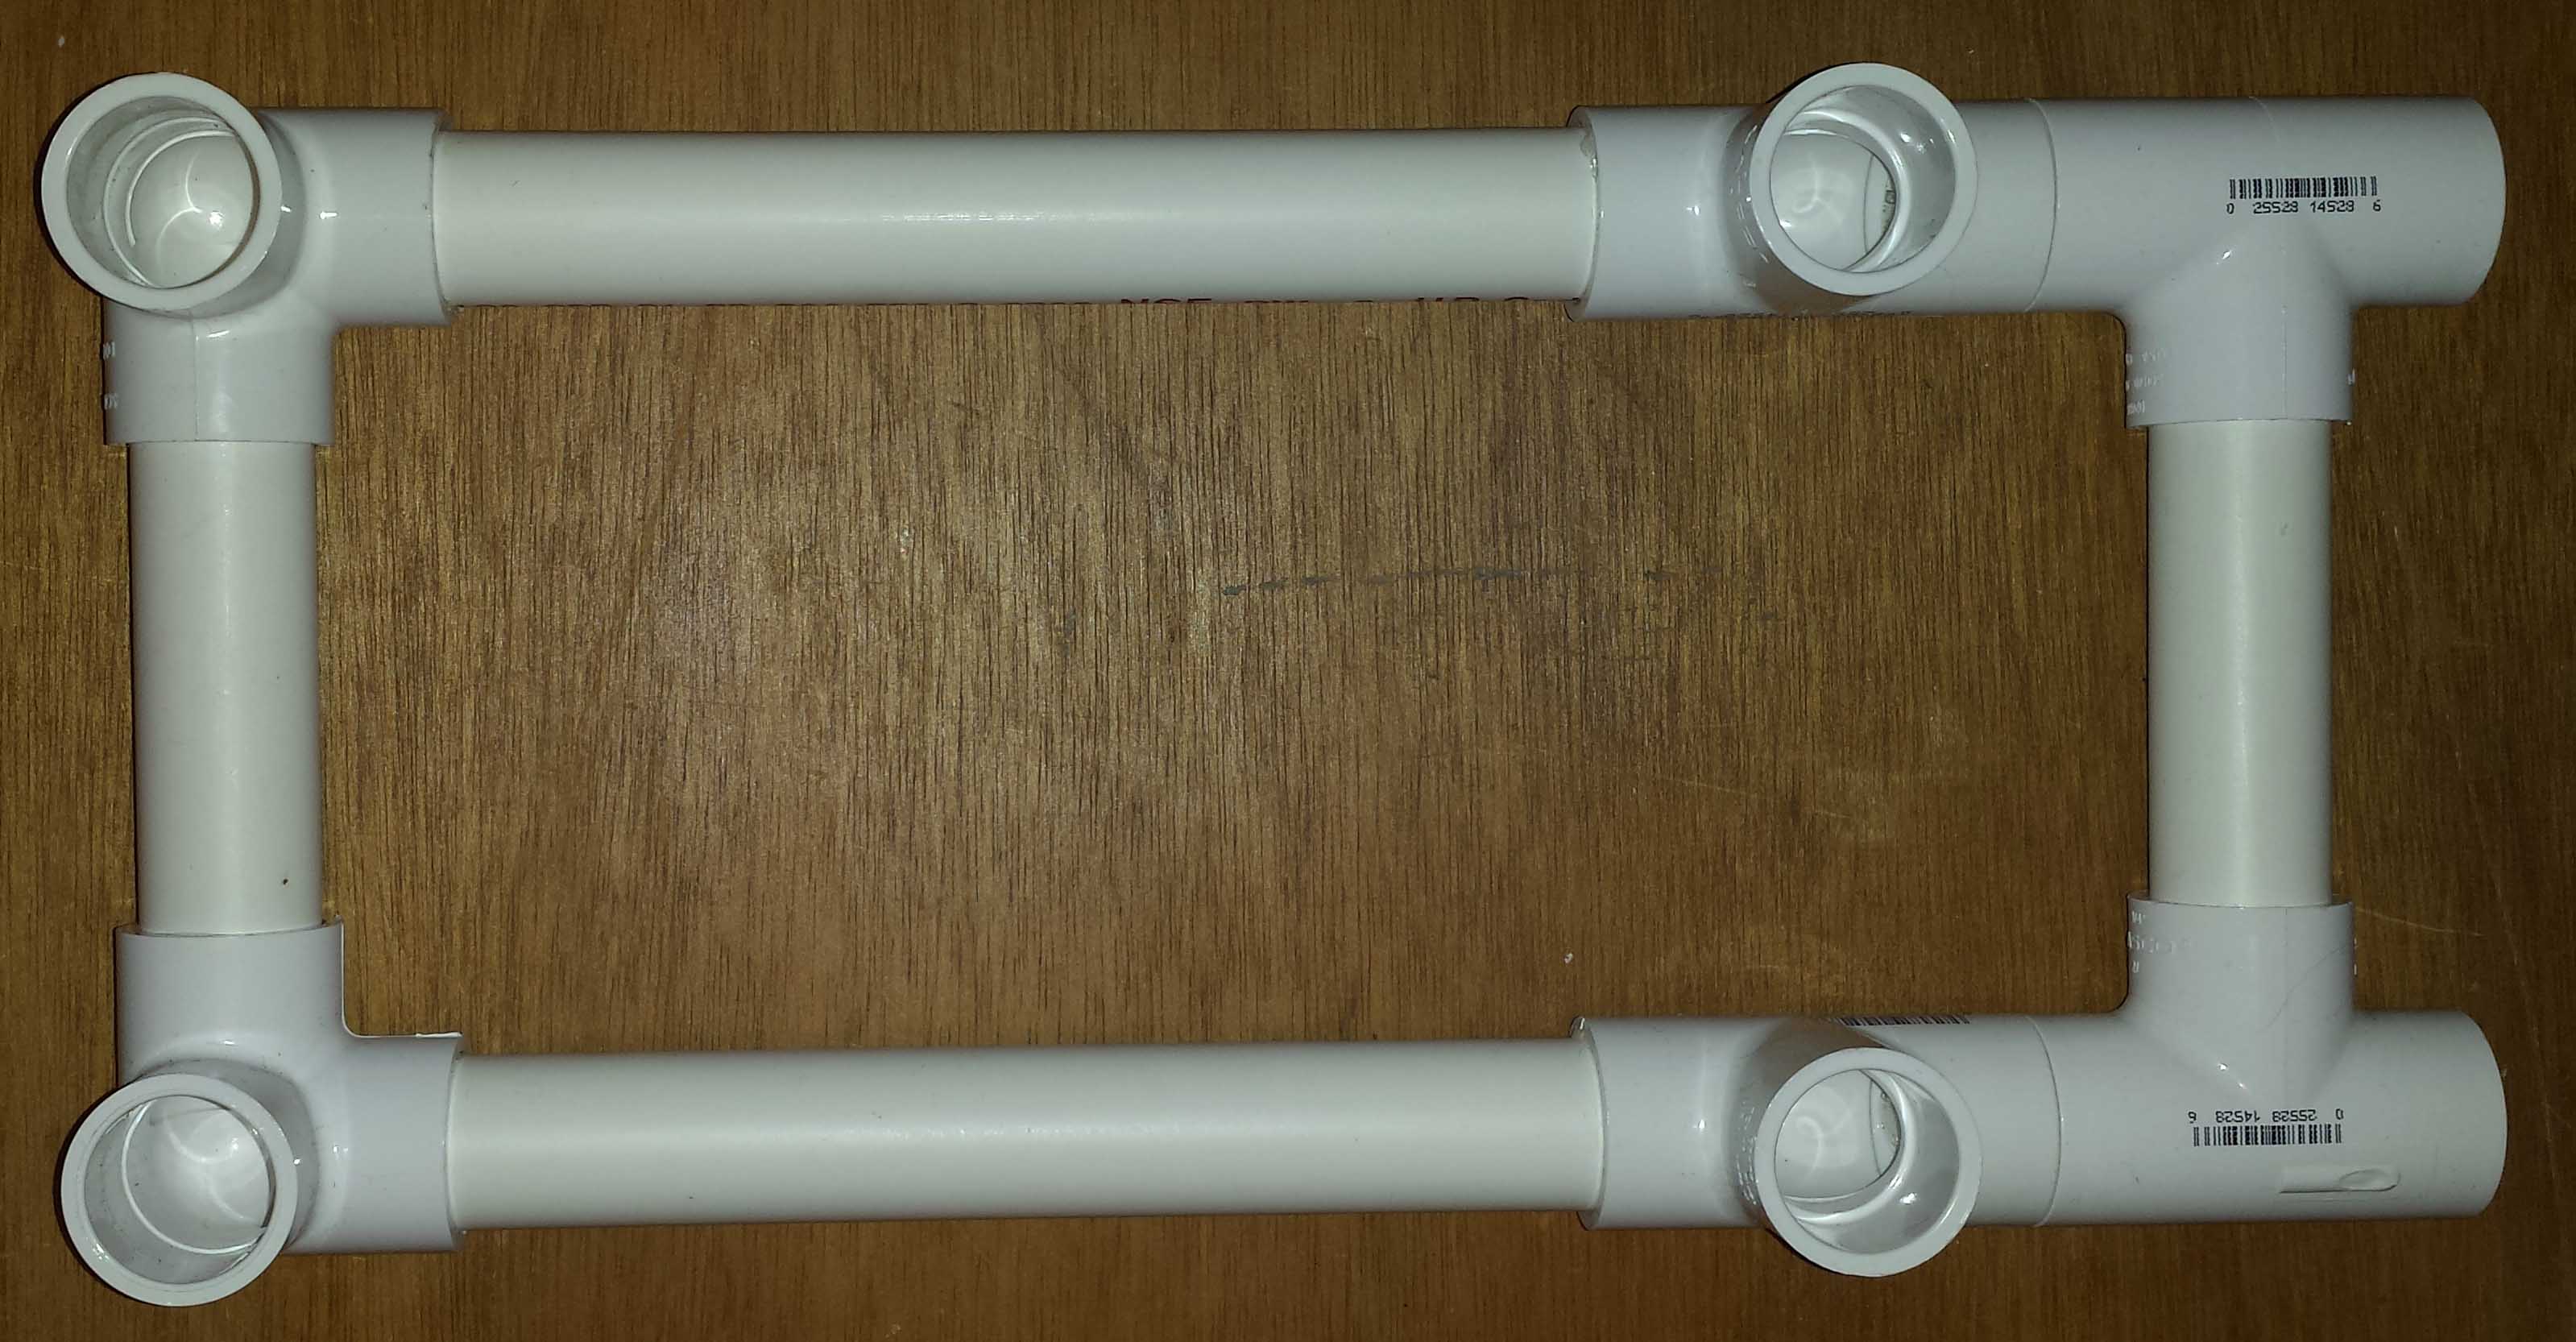
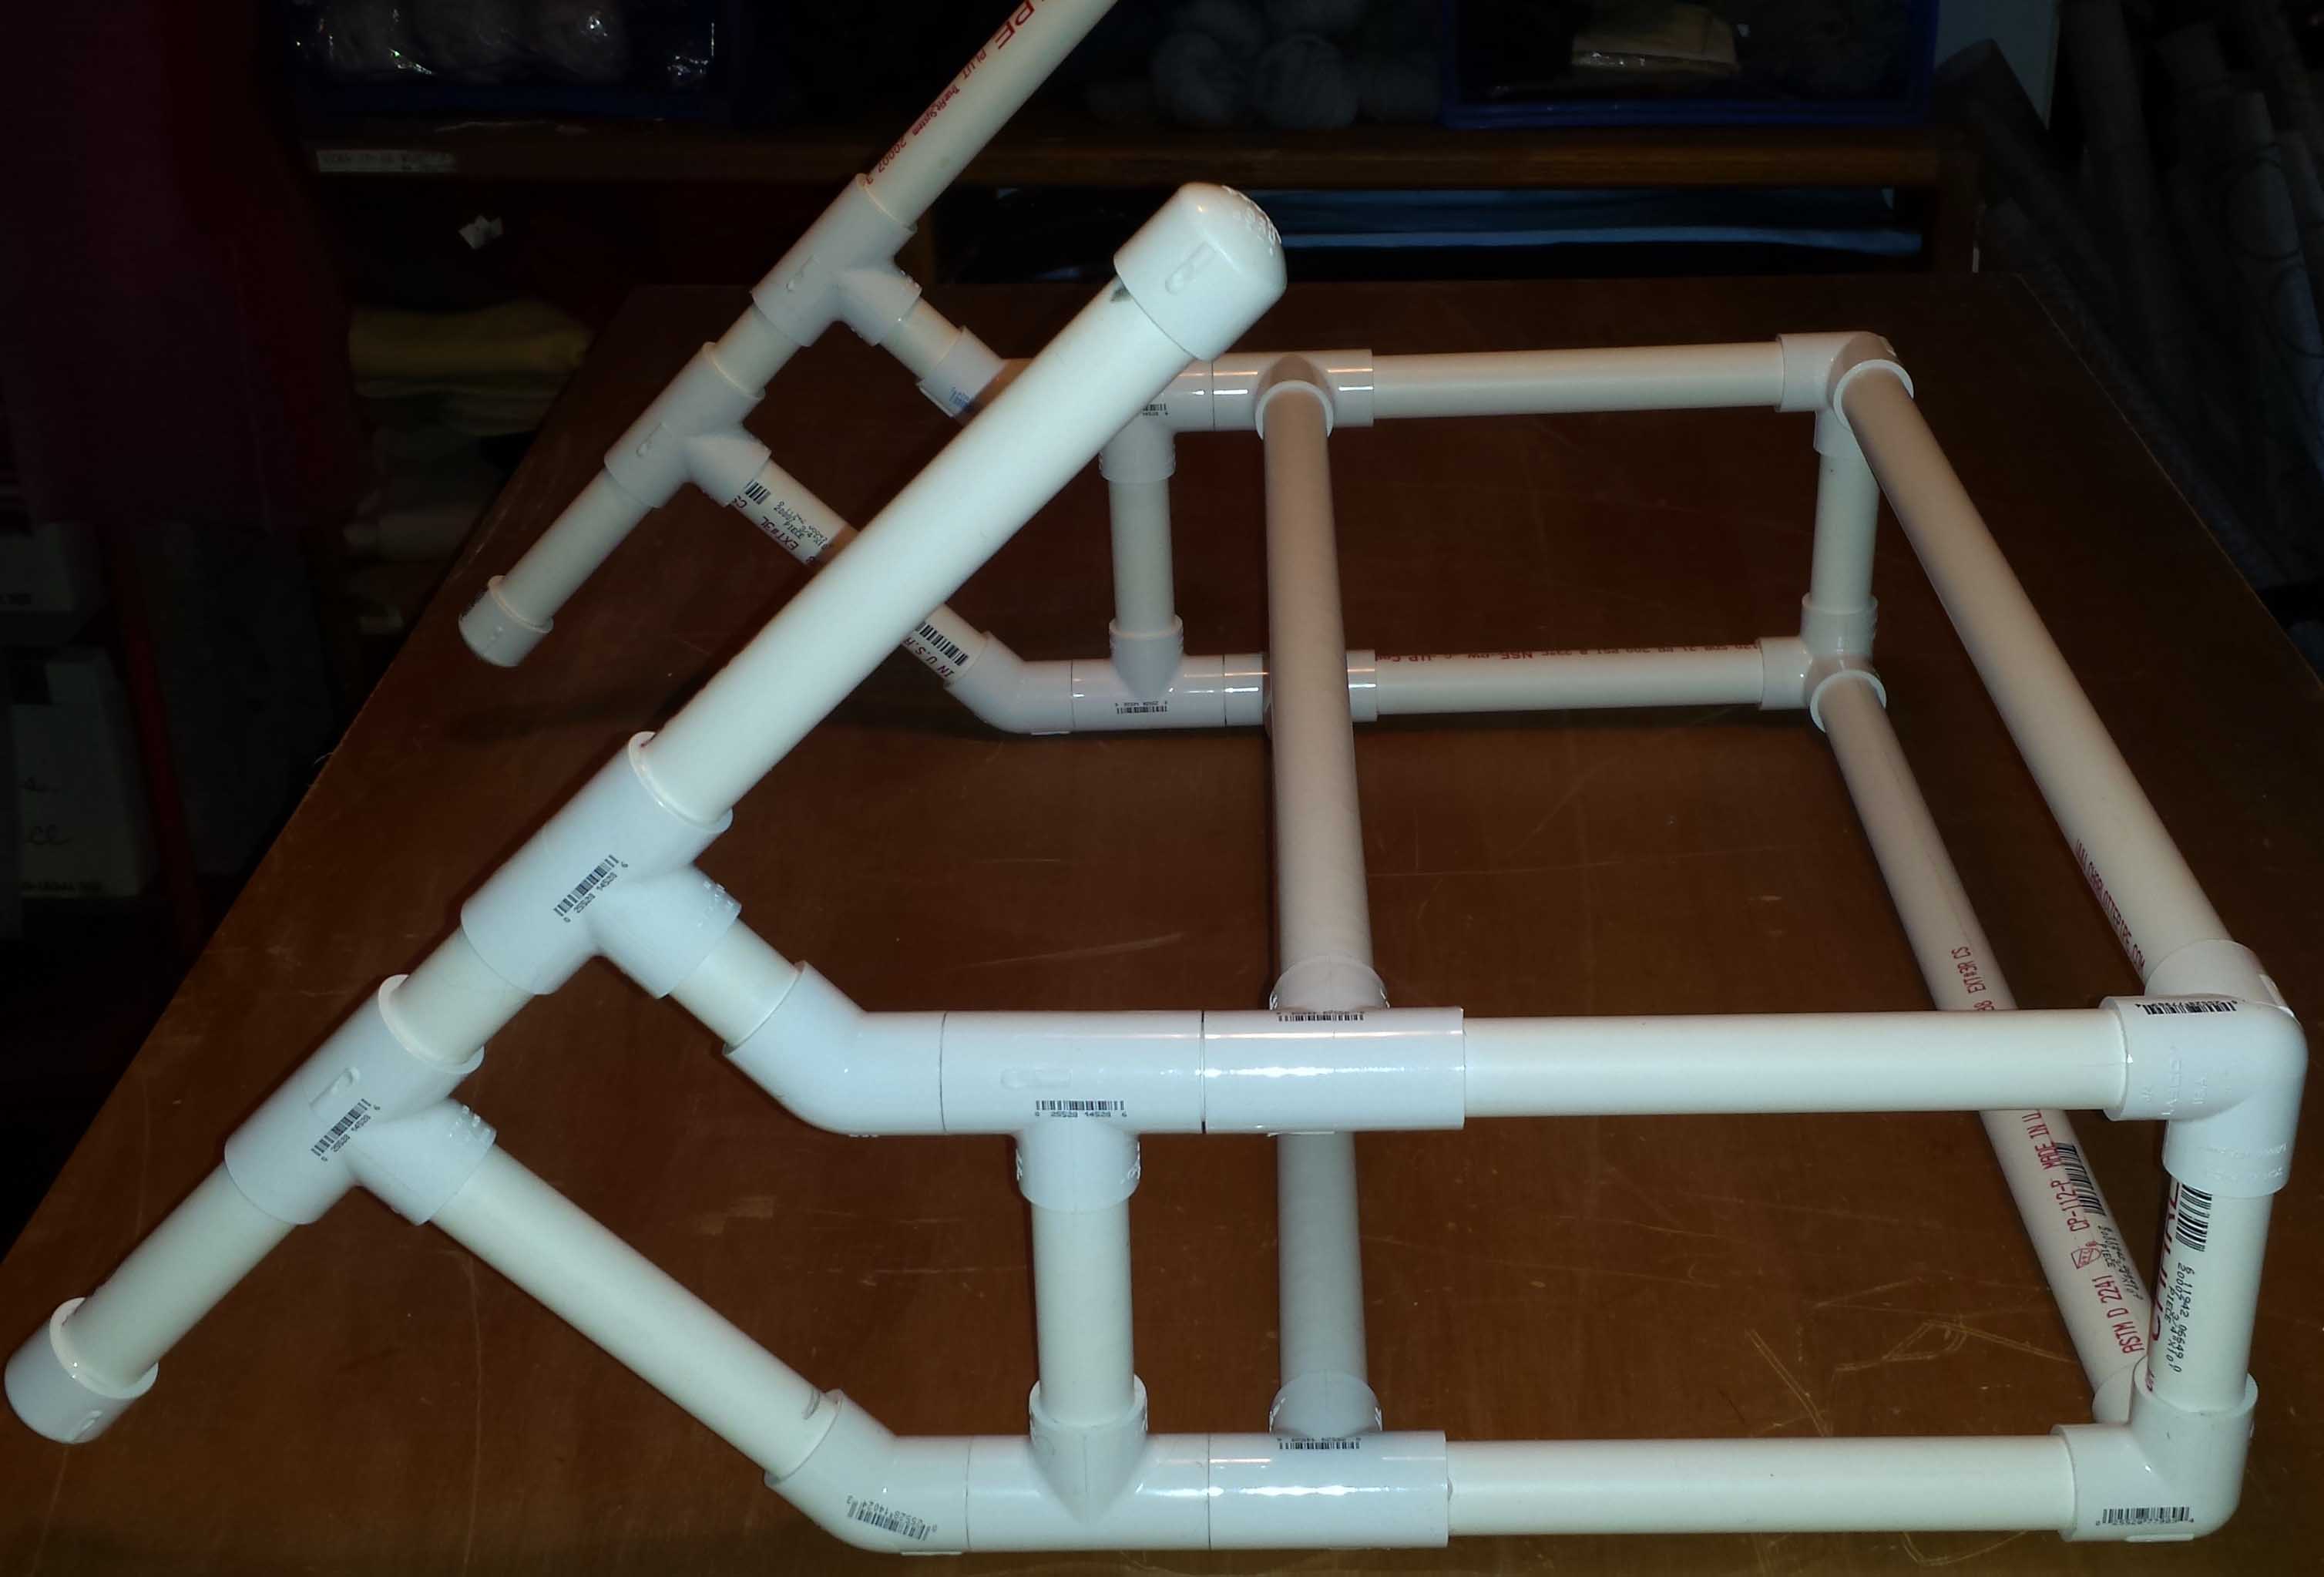
Step 7: Lay the side sections together, and adjust the angles so the openings line up and everything seems square.
Step 8: Insert your cross-bars (20″ pipe) into one of the side sections. NOTE: DO NOT GLUE THE CROSS-BARS. Just slip them into place. This way, the frame is collapsible and can fit into your rug hooking bag.
Step 9: Slip the other side section on the other end of the cross-bars. Turn the frame section so the open Tees are on top.
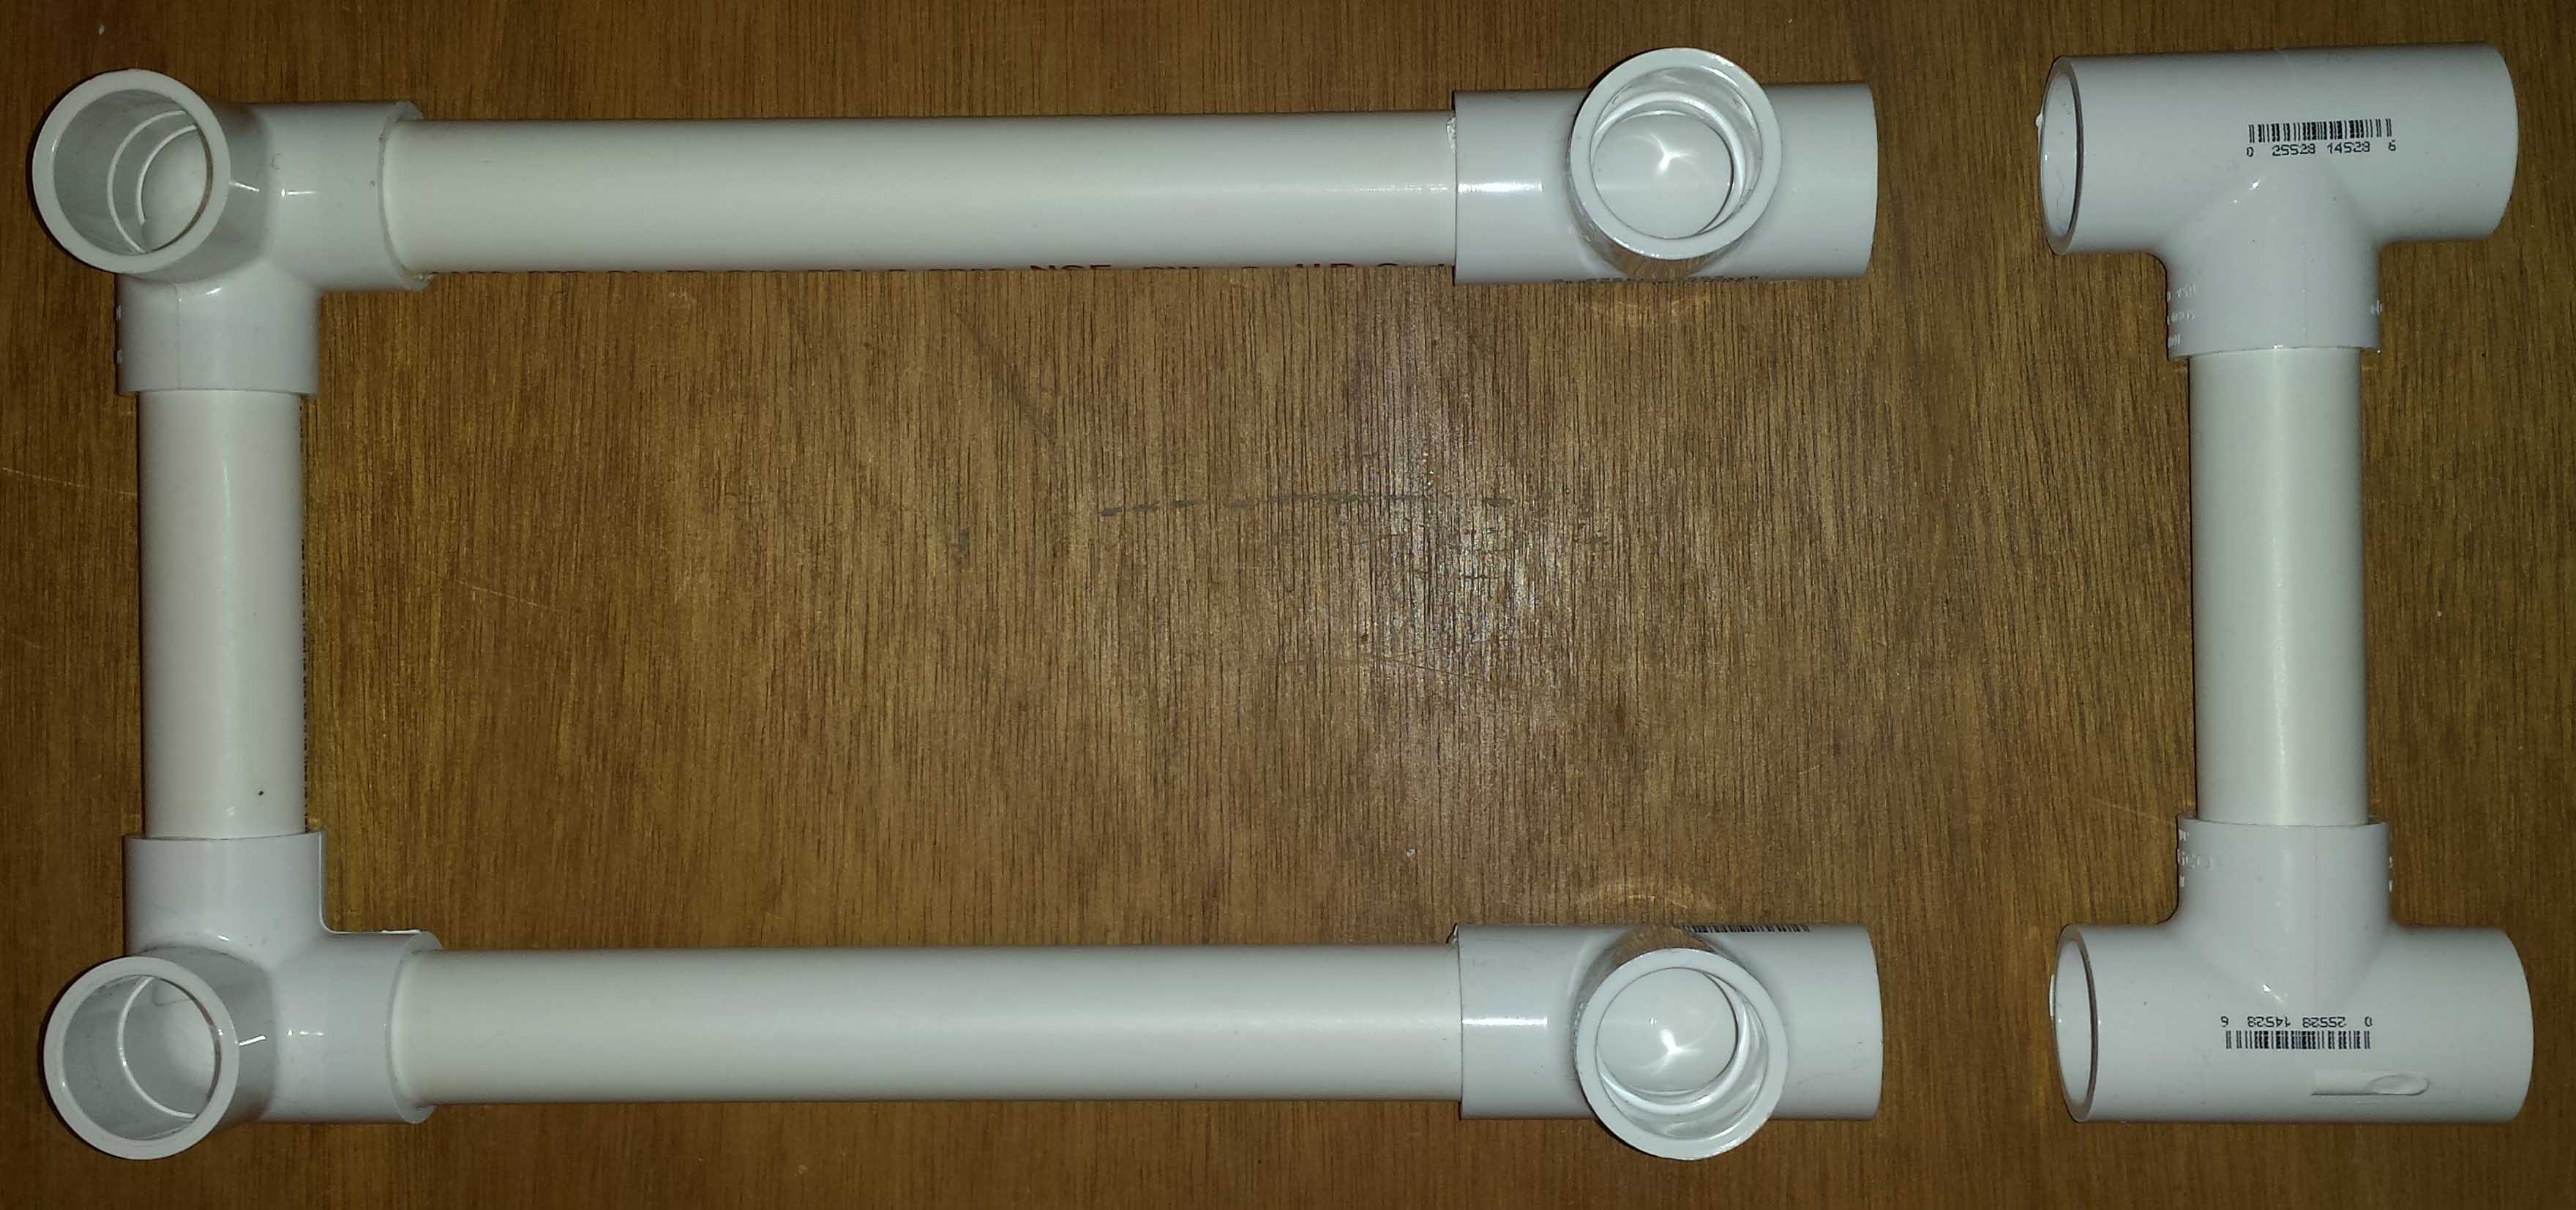
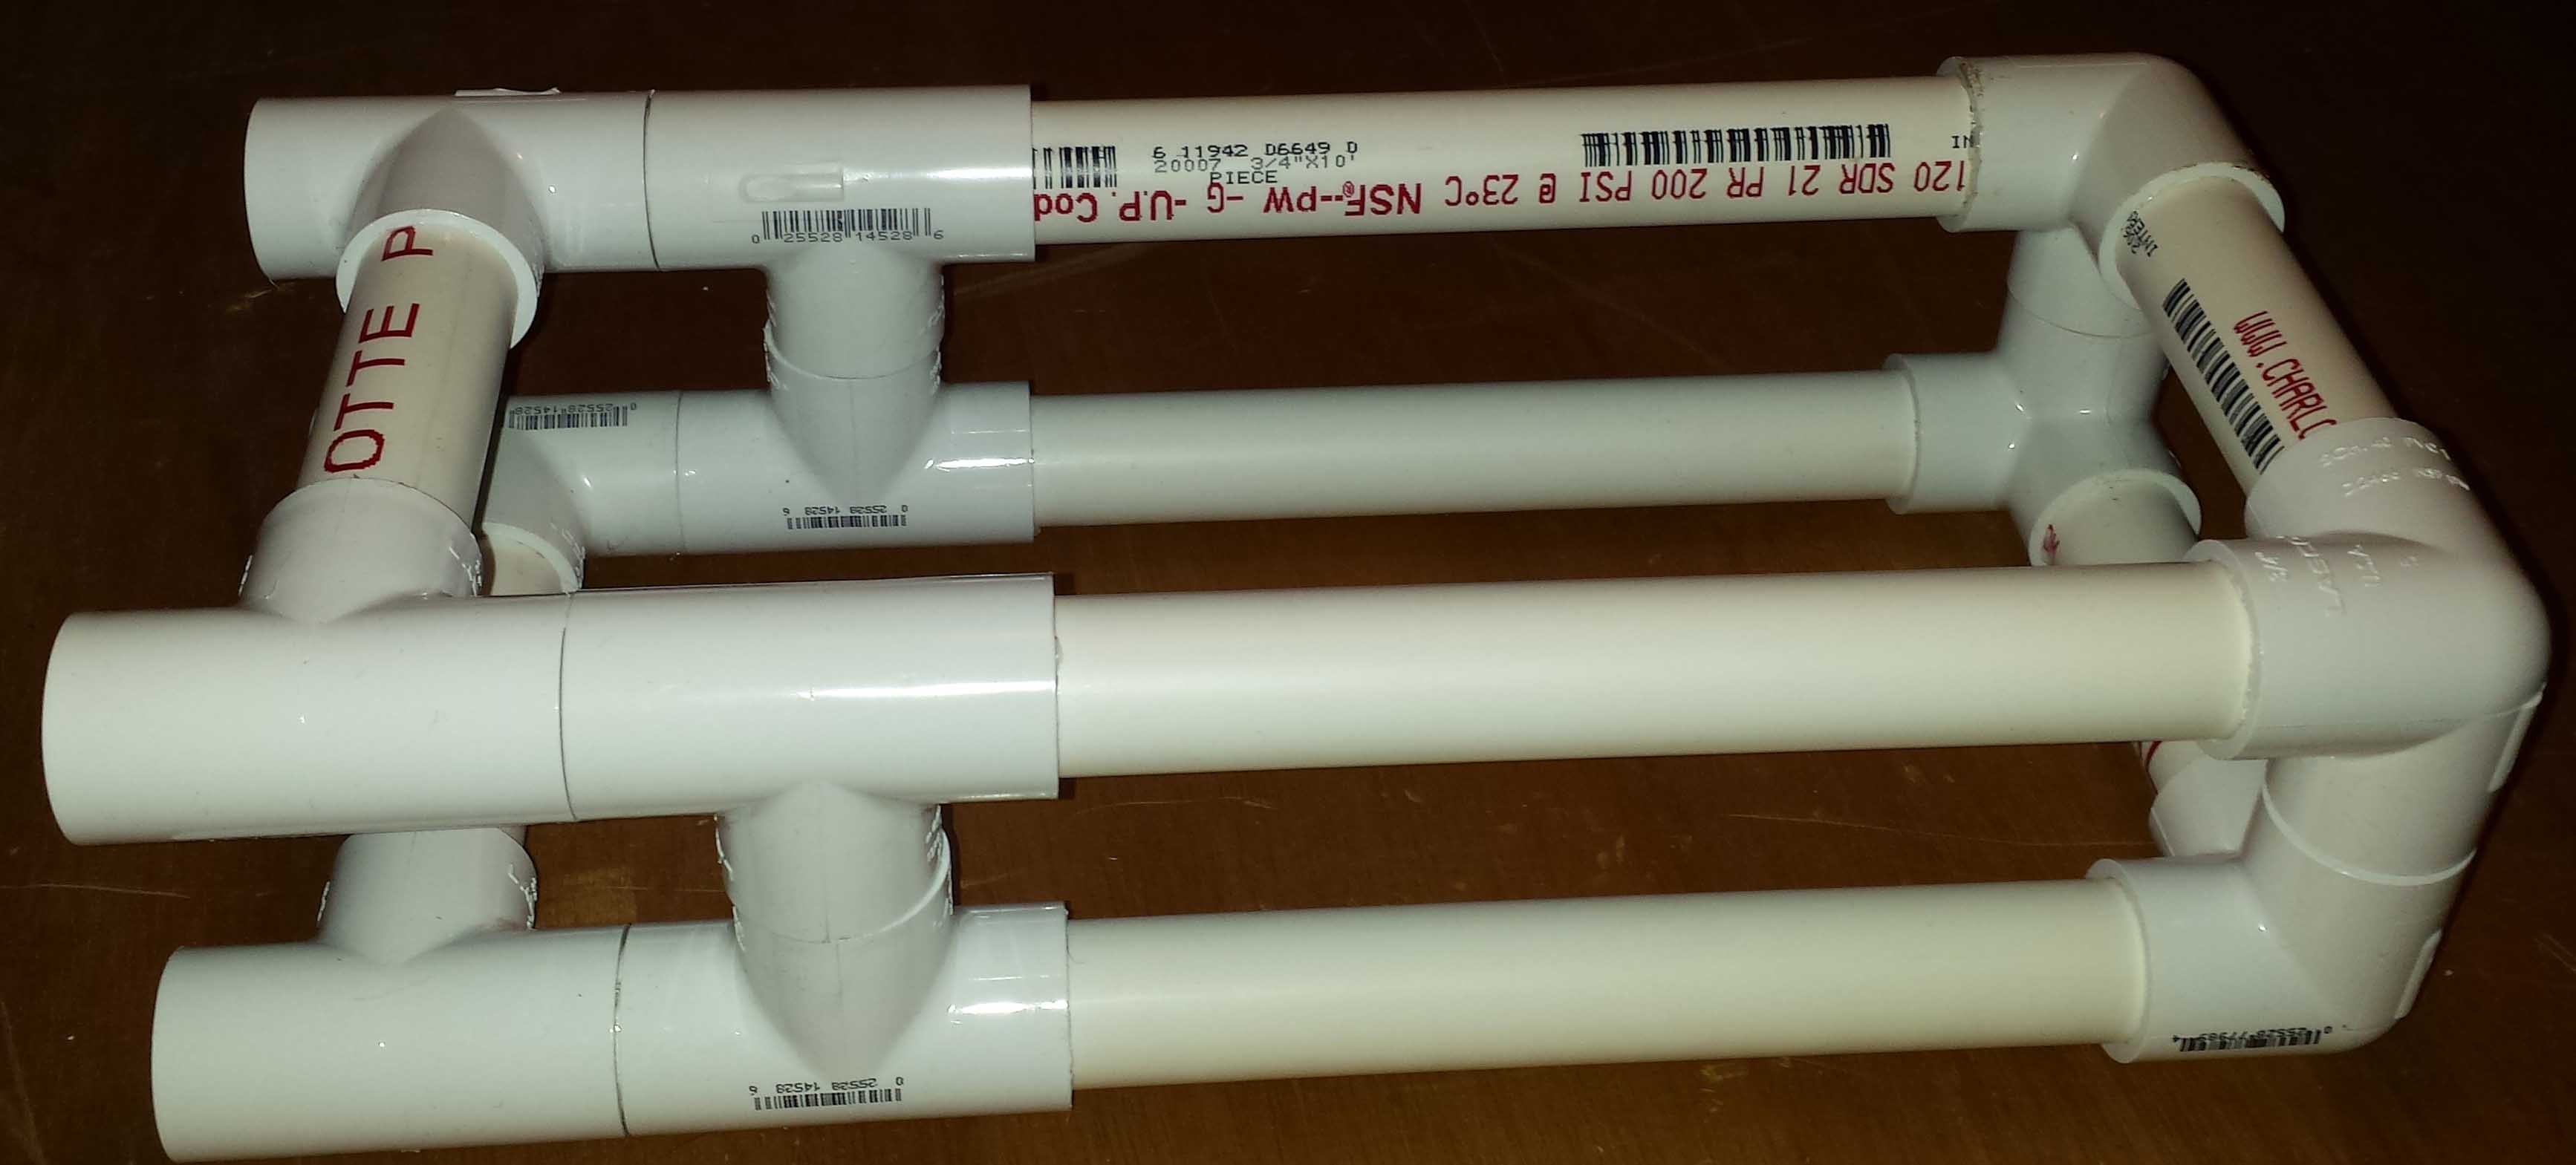
Step 10: Slather glue into one of the open Tee’s and insert a 1″ pipe. Repeat this for the other three open Tees. (In the photo above, the Tee in front has the 1″ pipe, the one in the back doesn’t.)
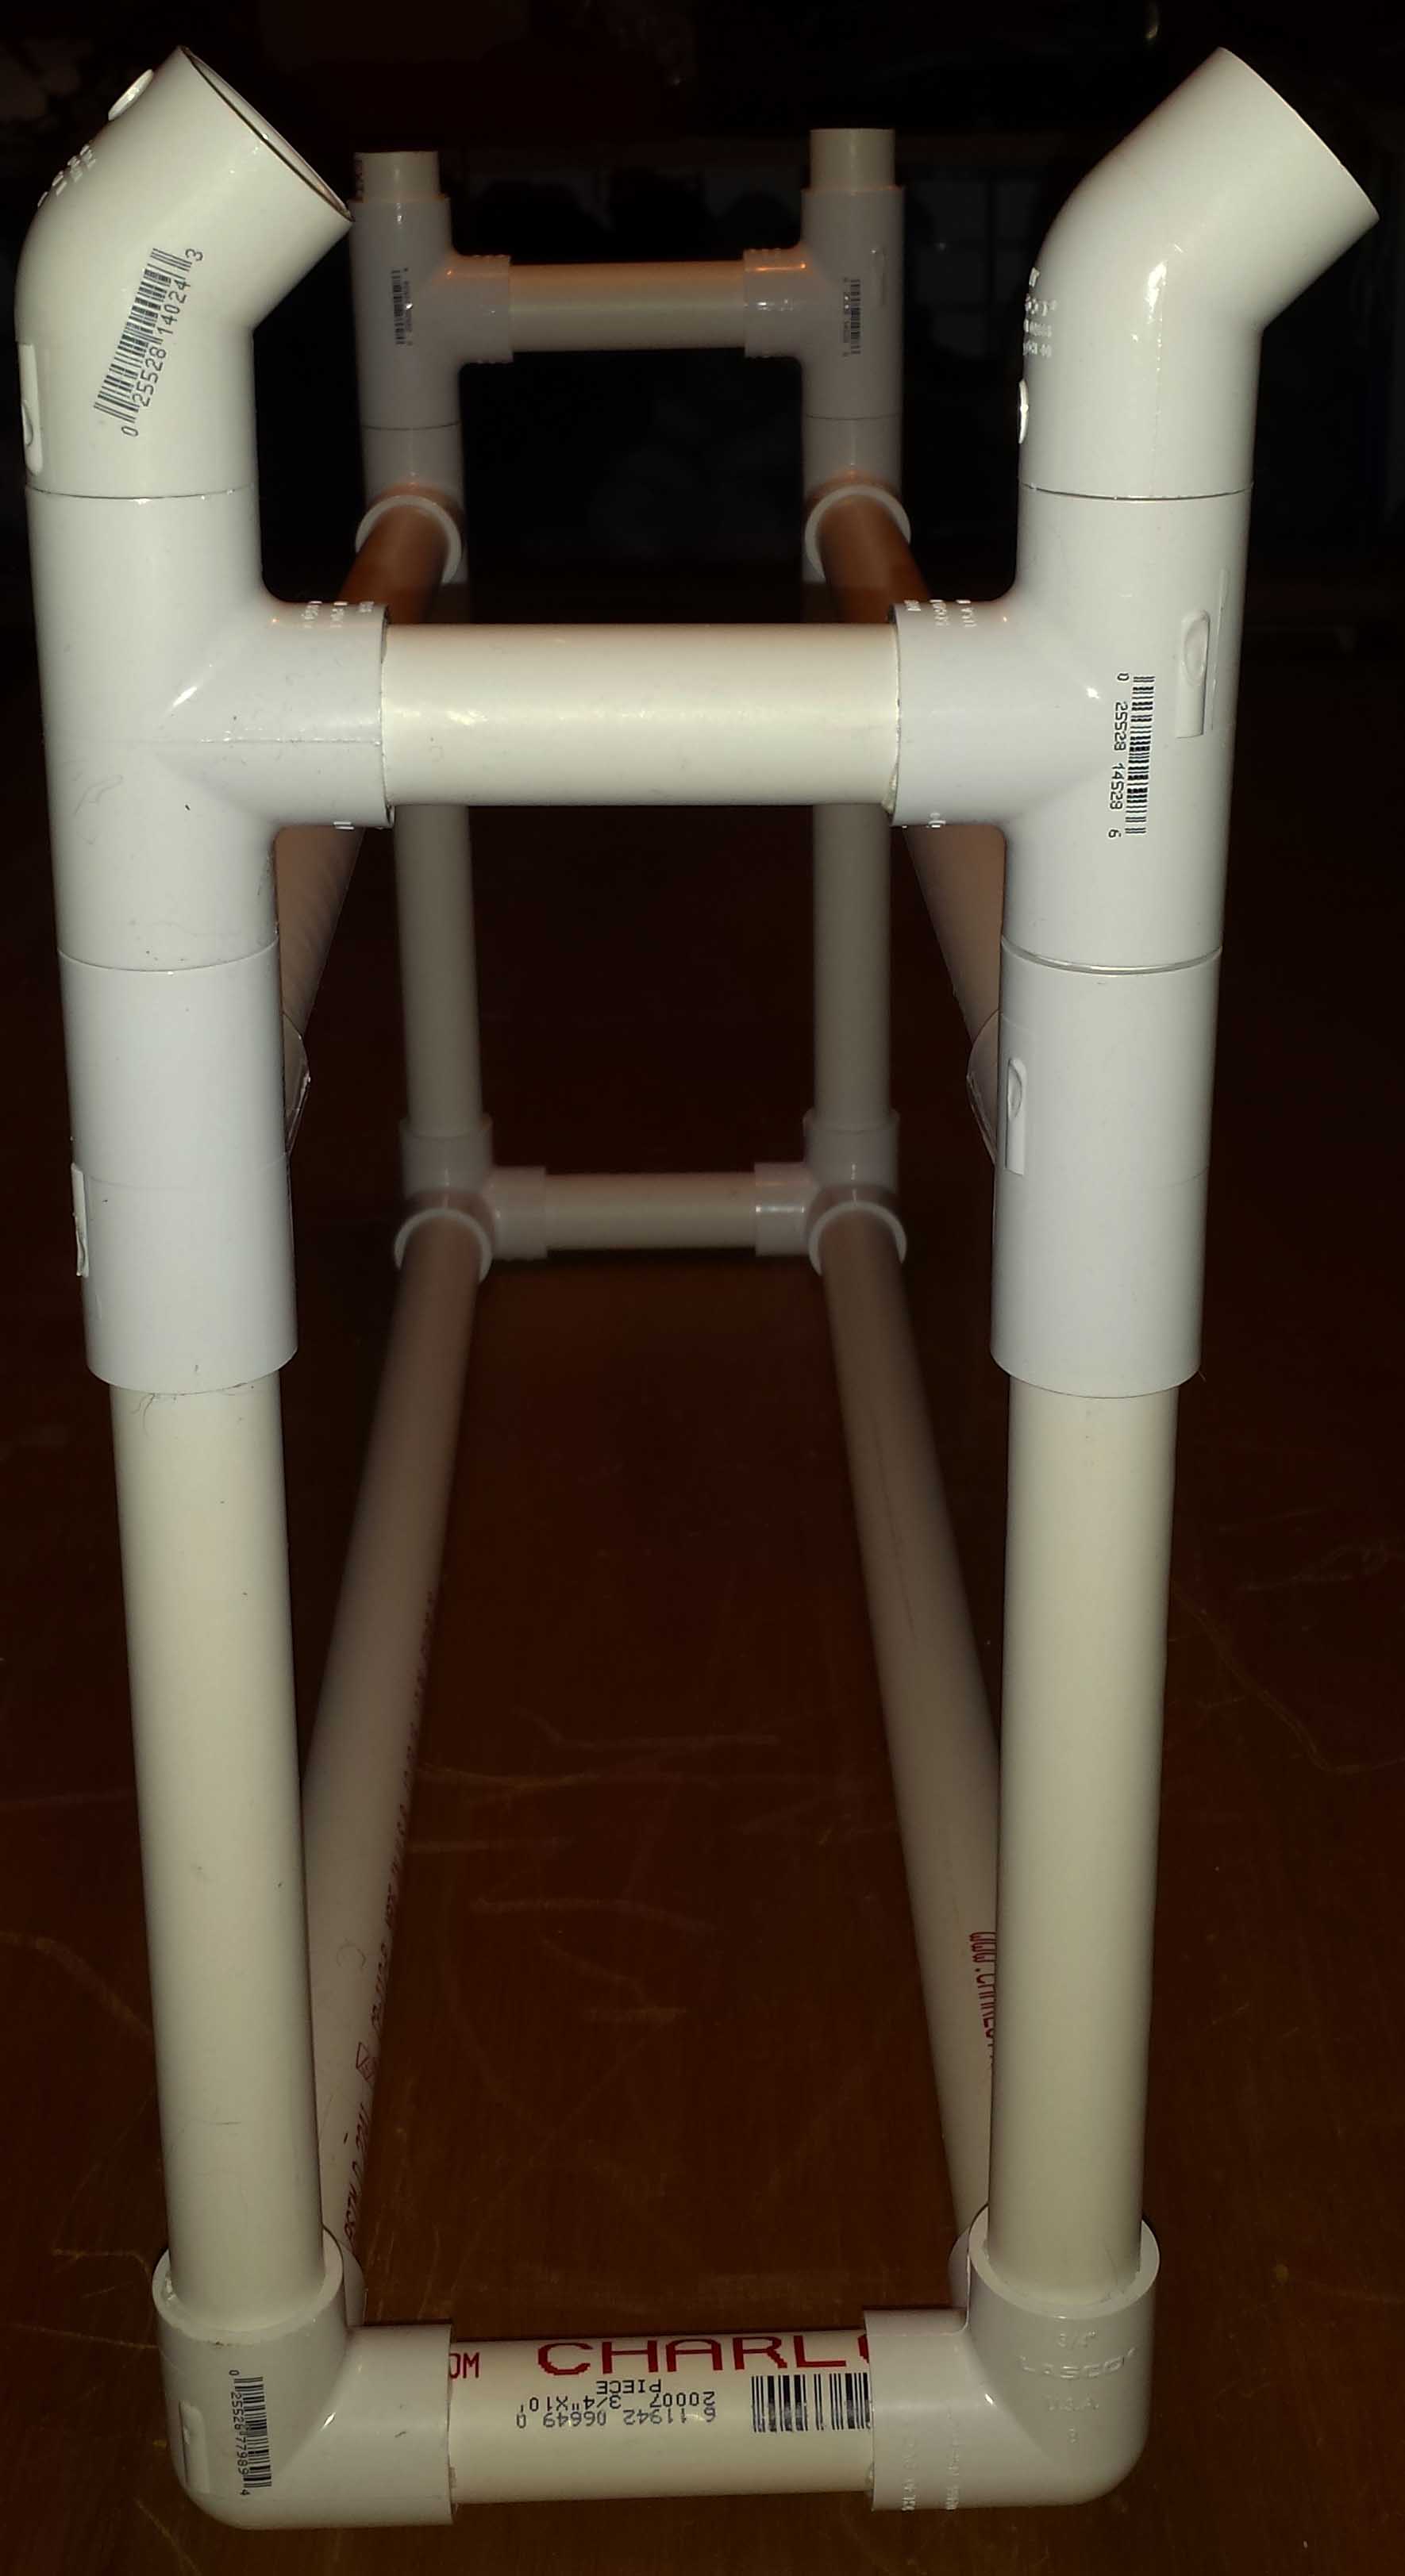
Step 11: Slather glue into one of the 45 degree elbows and put it onto one of the 1″ pipes, facing toward the back. Repeat this step for the other three 1″ pipes, facing all of the elbows toward the back. (In the photo above, two of the elbows in the foreground have been added, in the back of the picture, you see the 1″ pipes where the elbows will be added next.)
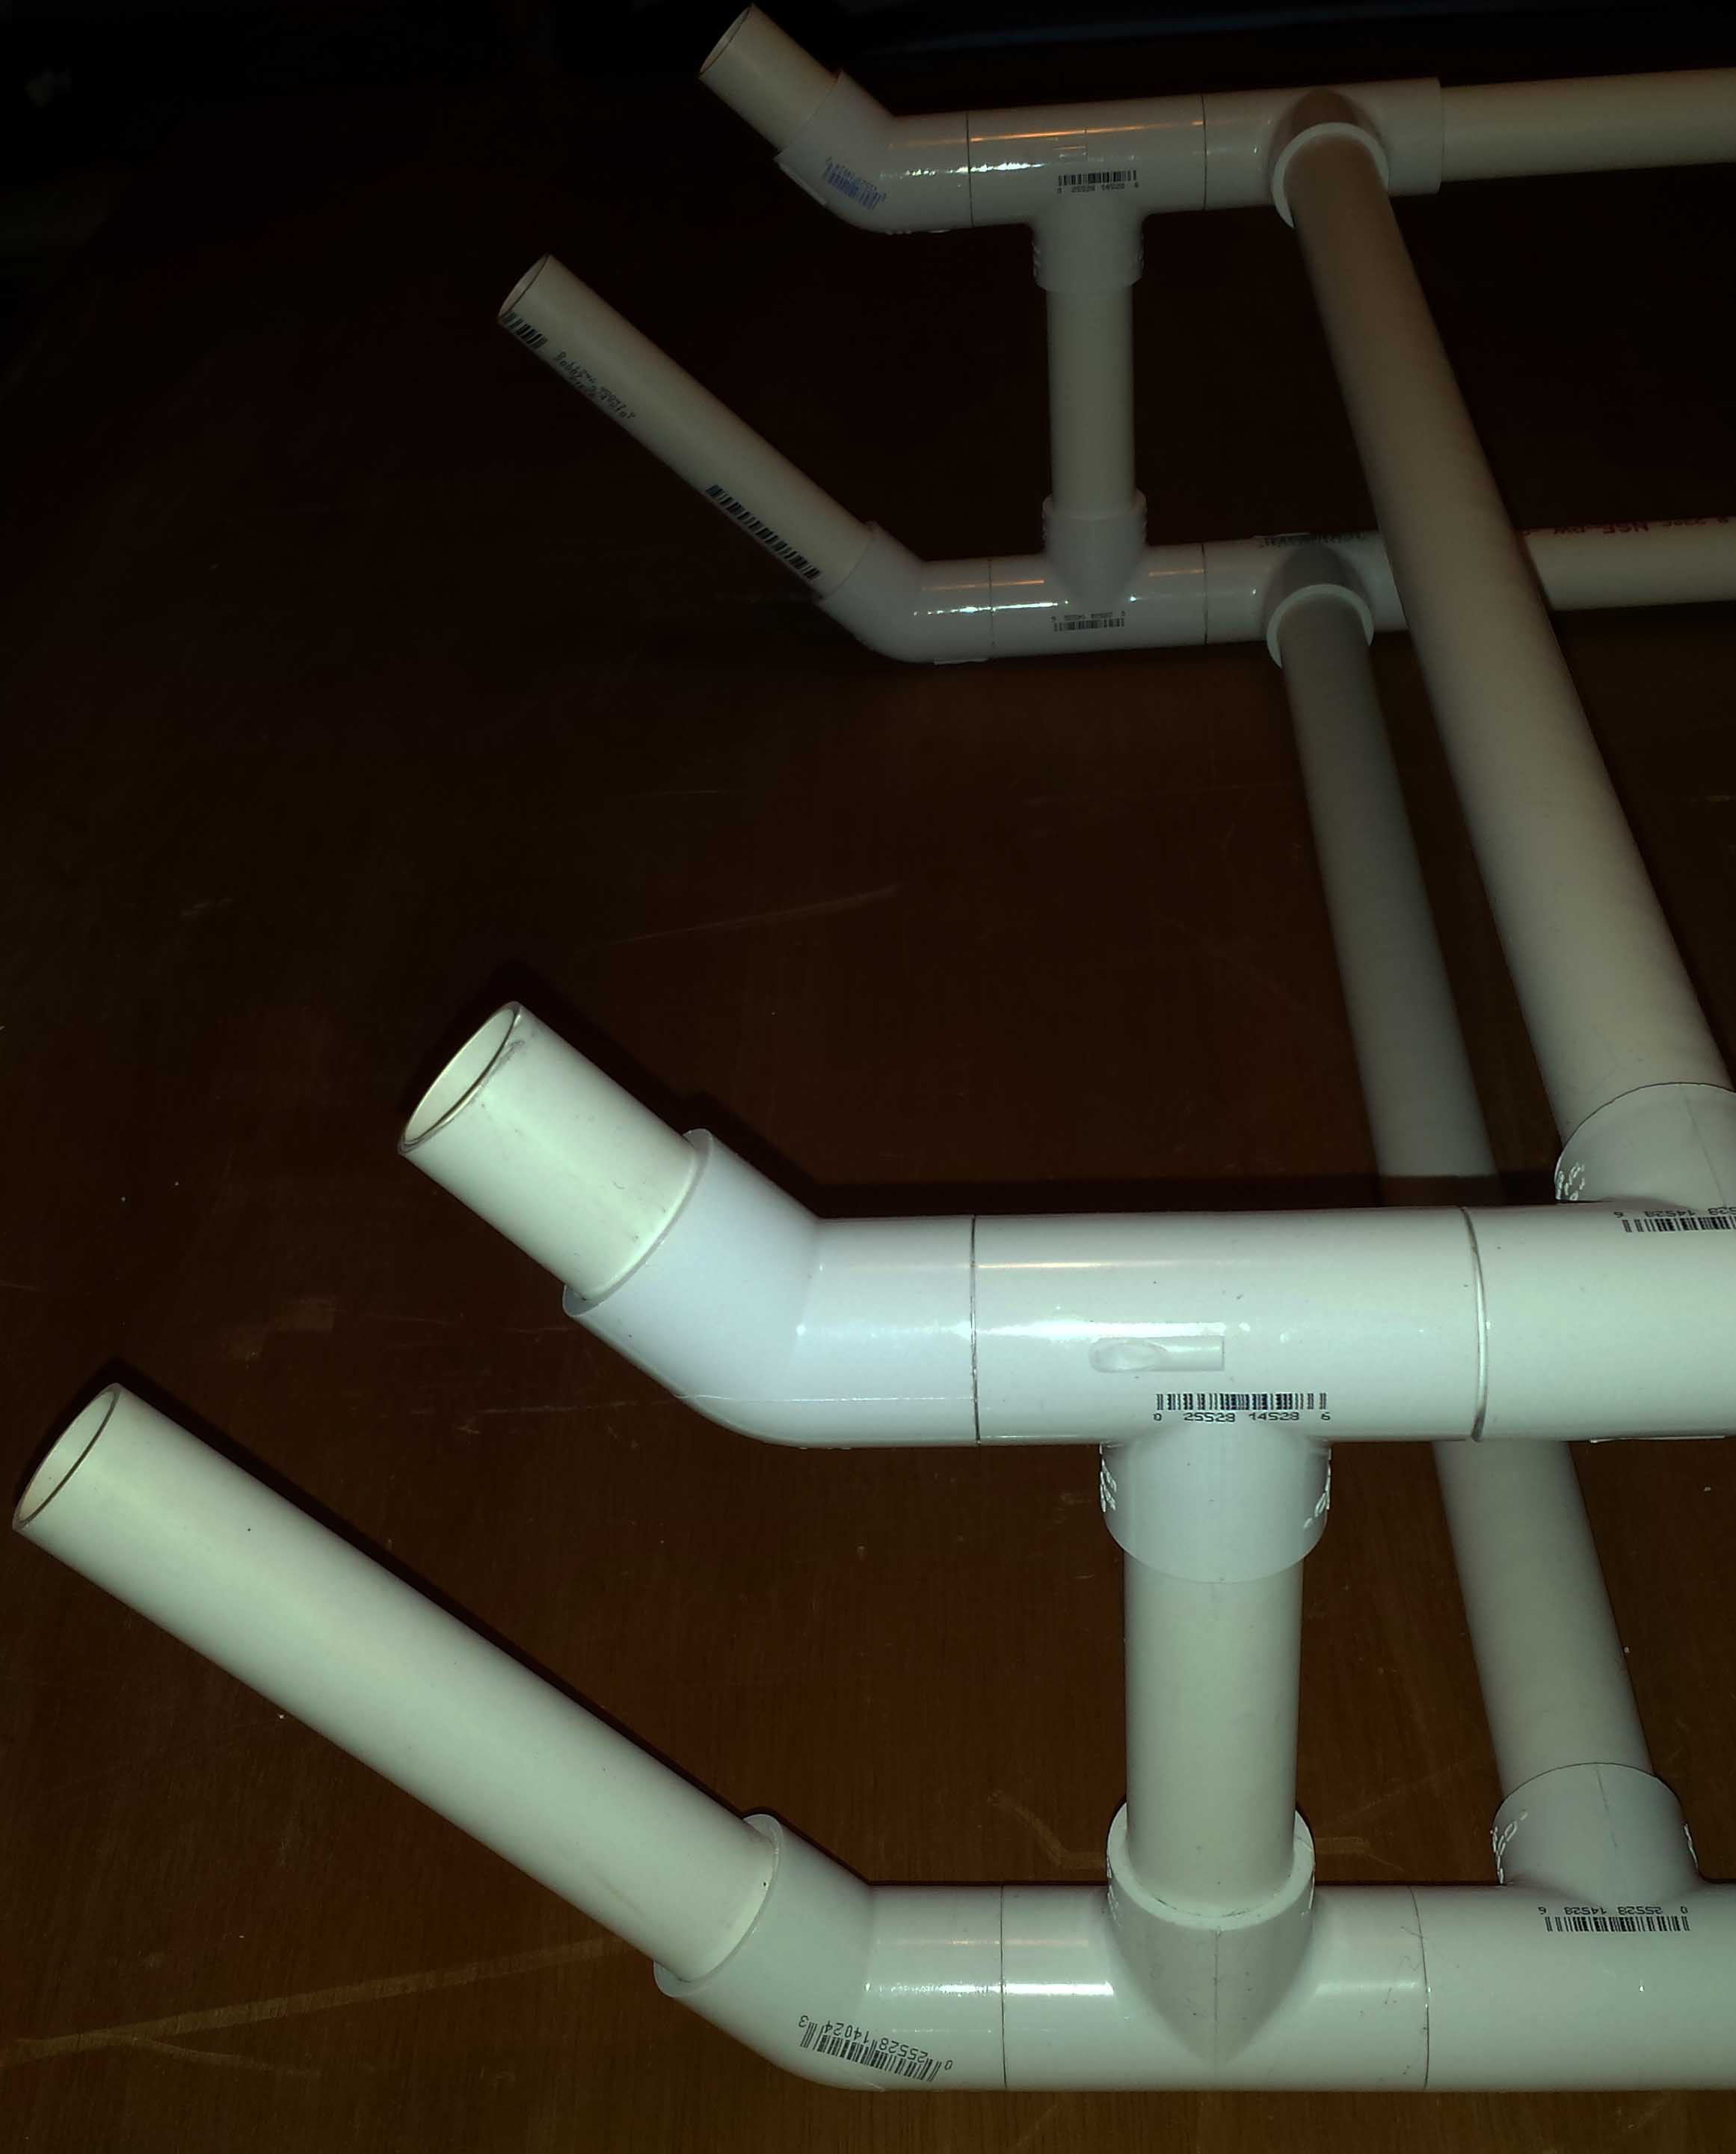
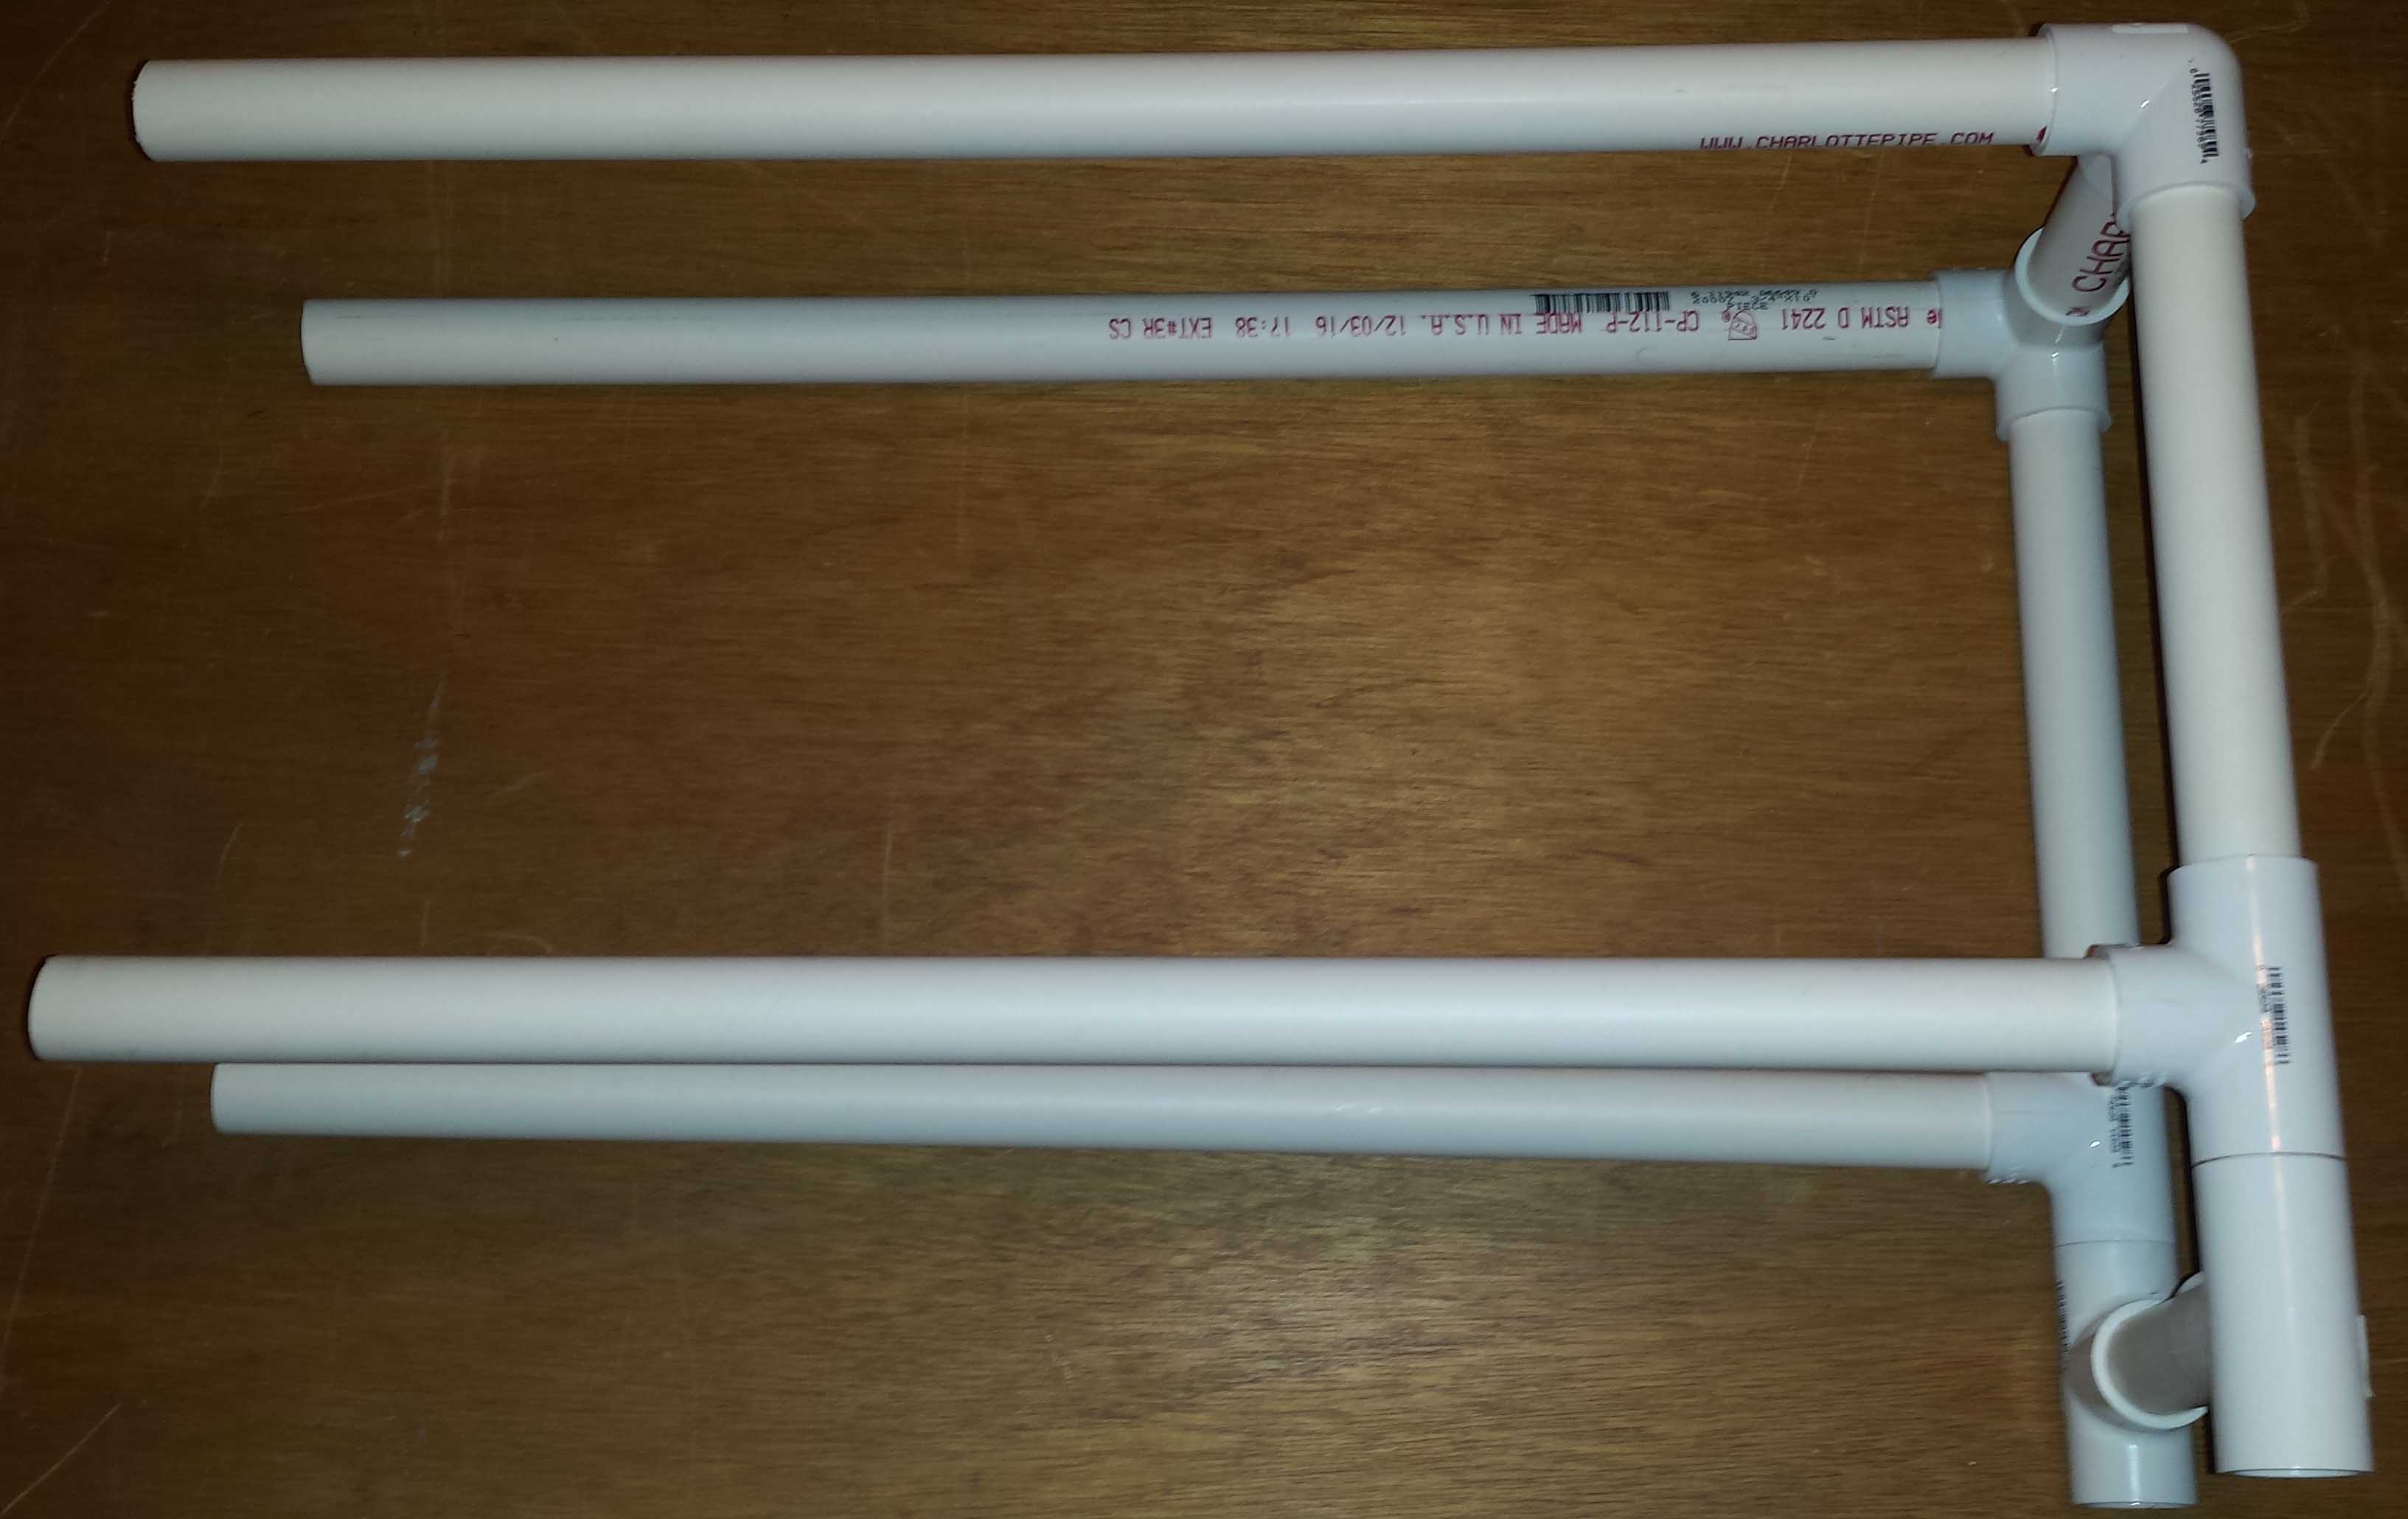
Step 12: Lay the frame on it’s front and slip the two 5.5″ pipes in the front elbows and the two 1.5″ pipes in the back elbows. DO NOT GLUE THESE IN PLACE. These are your lap frame legs, you will be able to convert your frame from a lap frame to a floor frame (or a standing frame) by slipping in each set of legs.
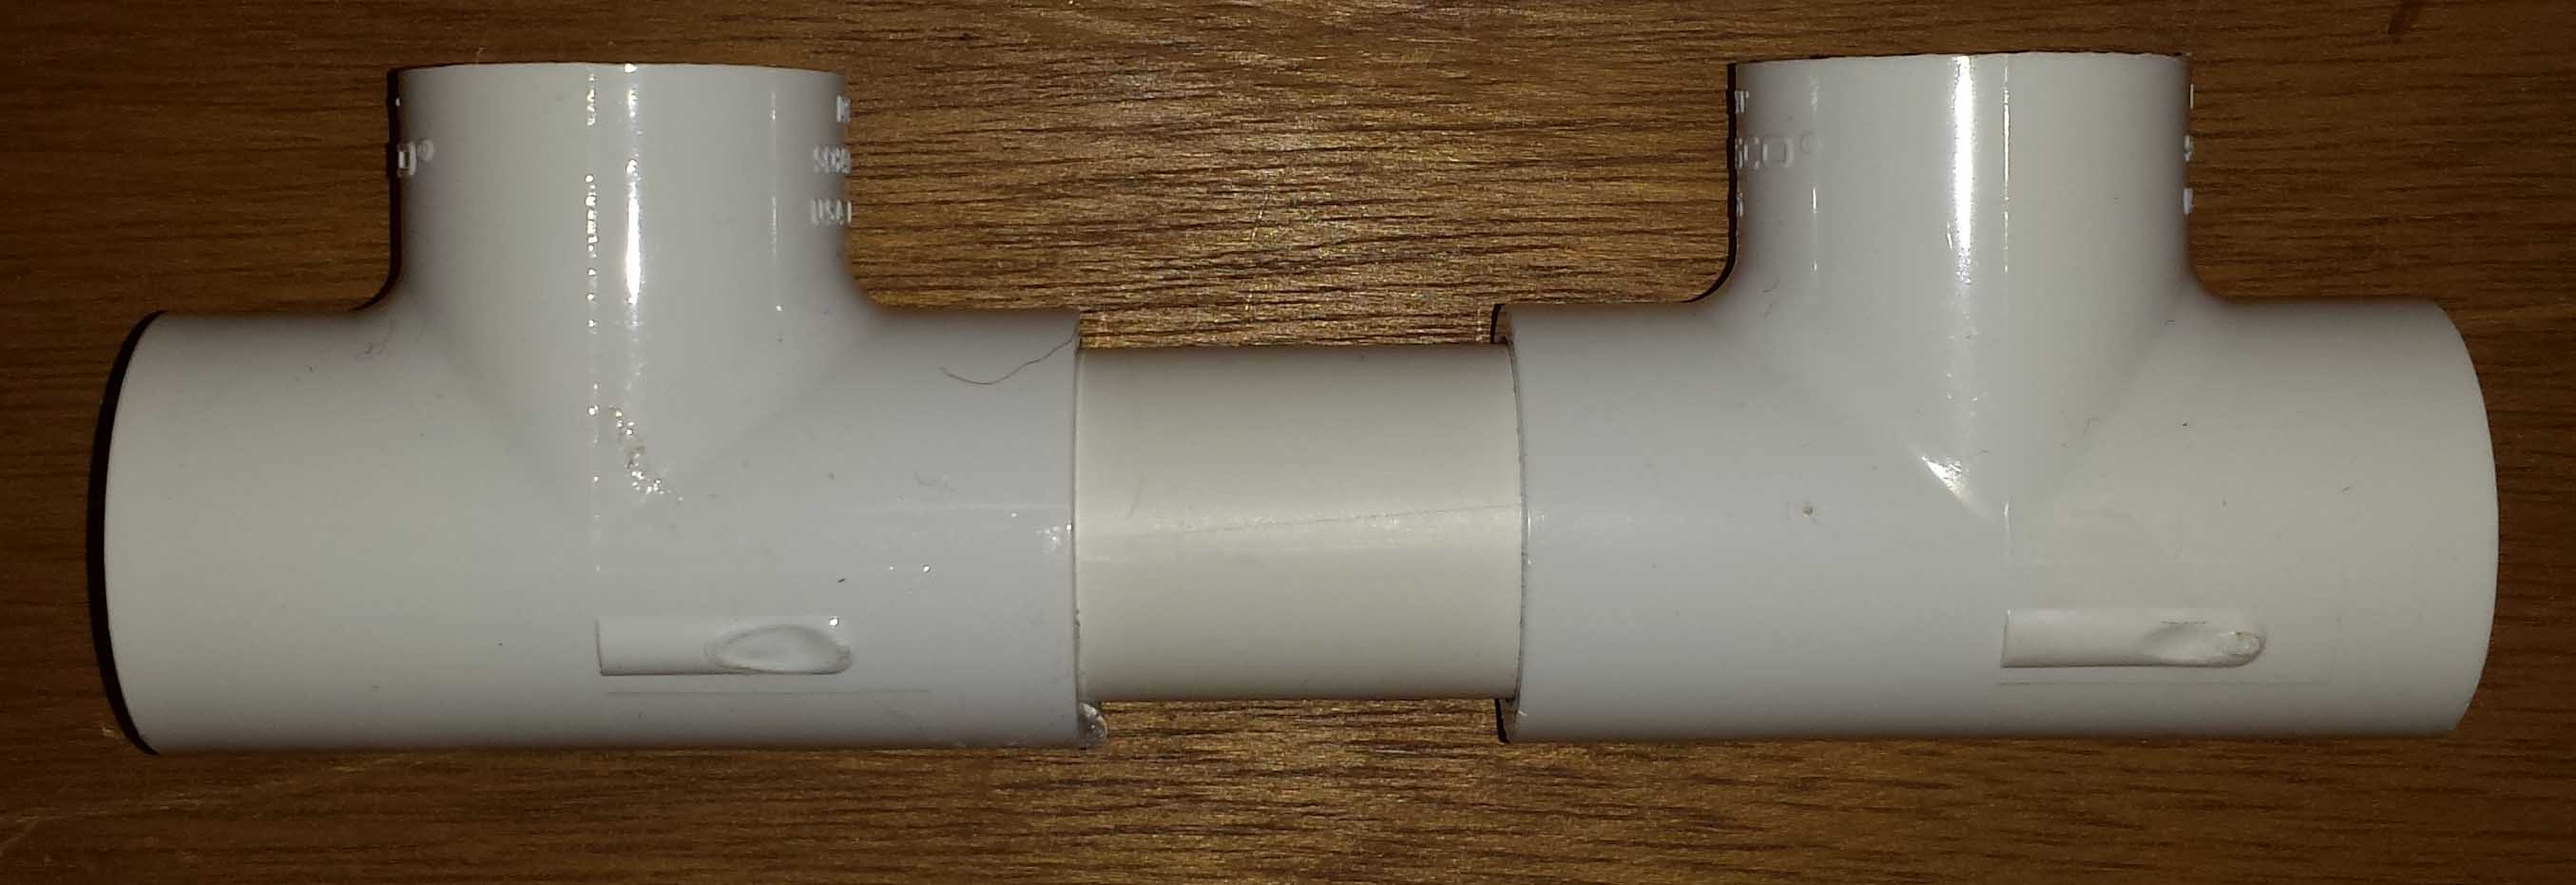
Step 13: Making the feet. Slather glue into one of the ends of a Tee, and insert a 2.5″ pipe. Repeat for the other Tee and connect to the 2.5″ pipe.
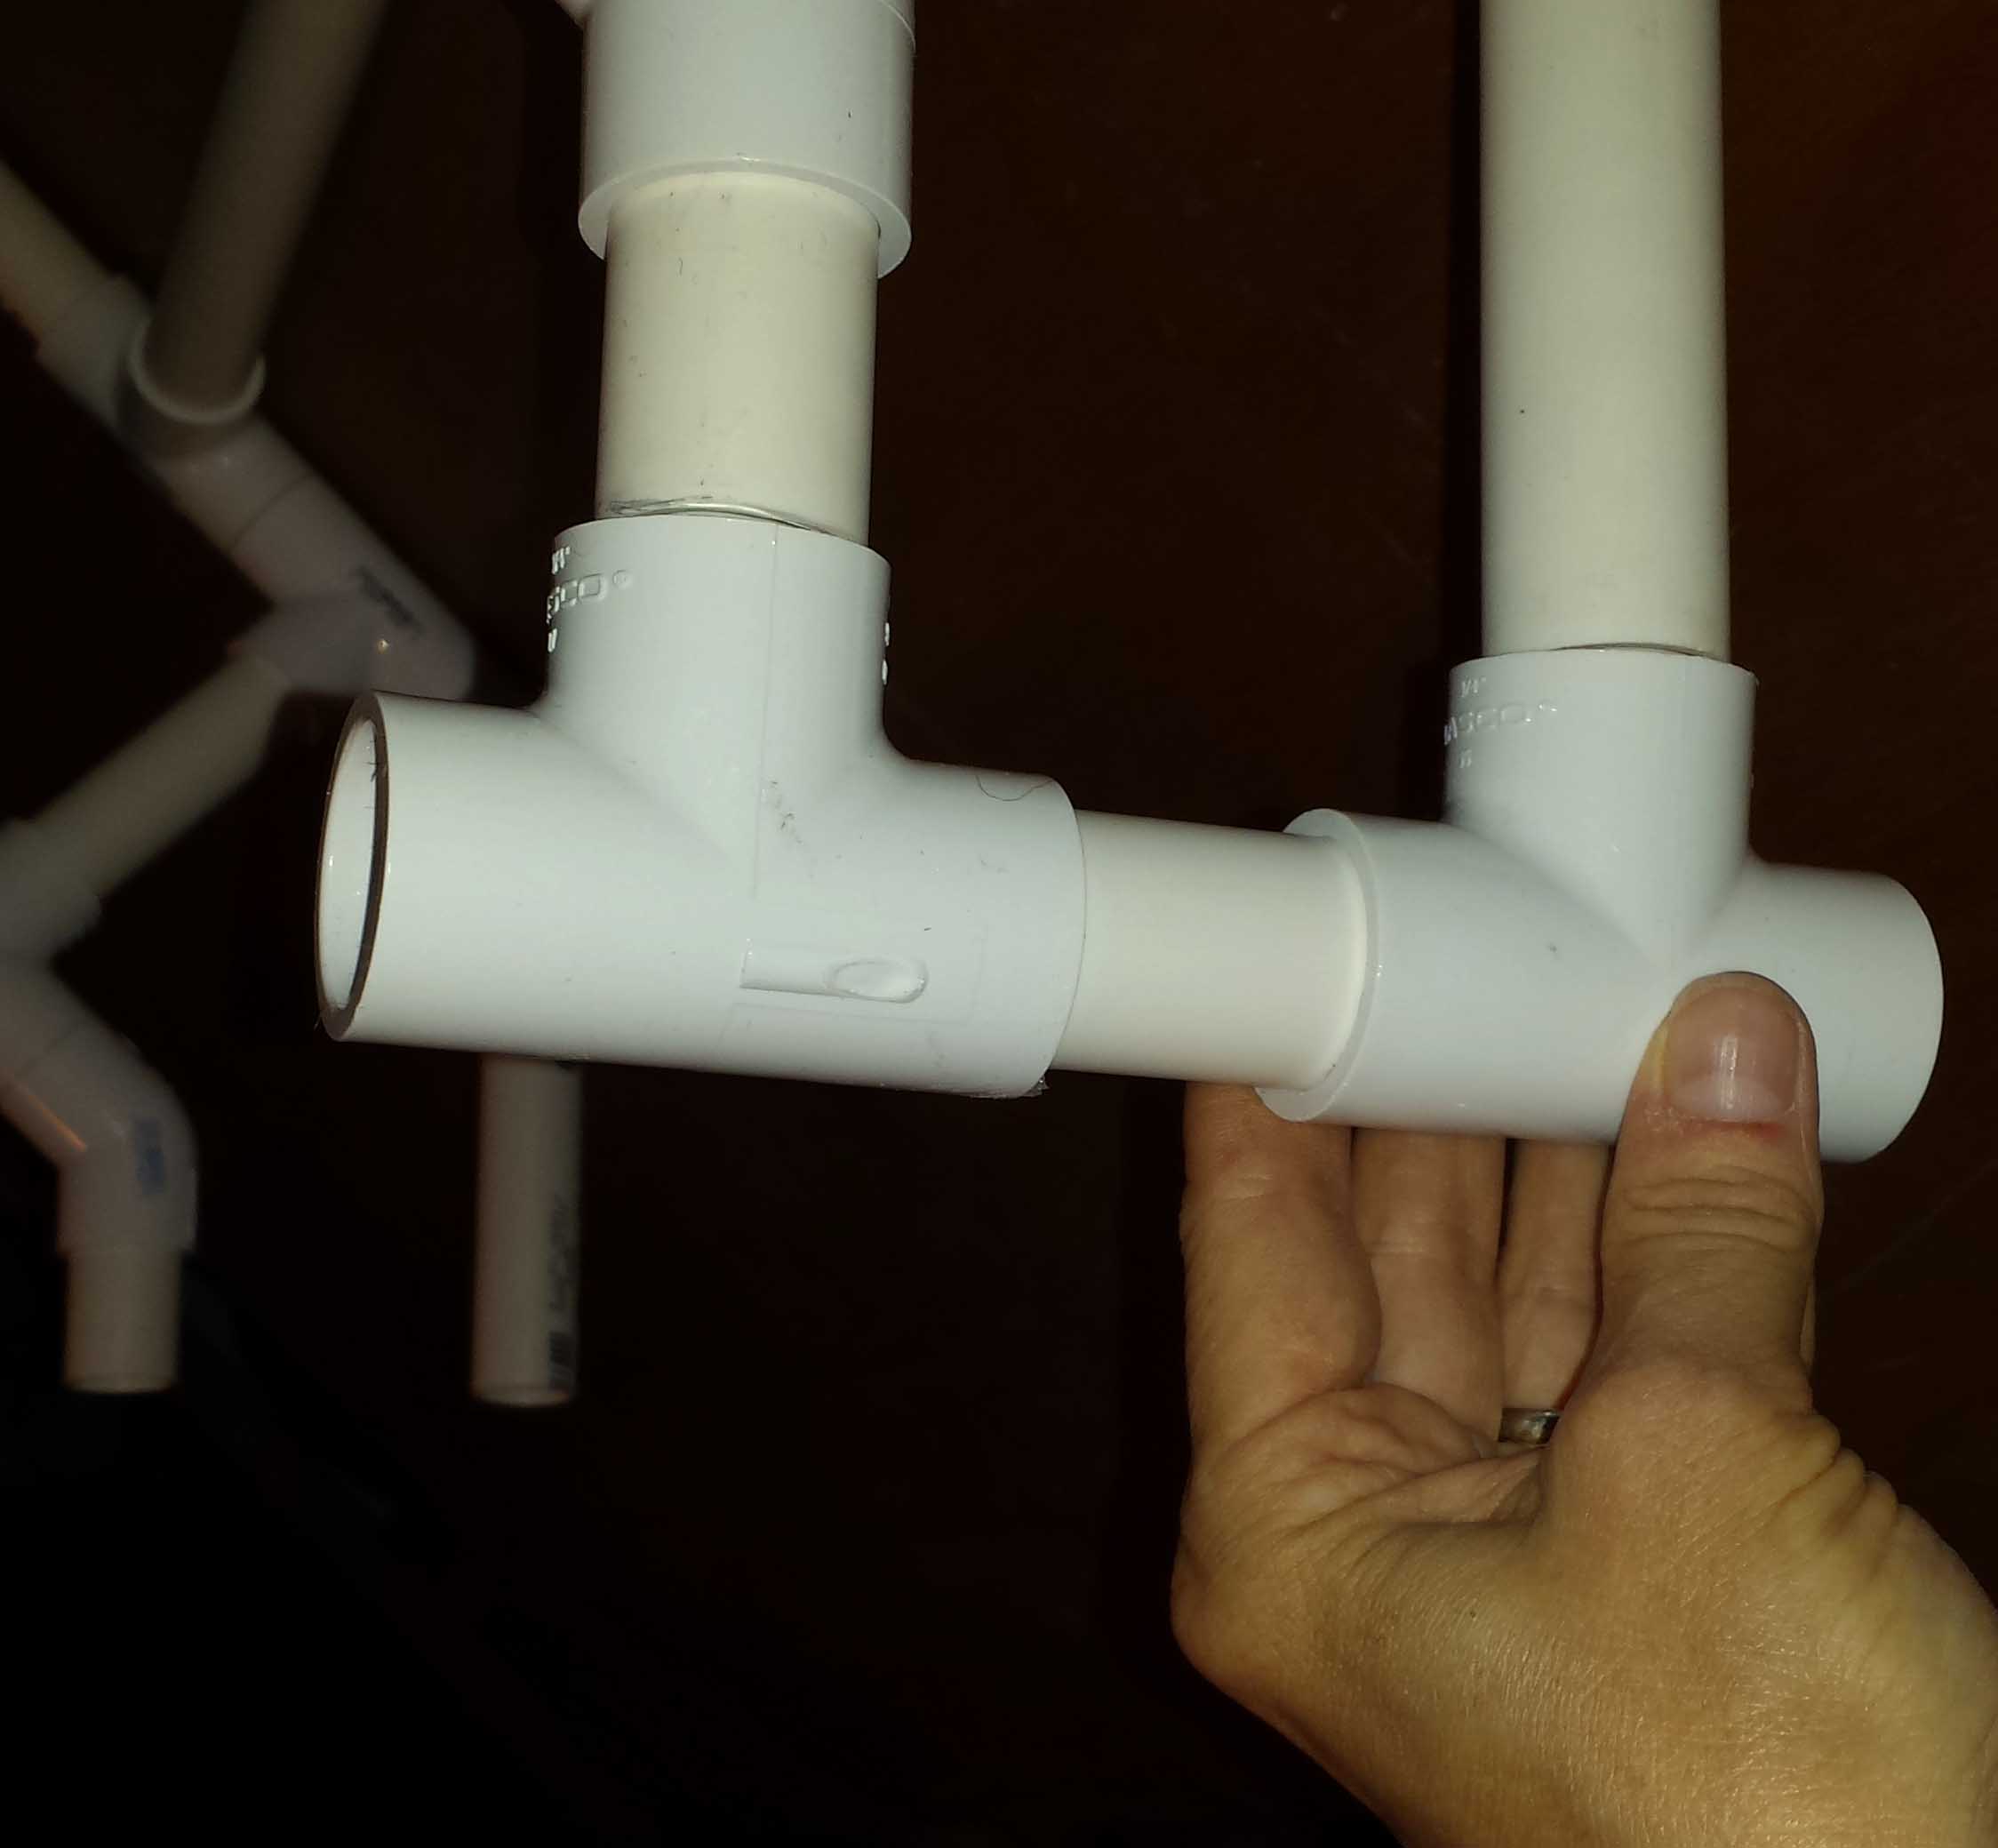
Step 14: Hold the piece you made in step 13 up to the lap frame legs, and adjust the length so the Tee holes line up with the legs.
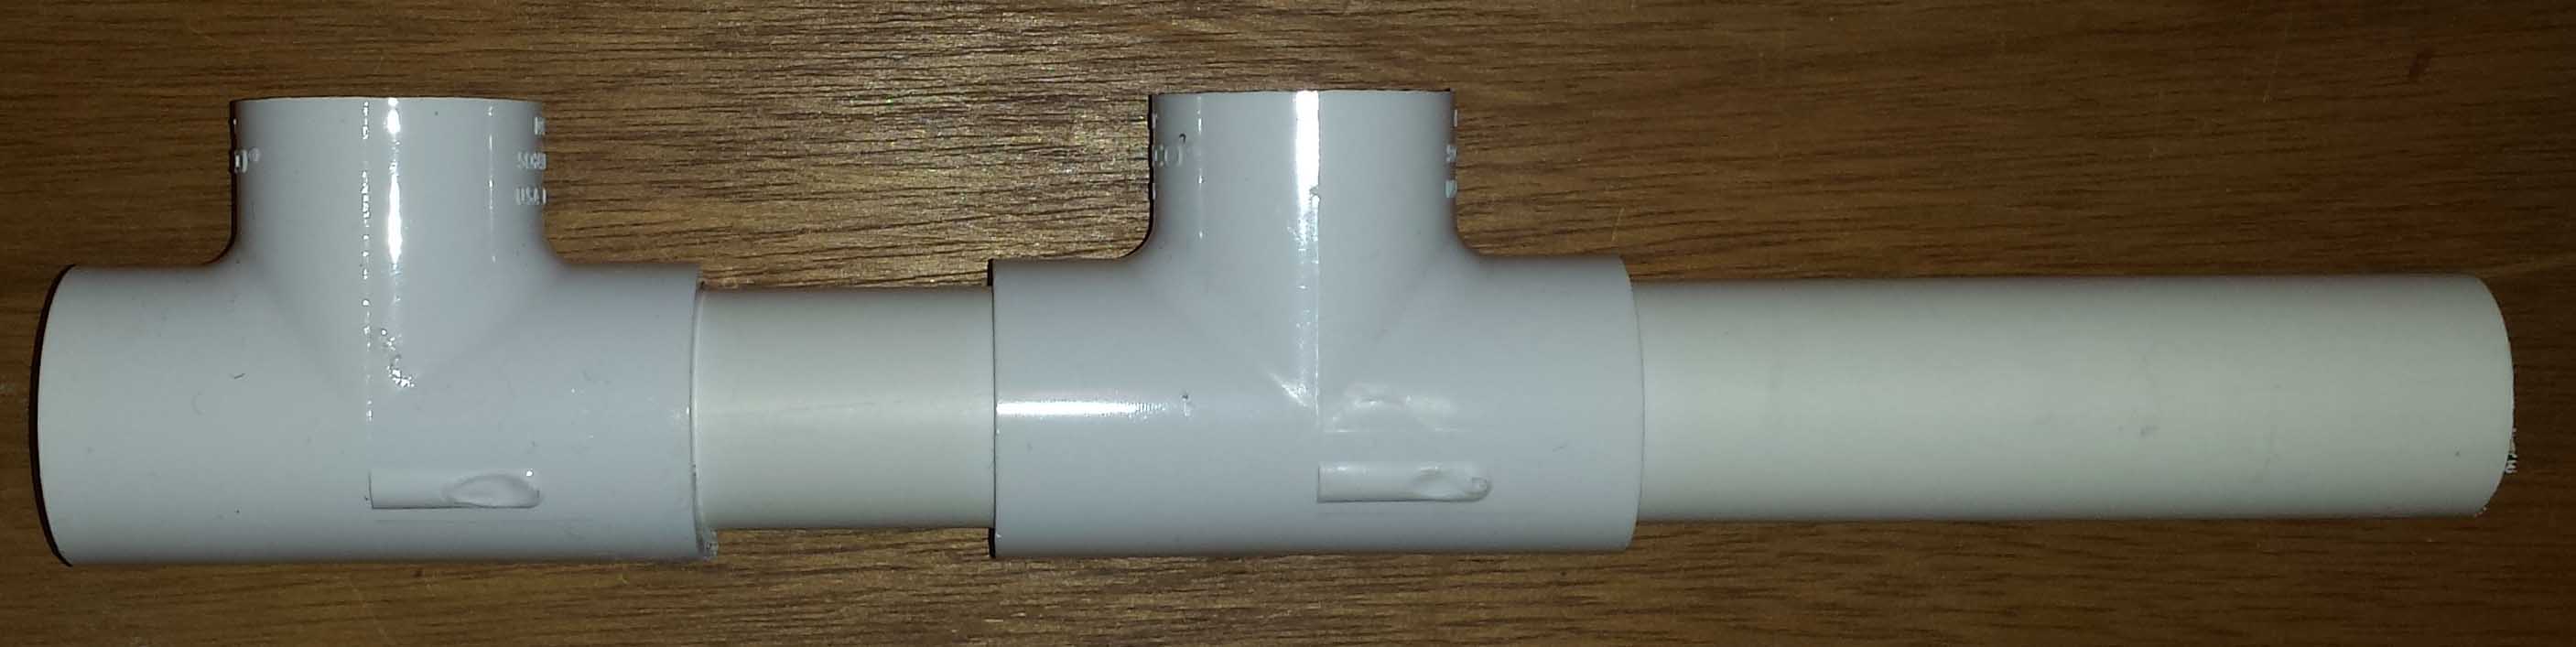
Step 15: Slather glue into one of the Tee ends, and insert a 4″ pipe.

Step 16: Slather glue into the other Tee end, and insert an 8″ pipe.

Step 17: Slather glue into one of the end caps and insert the 4″ pipe. Repeat for the 8″ pipe. Repeat steps 13-17 to create the other foot section.
Step 18: Slip the feet onto the lap frame legs, with the shorter section (4″ pipe) toward the front. DO NOT GLUE.

Step 19: Adding the rubberized material. Lay the frame on the side. Slather glue on the inside of one of the 8″ pipes. Lay the material on the glue, and turn the frame to add more glue all around the pipe, and wrap the rubberized material around. This is a good time to check that the legs and feet are laying nicely flat on the table, so everything dries square. Repeat this step for the other front 8″ pipe on the front side of the frame.
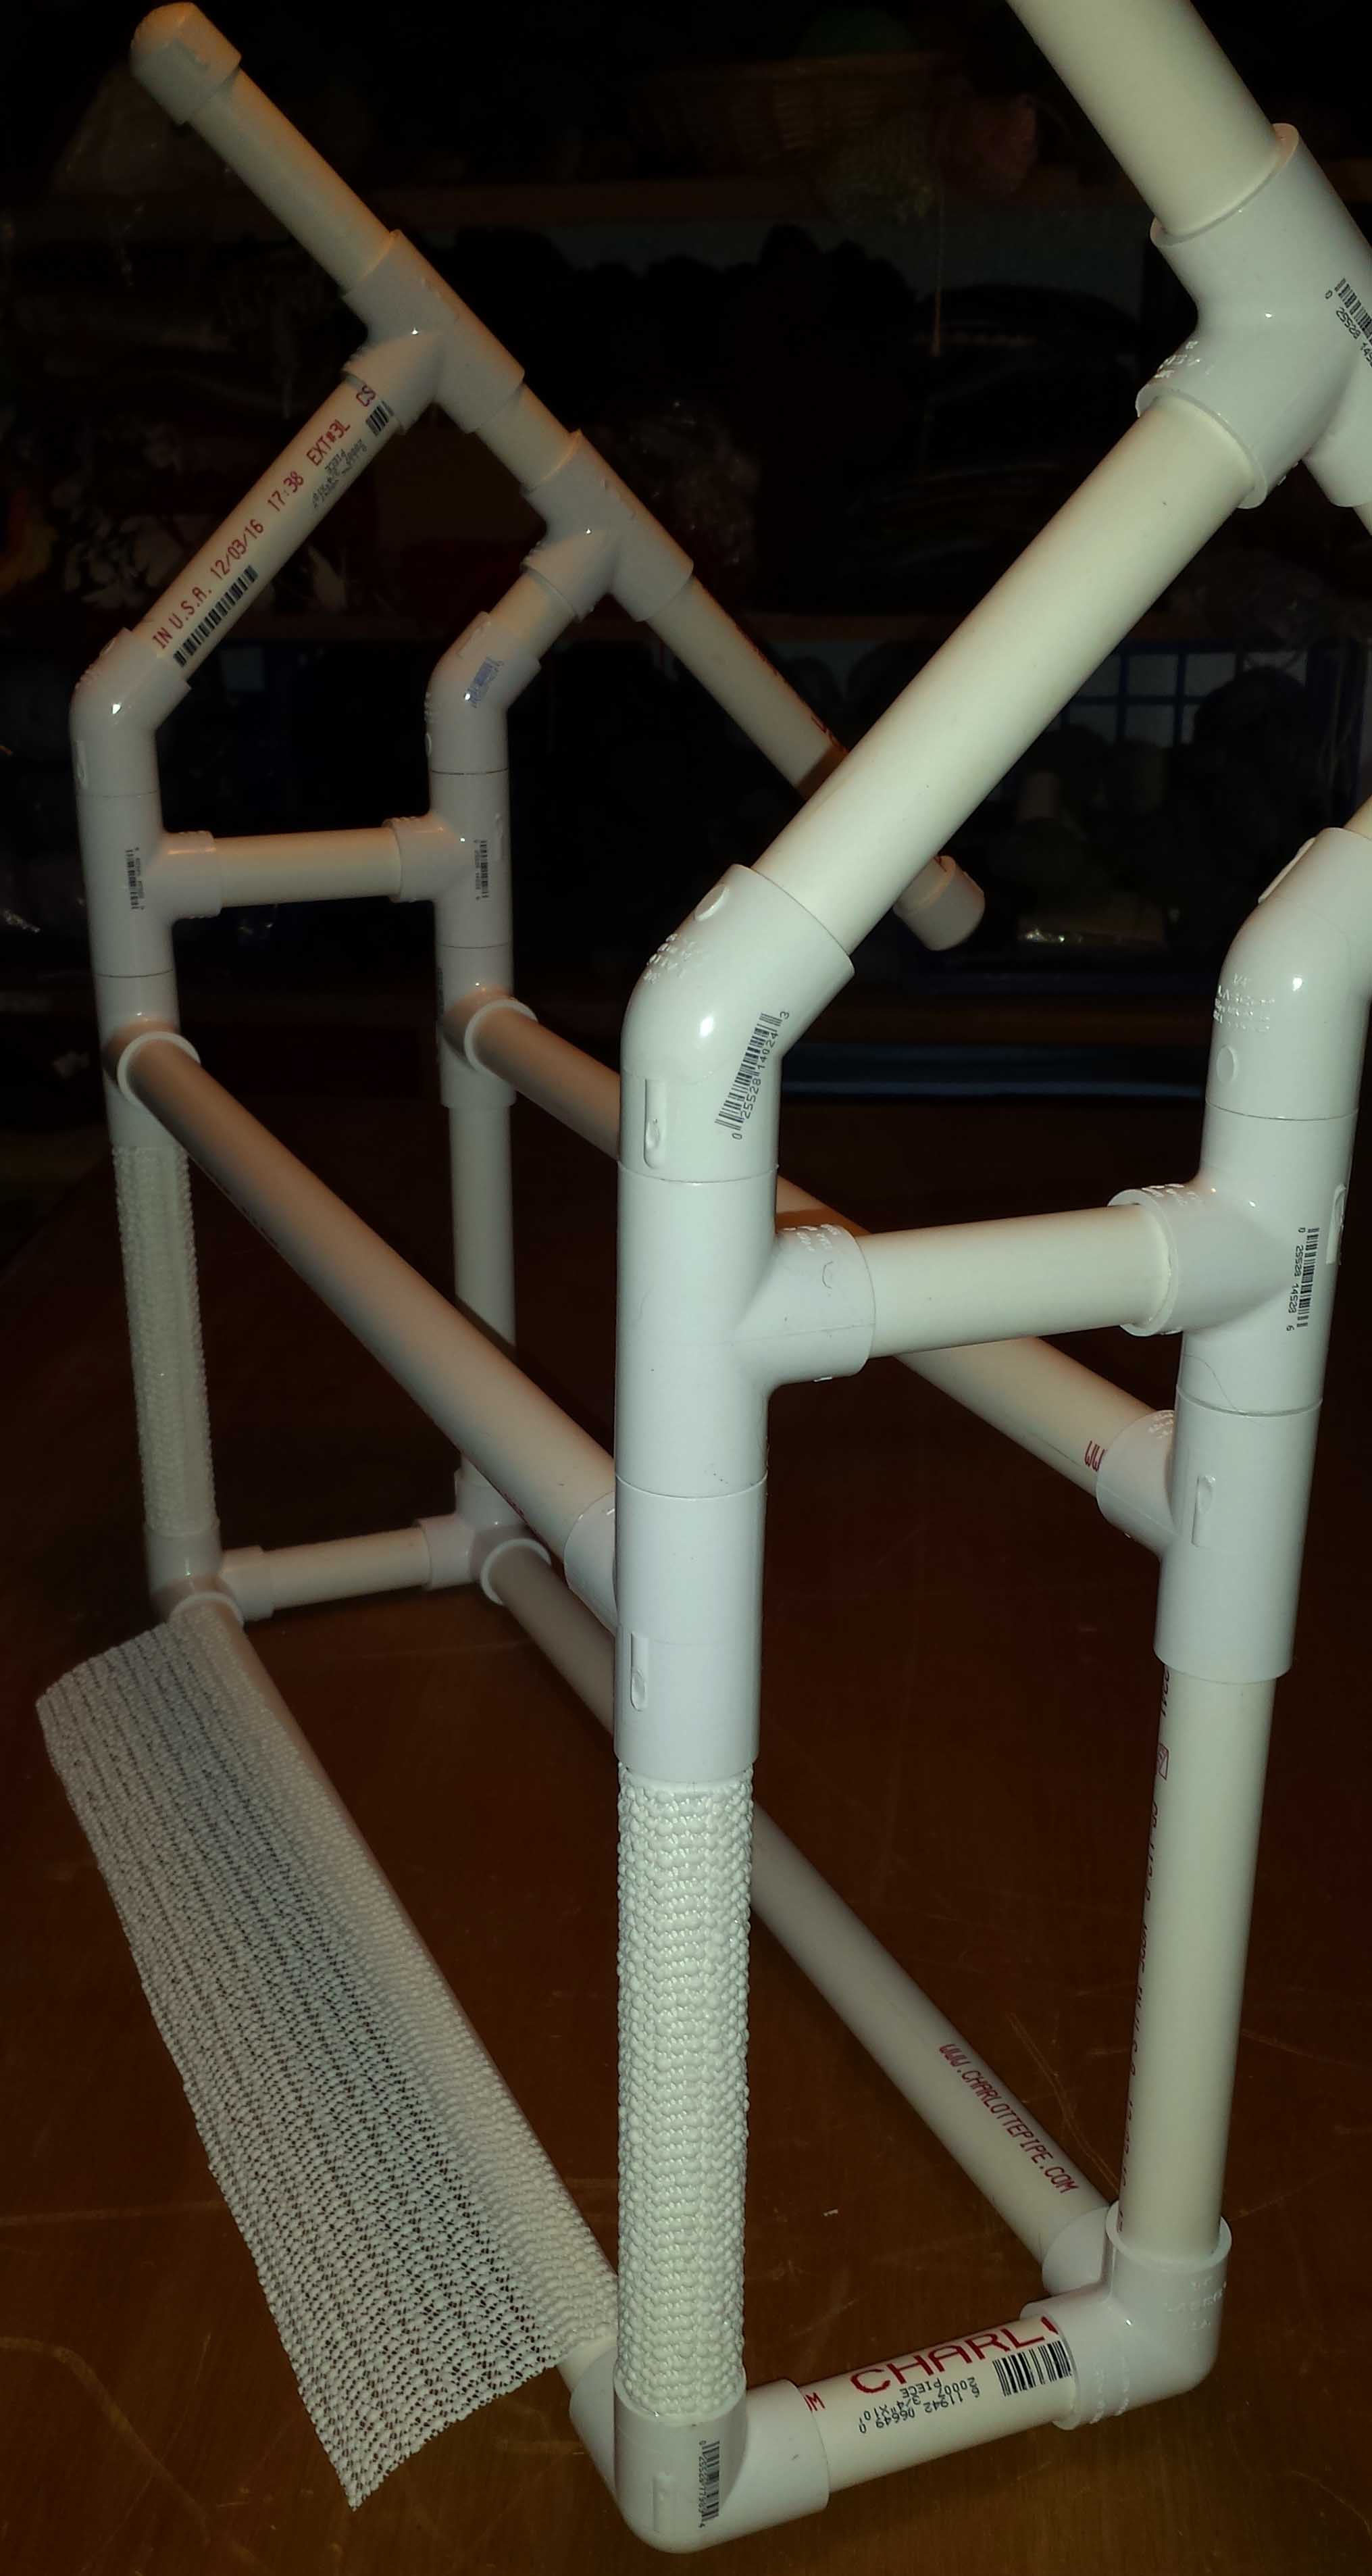
Step 20: Lay the frame on its top. Slather glue on the 20″ cross-bar in the front (the same side as the 8″ pipe with rubberized material). Lay the rubberized material on the pipe, then turn the frame so you can slather glue all around the pipe. Wrap the rubberized material around.
Step 21: Lay the frame on its front. Slather glue on the bottom 20″ cross-bar. Lay the rubberized material over the glue. Turn the frame so you can slather glue all around the pipe. Wrap the rubberized material around.


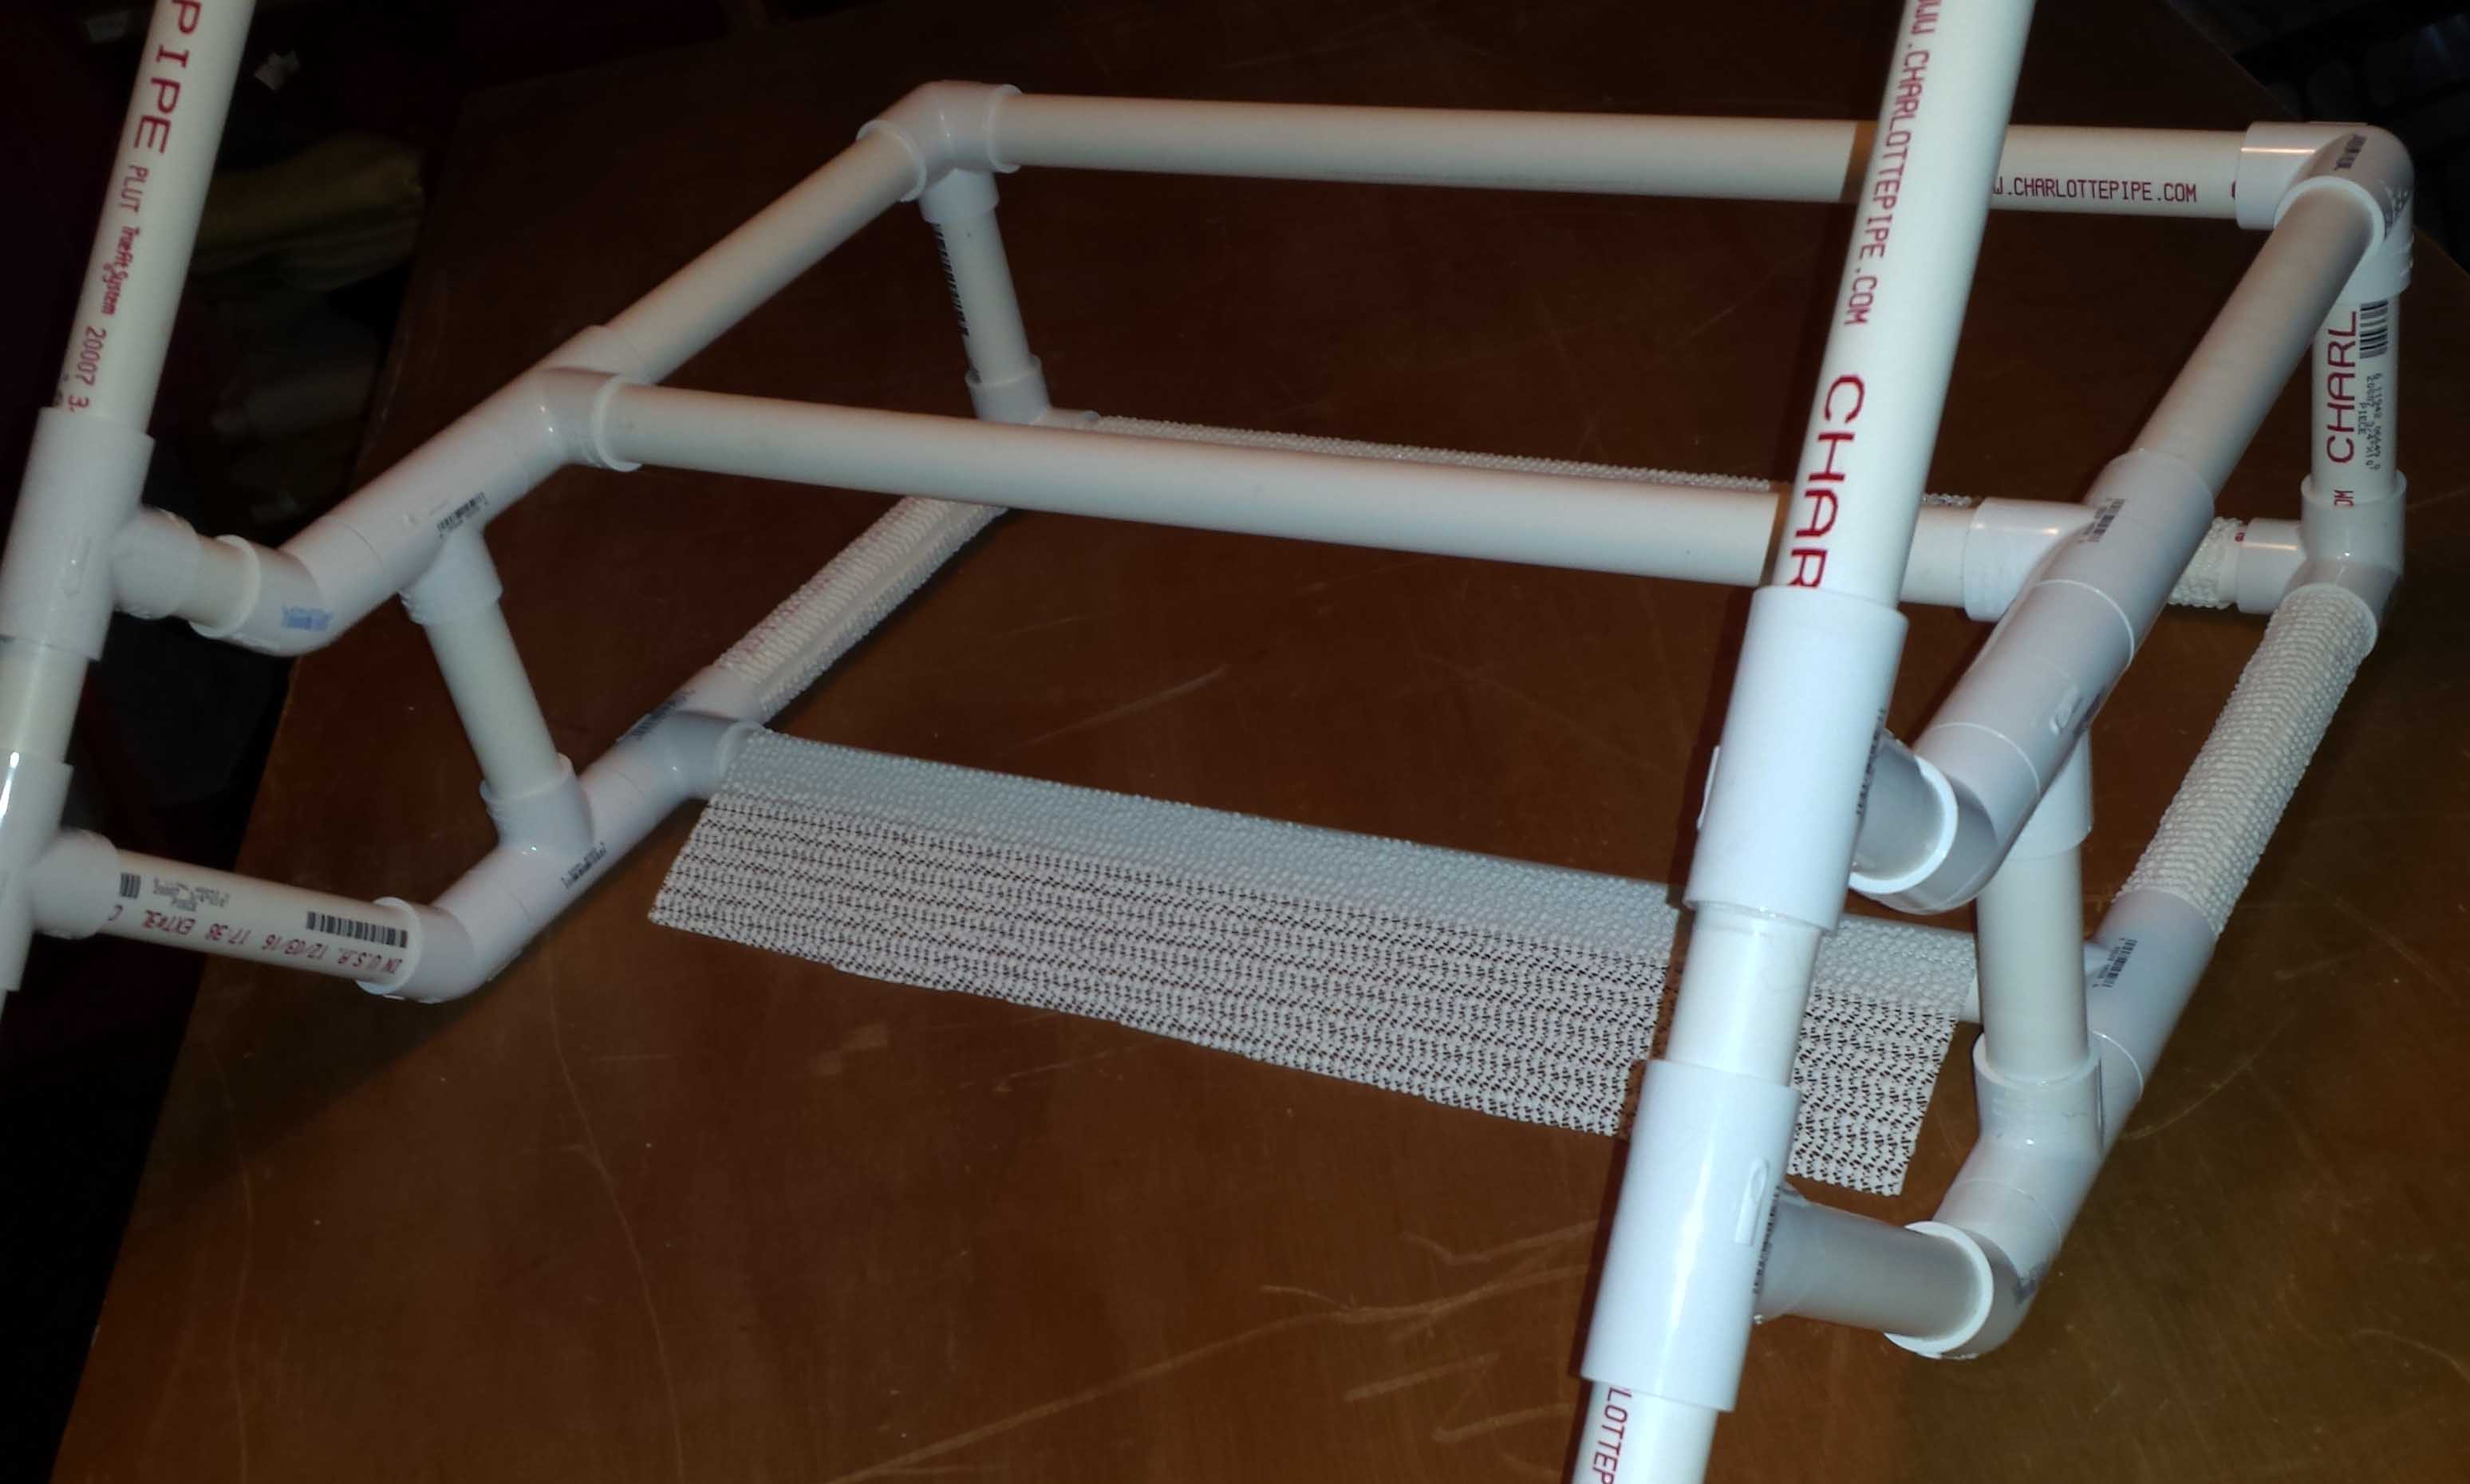
Step 22: Let the frame dry in this configuration. This is a good time to check once again that all of your angles are correct and the frame looks square. You might notice you have four leftover pipes (2-26.5″ and 2-22.5″). These are your standing frame legs, you might use these when you’re going somewhere where you’re going to be sitting on a folding chair.
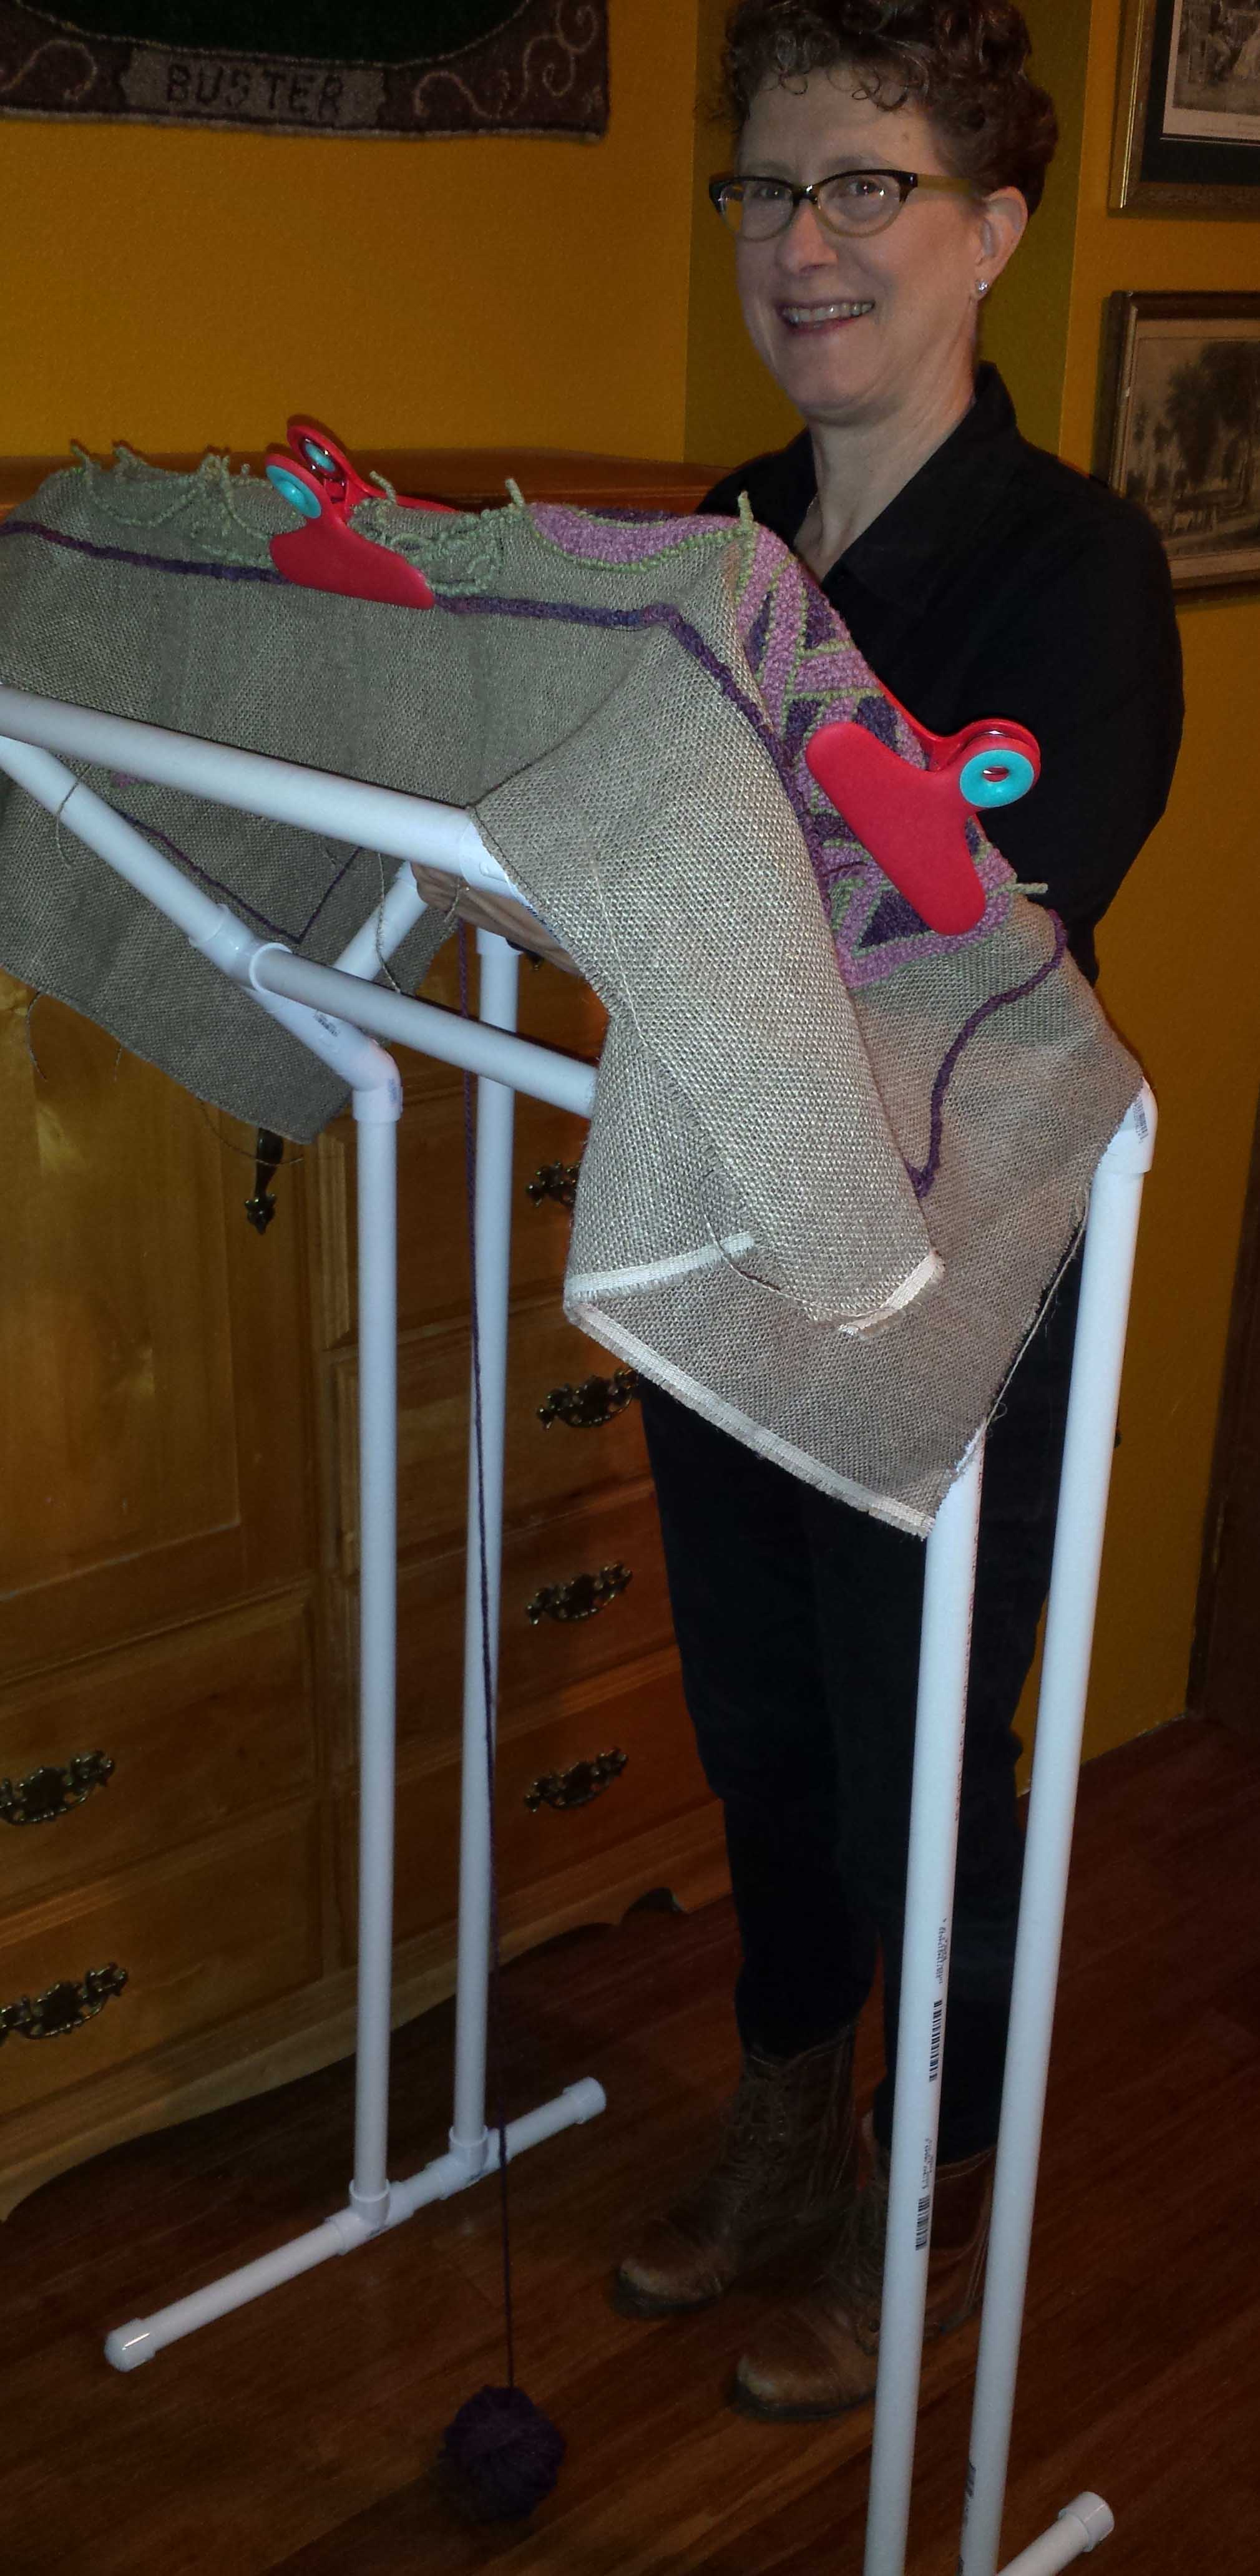
Step 23: This is totally optional, but a really good idea. Rug hooking is a sedentary activity, and sometimes it’s good to get up off that chair. If you want to do this, you can cut a set of longer legs. I am 5’5″, so for my height, I cut two 42.75″ pipes for the front and two 38.75″ pipes for the back. I especially appreciate this option when I am in my booth at a show, rug hooking for 8-10 hours a day.
To change the legs from lap frame to floor frame, (or the standing frame) you don’t need to remove the rug. Just lay the frame face down and pull out the current legs, slip in the new ones, and stick the feet on.
Phew! You did it! Do let me know if I can make the instructions clearer.

And don’t forget that for every $50 you spend with Little House Rugs between now and November 25, 2017, you will be entered to win the Whale Rug (a $450 value)! Happy Hooking Everyone!
Judy Taylor
www.littlehouserugs.com

Built a frame this weekend per your instructions..,looks great!
LikeLike
Frame is flimsy and unuseable in my opinion. Did not hold backing tightly enough, not enough hooking area and frame flipped and flopped all over the place as I tried hooking. Expensive for what it is. In the garbage now. For the record, I have three other frames I use and have been hooking for 15 years.
LikeLike
Annemarie:
I’m so sorry the frame didn’t work out for you. Please feel free to send it back for a full refund.
LikeLike
Thank you so much for sharing your directions. I made one and it works very well. Your instructions were clear and very cost effective compared to others. I’ve been hooking for 3 years and truly enjoy my new frame. Many thanks.
LikeLike
Mill work list is missing the 4- 3 way 90’s
LikeLike
the 3-way item is : (C) 4- 3/4” Dia 90 degree PVC Sch 40 Side Outlet Elbows
LikeLike